1974 Celica restore/build

Swaps in Progress, on the Road and on the Track.

Moderators: DJpowerHaus, mattmartindrift

Post Reply
STflyer74
Knowlege Seeker
Posts: 14
Joined: Sun Jun 17, 2012 9:09 pm
Location: Columbia SC/Mooresville NC

1974 Celica restore/build

Post by STflyer74 »

Hello my friends. My name is Weston, 21 years old, been around cars and projects for awhile now. I have had my hands in a few DSM's. I had my own 95 Talon TSi that I built and tuned myself. I also had my hands in a few other cars that I built or modified in some way.

Anyways, here I am with my newest toy to build up! Unfortunately this will be a rather slow build as I am a full time student and income is very limited, but I will do my best to update as I go along.

The following pictures and such are from another forum I am a member on, I figured I will just copy and past to catch you all up to date!

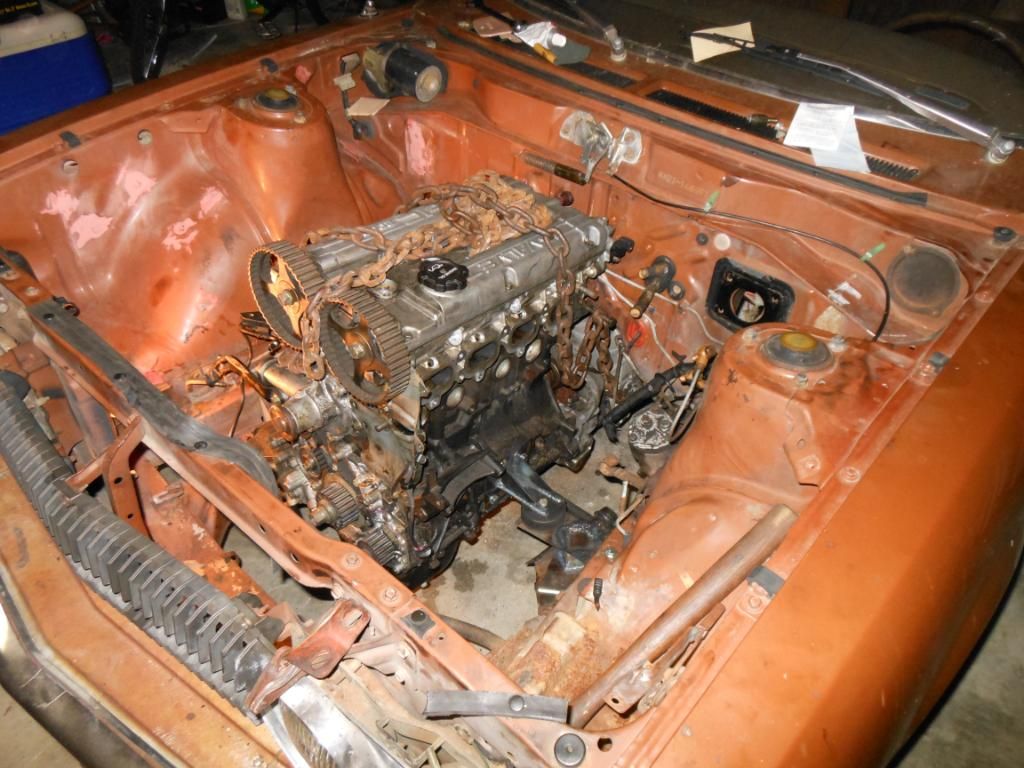
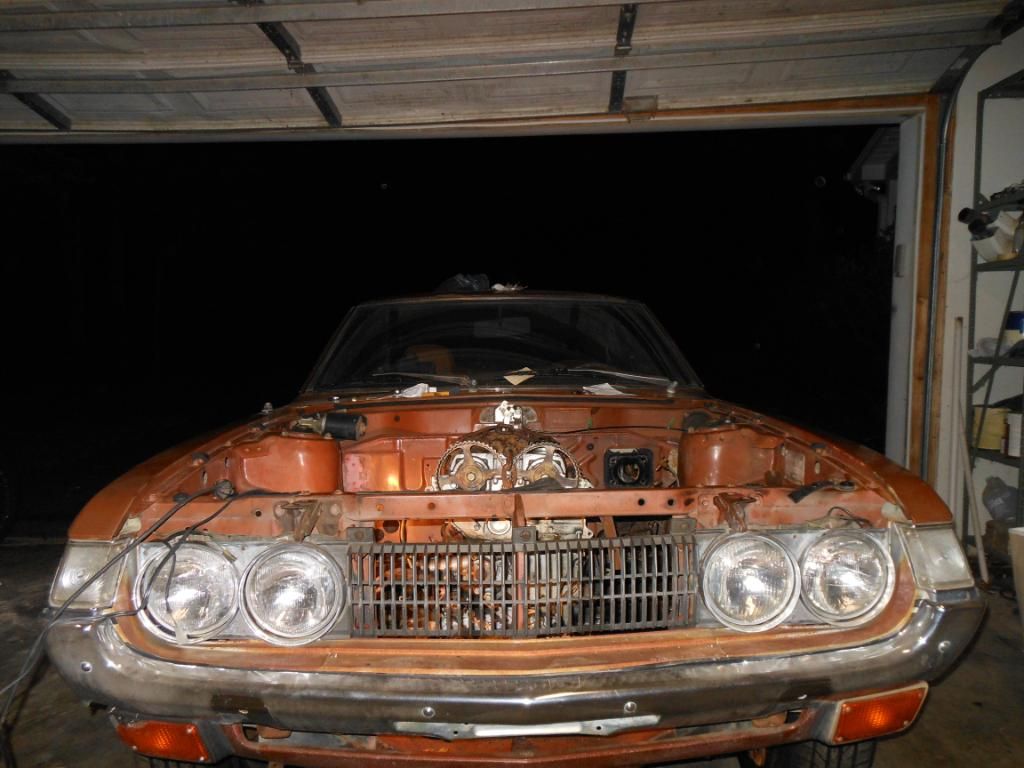
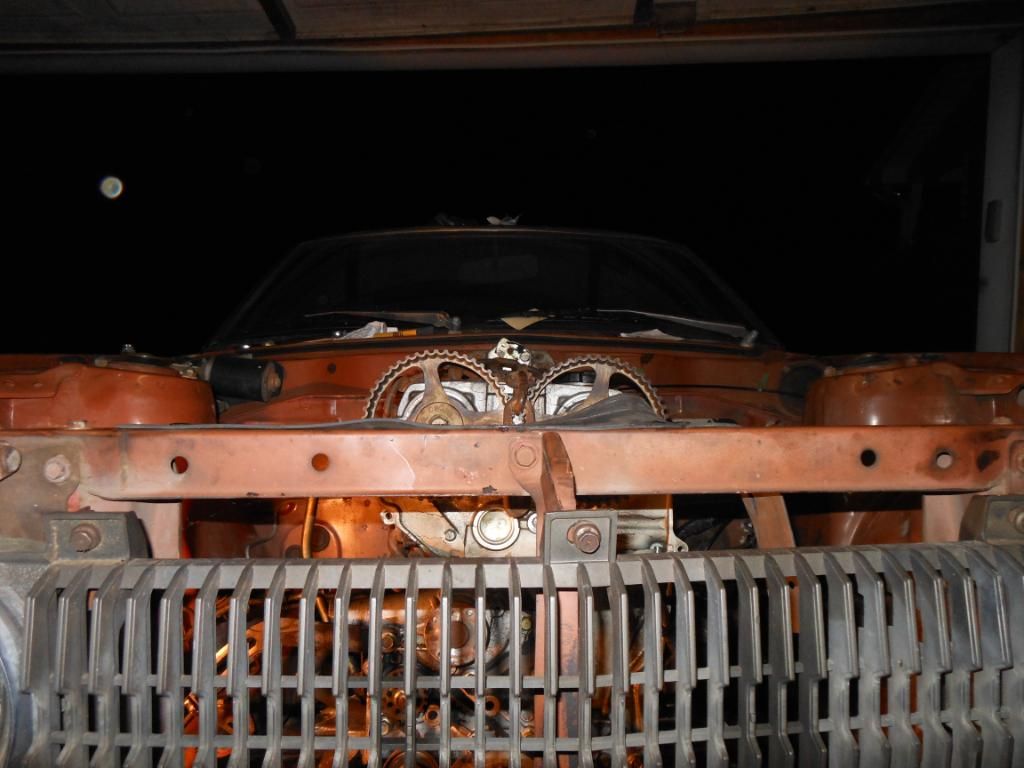
Without further ado. a 1974 Toyota Celica ST! 7 bolt 4G63 from a 98 gst eclipse. I know crank walk was an issue with some 7 bolts, this isn't a concern for me as I will be fully building the motor at one point.


Image

Image

Image

Image

Image

The rust I spoke of. There are spots like these around the roof line. This is probably the worst. I believe the car used to be a vinyl top, and the was from water collection and such.

Image


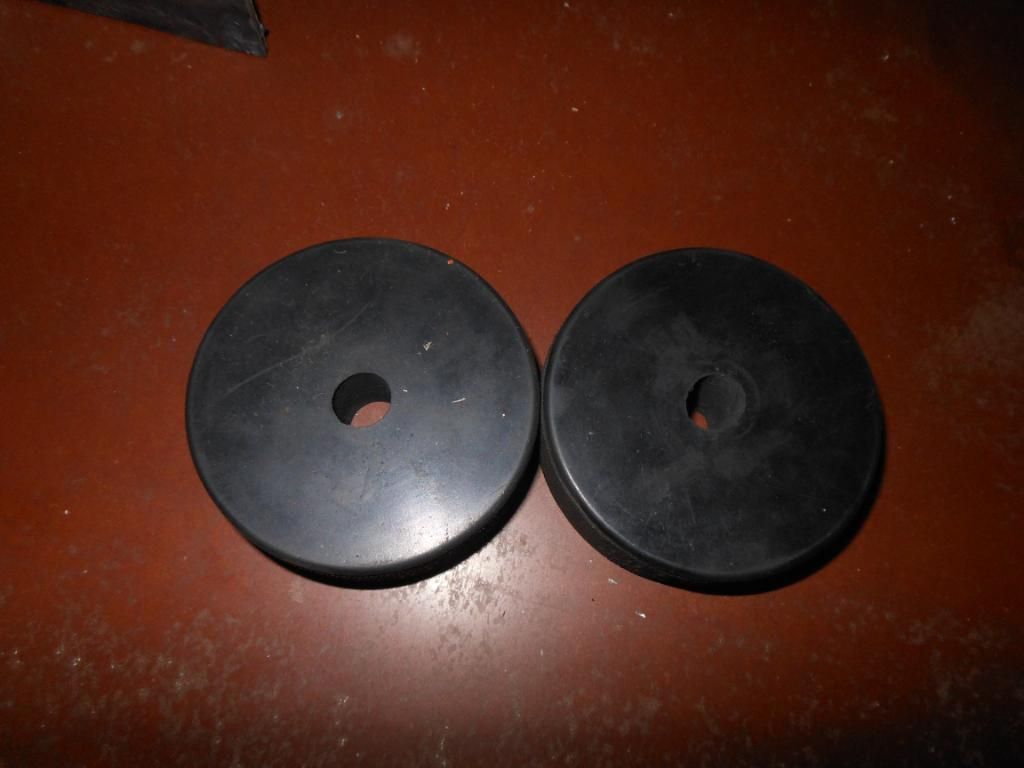
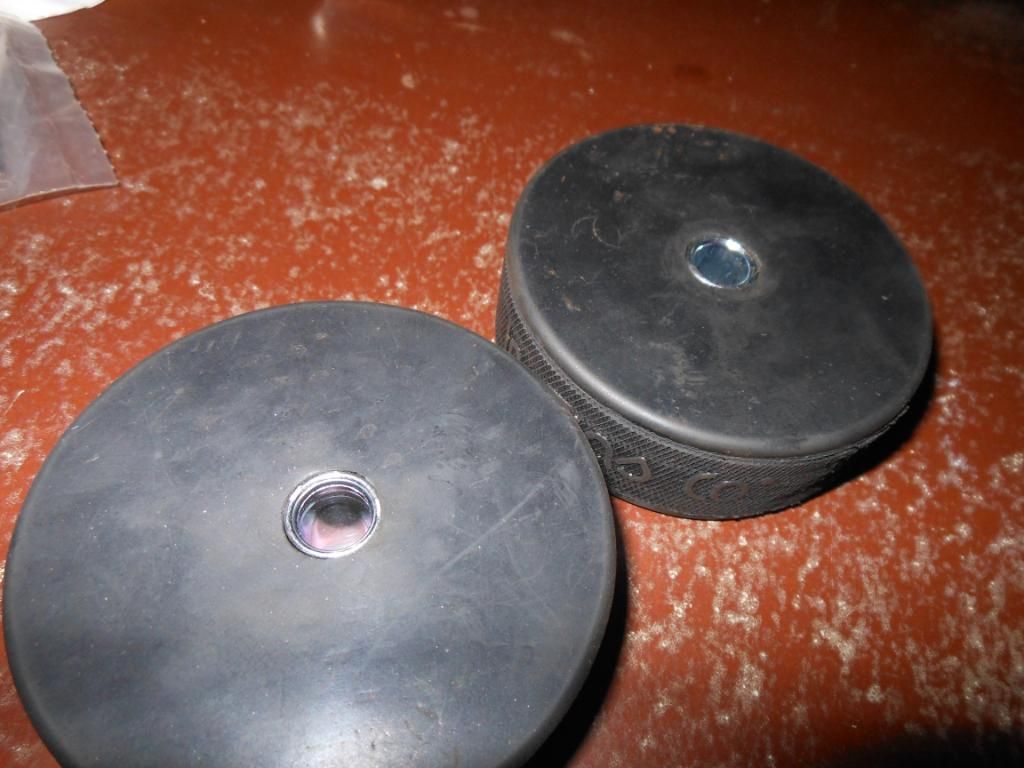
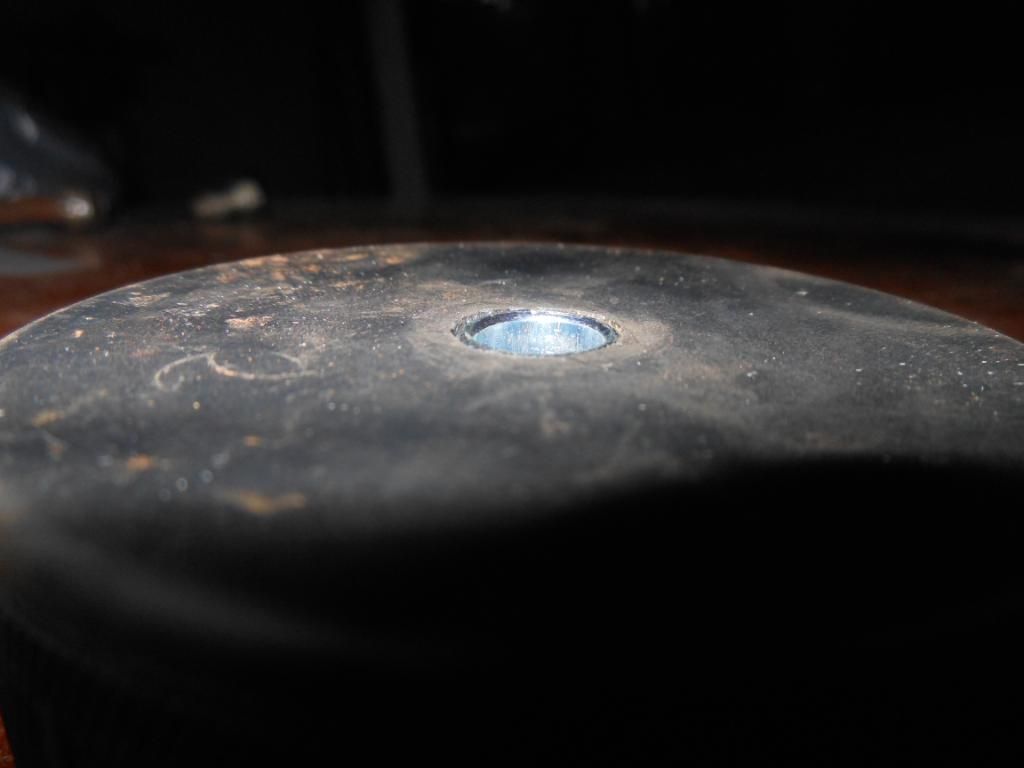
Well, I was able to come home for the weekend to work on the car a little bit!!! First thing I did was get to work on removing the bumper brick things front and rear. I personally like it much better now.

Image

Image

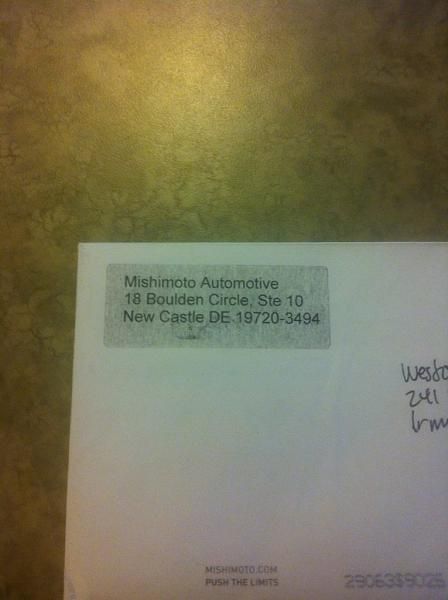
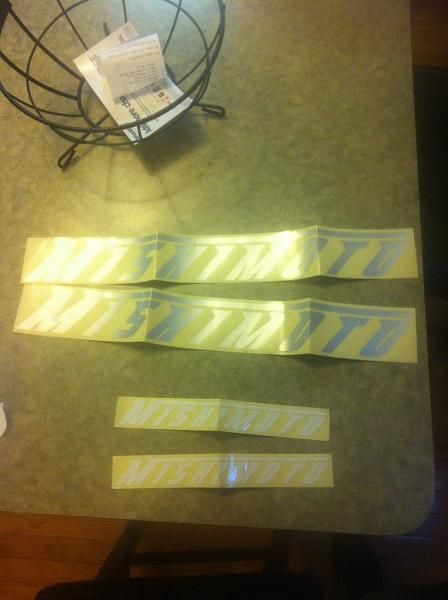
Amazon came through for me. I was able to get one day shipping on these ladies for like 7 bucks so I didn't say no.

Image

Image

I was able to get both the rear shocks installed. Easy, easy job.

Image

Image


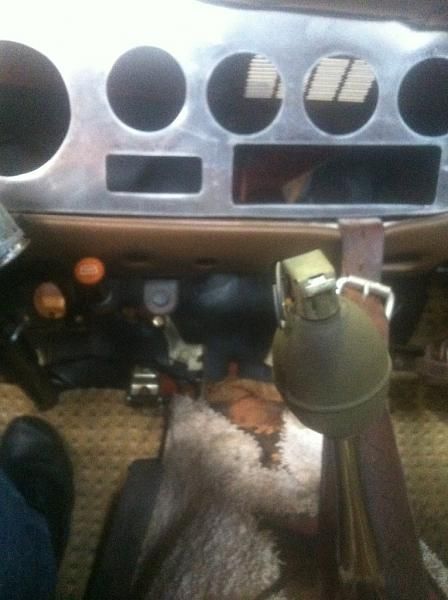
All in all I can't complain. I did have a mishap whilst changing my oil, I didn't realize the gasket had come off, so I checked later and there was a puddle under the car, tried to remove the drain plug and recycle the new oil I had just put in, and, well, spilled about 1 1/2 qts on the ground haha. So first thing tomorrow is to find a gasket that will work.

I'm more in love with my car now! The more I make her mine the more I like it.


Here is what I did with the rust that was on the roof. Most of it has been cleaned up. Still have some to go.

Image

Image

Needs to be painted but it's smooth and solid now. Much better than before.

And I got a new toy!!!

Image


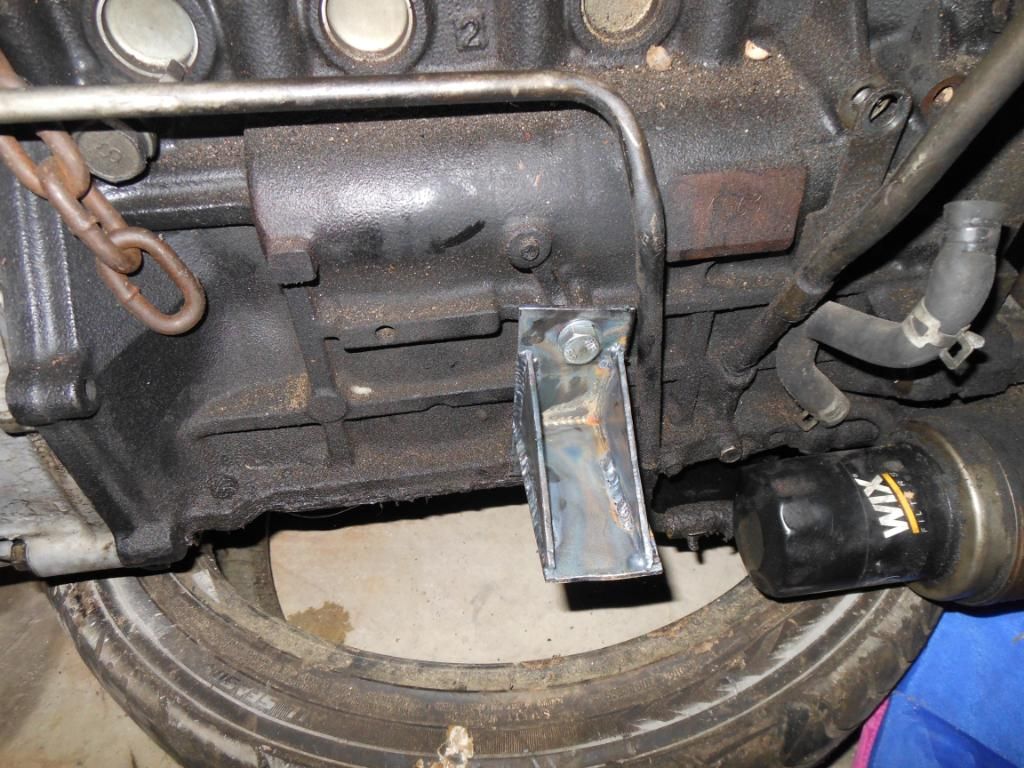
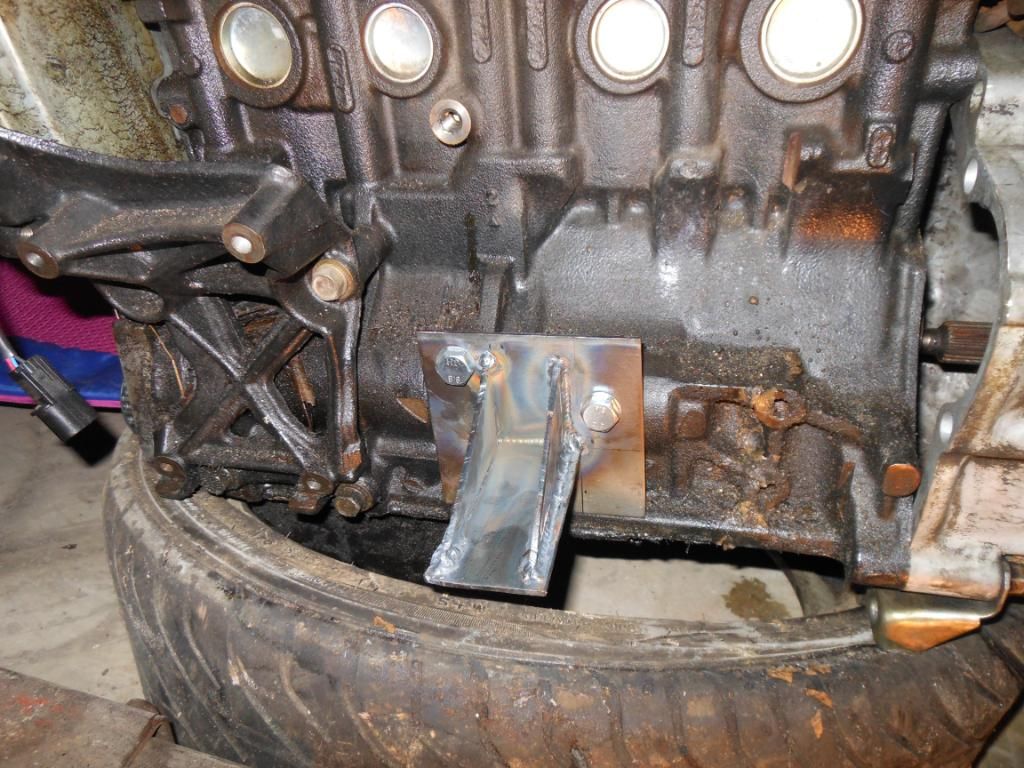
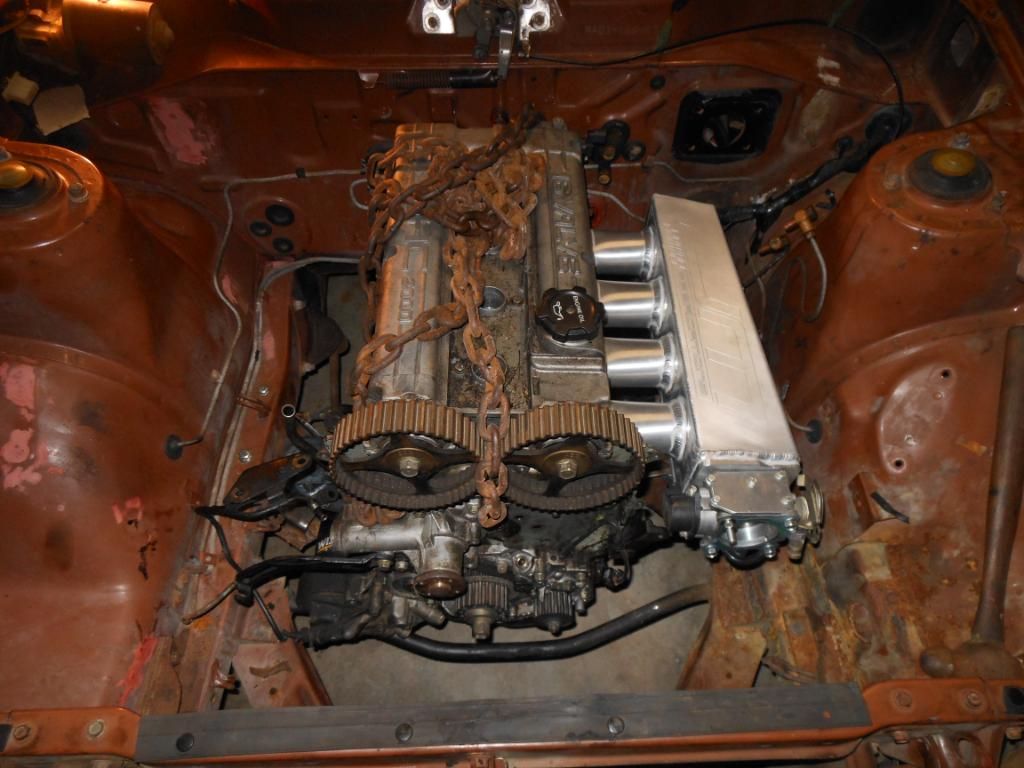
Well, here it is. The new heart for the celica. This is going to be a very slow process as it will be rather pricey, but, it will eventually get there.

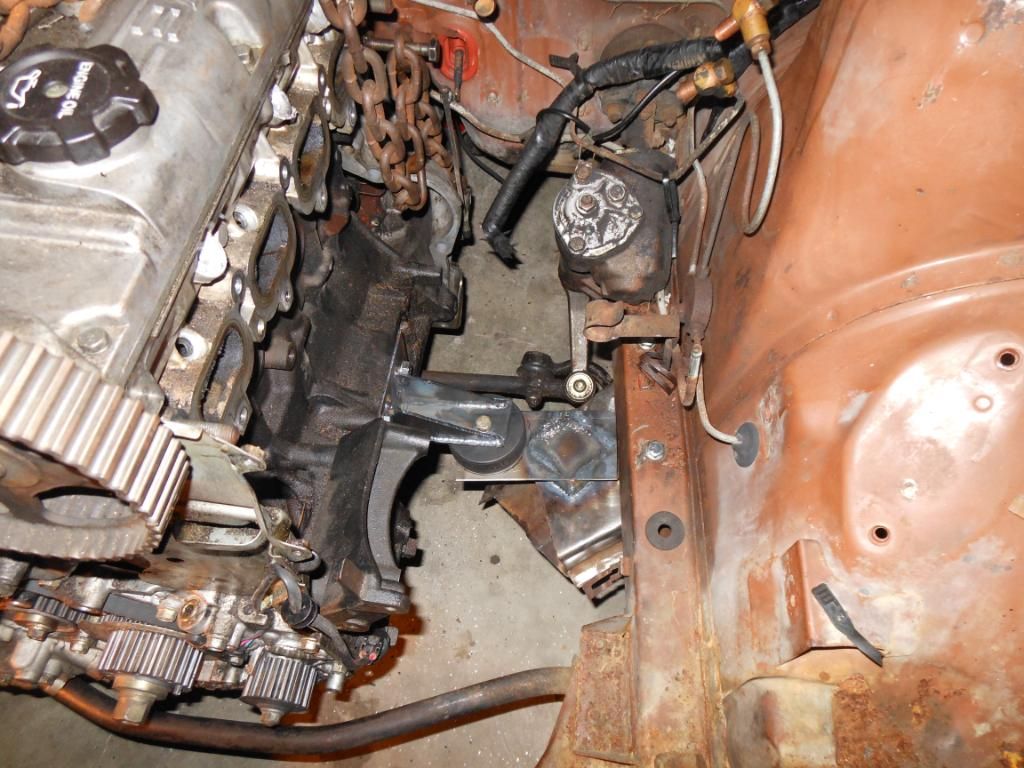
Without further await, Mitsubishi 4g63 2.0L turbo engine.

Image

Image

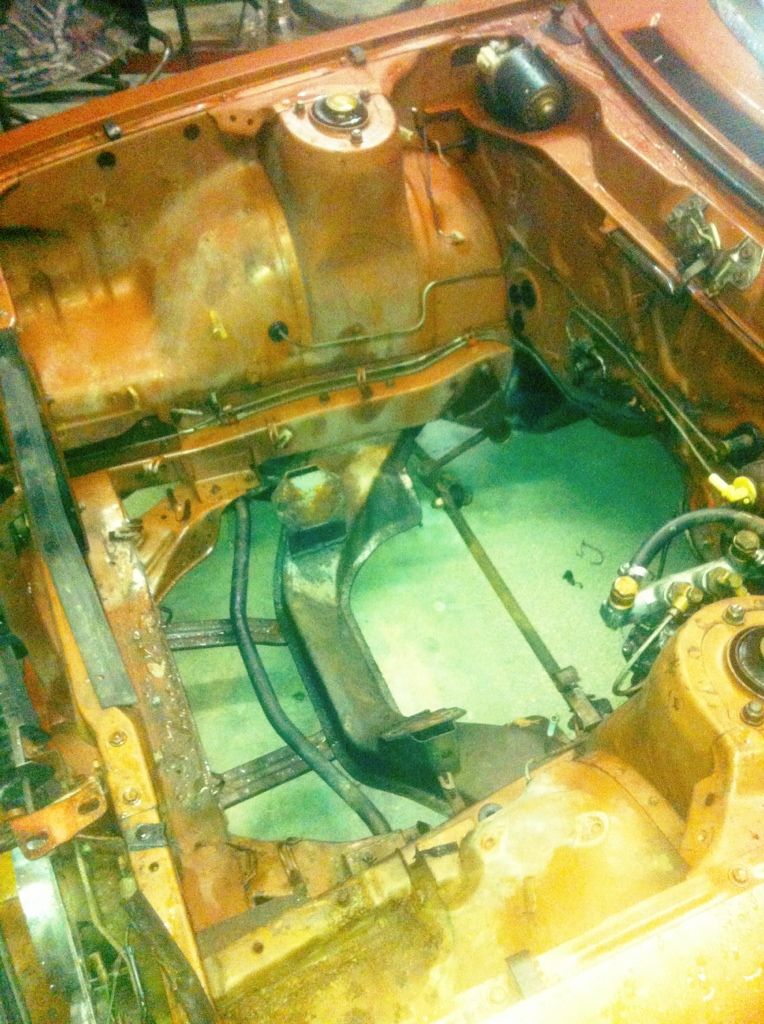
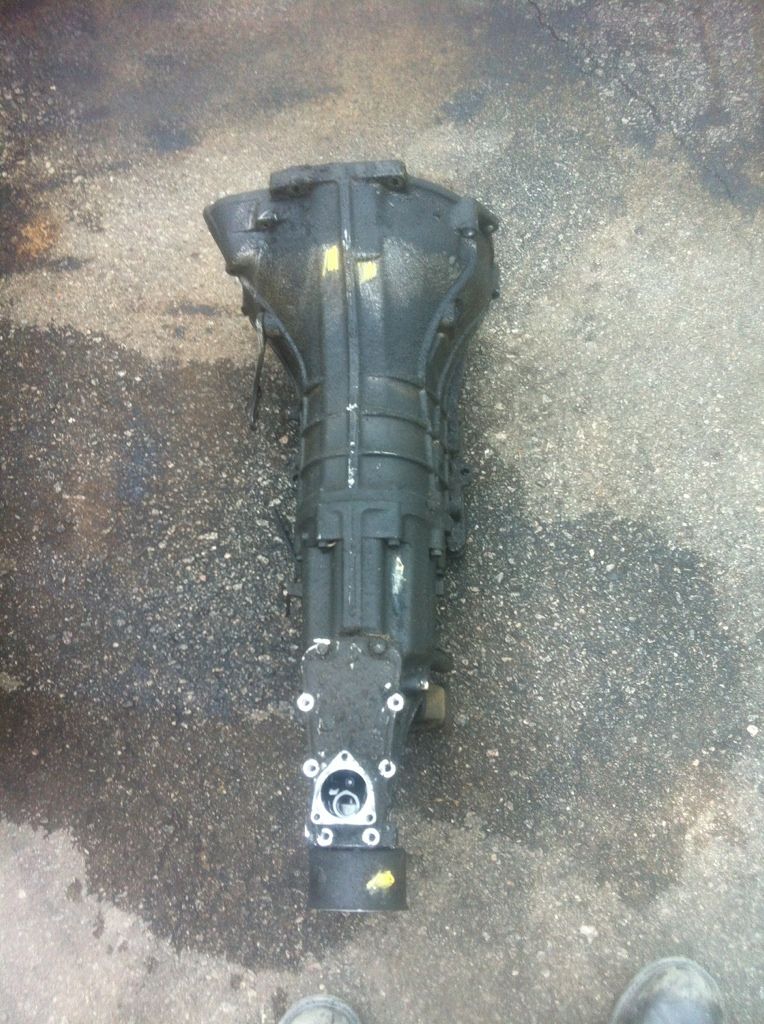
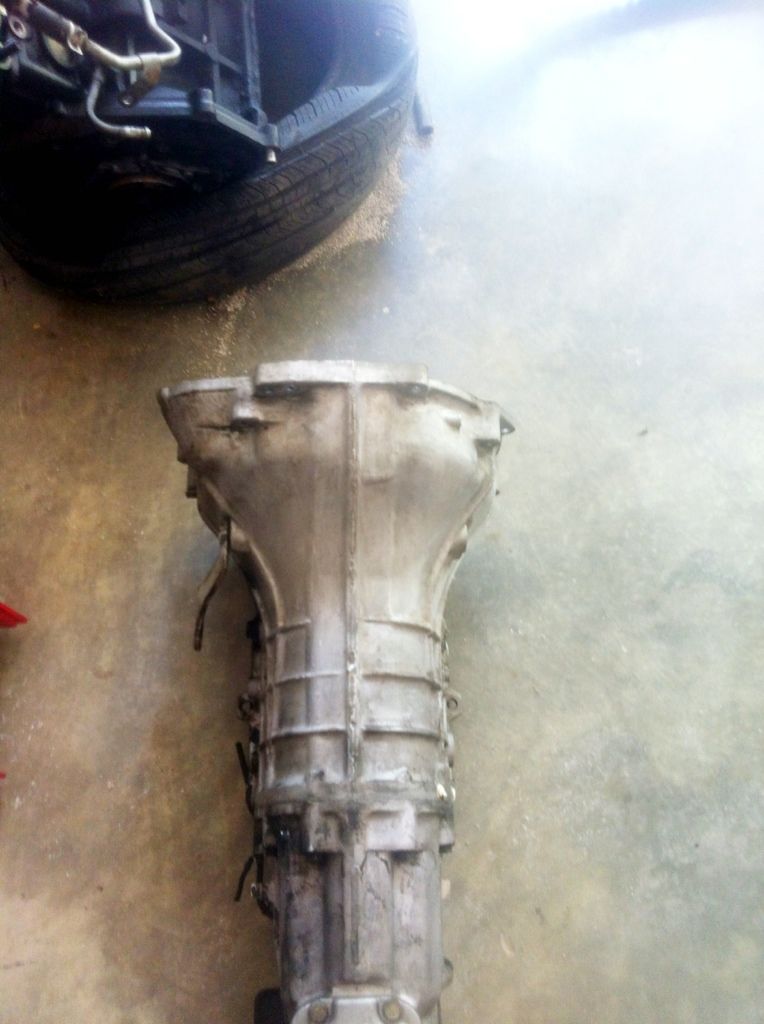
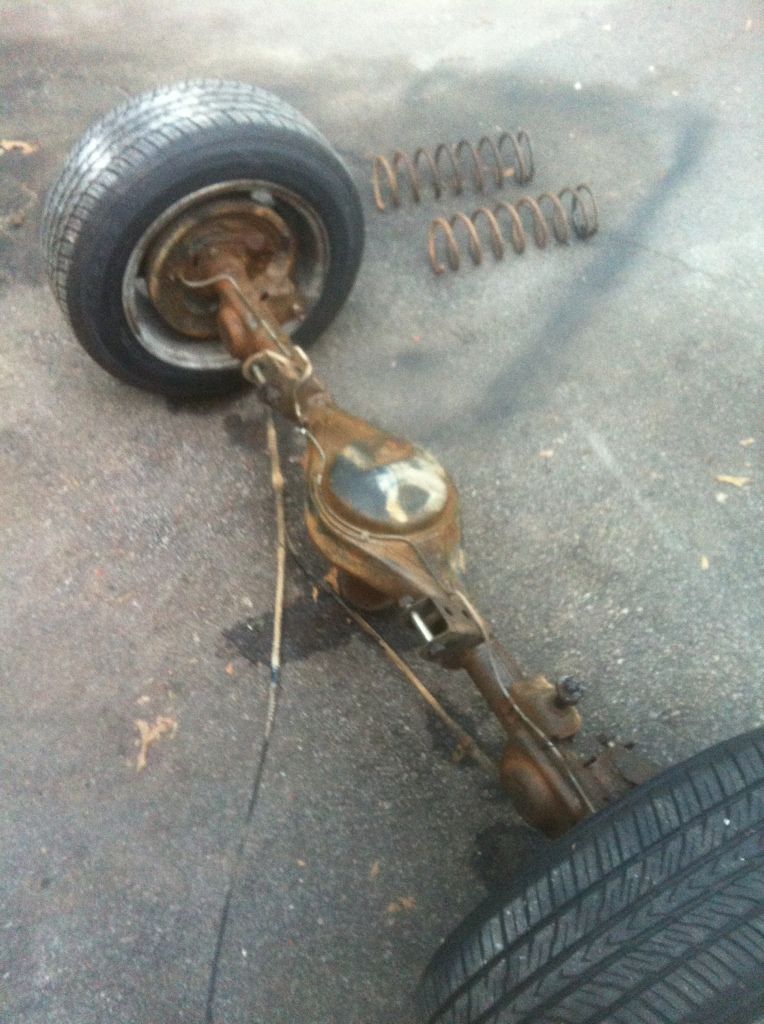
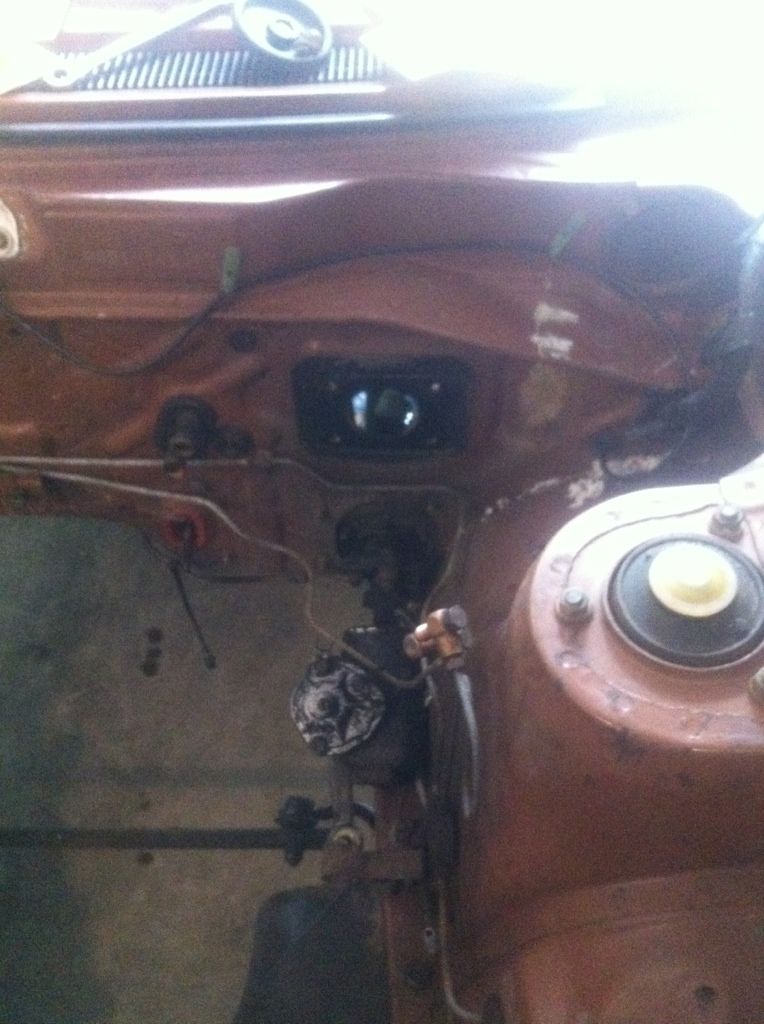
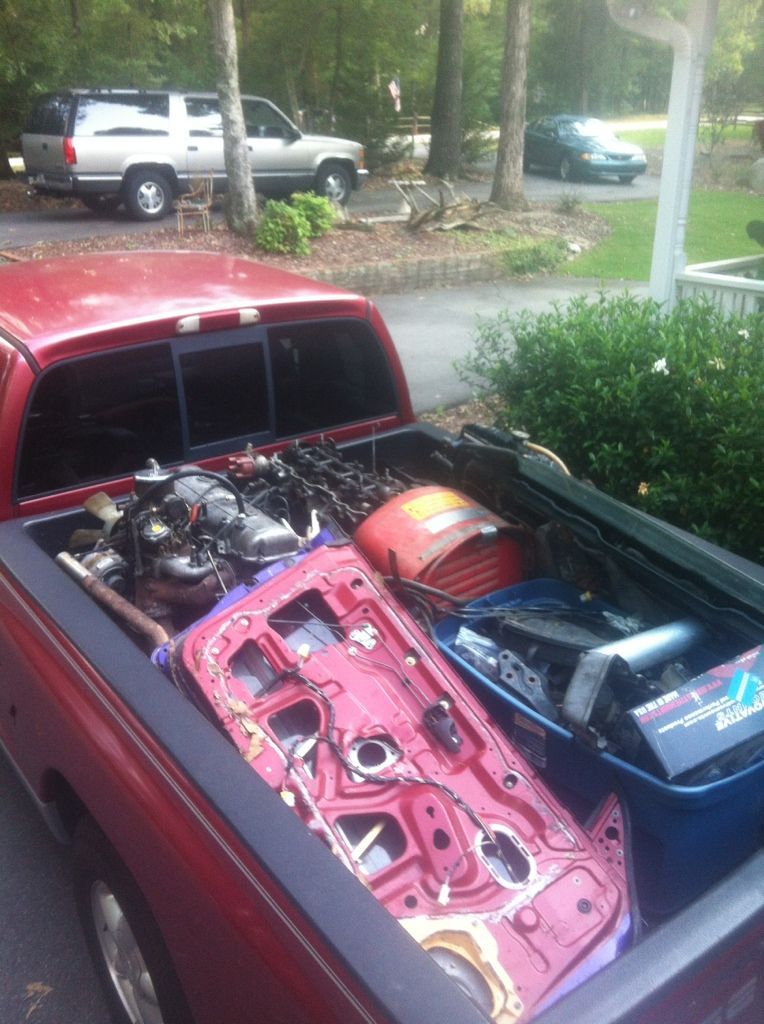
First off: out with the old to make room for the new.

Image

Image

I don't have the time to try to post all this stuff for sale an my parents need the space, so, I loade all the random car parts into the truck and I'm just going to take it all to the scrap yard. I probably won't get but $100 bucks for all of it. But there is close to 1,000 lbs of stuff in there.

Image

Sorry for the crappy pics. Cell phone covered in grease doesn't turn out so well lol.

I worked a little longer today and was able to clean up the engine bay a little. Tomorrow I will be pressure washing it to get the the stuck gunk off.

Image
Last edited by STflyer74 on Thu Feb 07, 2013 8:28 pm, edited 2 times in total.
STflyer74
Knowlege Seeker
Posts: 14
Joined: Sun Jun 17, 2012 9:09 pm
Location: Columbia SC/Mooresville NC

Post by STflyer74 »

I worked a little longer today and was able to clean up the engine bay a little. Tomorrow I will be pressure washing it to get the the stuck gunk off.

Image

Image
kuroi
Addict
Posts: 57
Joined: Mon May 07, 2007 5:29 am
Location: valley of sun

Post by kuroi »

Awesome, i had a 72 celica that i dropped a 4g into a few years ago. ton of fun, wish i never sold it. good luck on the project!
Image Image
STflyer74
Knowlege Seeker
Posts: 14
Joined: Sun Jun 17, 2012 9:09 pm
Location: Columbia SC/Mooresville NC

Post by STflyer74 »

Well, I have a pretty decent update to share with you friends!

I was able to pick up a transmission on the lows from the junkyard! I was very fortunate that they actually had the one I needed.

This is how it looked when I bought it.

Image

After some cleaning.

Image


I then decided to pull out the rear end and clean it up, along with some of the other suspension components. While I was under there I also cut the coil springs to lower the car a little. I cut 1 1/3 coils out of it.

Before.

Image

Image

And how the rear sits now. The car has practically no weight in it. The motor and trans are still out of it, I suspect it will sit a tad lower with some weight in it.

Image

I really need to invest in a better camera lol.

I was able to bolt the transmission to the block. There is no clutch or flywheel yet but that will come in due time. The transmission fits well, minus one bolt hole doesn't line up. No big deal though. And this is the trans from a mighty max. I know it isn't the strongest, but I'm poor lol. And this is all I can do right now.

Image

Image


Thank you guys for the comments! I love this car! It is rather difficult to work with because nothing is made for it. It is primarily custom made stuff. It's a little harder to work around. I still enjoy it though!! My goal in the next 2 weeks is to get the trans and motor mounted in the car. It doesn't have to run, drive, or even be wired. Just bolted to mounts.

9/20/12


I've been able to make a little headway with the build the past couple of weeks. Starting lining up the motor and trans and made templates using oil board for the motor mounts. I should have the steel I will be using in a week or so. Then I'll weld it all up and drop in the motor. Just some hot rolled, high tensile strength steel with a semi solid poly puck between mounts.

Image

Image

I was able to come into a little bit of money, so I had some spare change and found this pretty lady for a steal on this forum!

Image

Over the next couple of months I should be able to accumulate more parts that I need. Mainly just motor essentials. Timing Kit, water pump, starter etc. etc.
Last edited by STflyer74 on Thu Feb 07, 2013 8:29 pm, edited 1 time in total.
ganbaa
Knowlege Seeker
Posts: 38
Joined: Tue Nov 08, 2011 12:36 am
Location: Mongolia, Ulaanbaatar
Contact:

Post by ganbaa »

nice build Good luck
Better car is tuned car
KHRacing
Addict
Posts: 106
Joined: Wed Apr 18, 2012 4:35 pm

Post by KHRacing »

I love it. keep them pictures coming please

regards / kristian from sweden
DJpowerHaus
Sir Post A Lot
Posts: 1779
Joined: Wed Apr 07, 2004 3:24 pm
Location: Baltimore, MD
Contact:

Post by DJpowerHaus »

Car is hot.
Image
Getting the engine bolted in is about 10% of the way there.
The next 80% can go quickly with help and skill.
That last 10% takes about as long as the 90% that came before it.
STflyer74
Knowlege Seeker
Posts: 14
Joined: Sun Jun 17, 2012 9:09 pm
Location: Columbia SC/Mooresville NC

Post by STflyer74 »

I was able to bolt the transmission to the block. There is no clutch or flywheel yet but that will come in due time. The transmission fits well, minus one bolt hole doesn't line up. No big deal though. And this is the trans from a mighty max. I know it isn't the strongest, but I'm poor lol. And this is all I can do right now.

Image

Image


Thank you guys for the comments! I love this car! It is rather difficult to work with because nothing is made for it. It is primarily custom made stuff. It's a little harder to work around. I still enjoy it though!! My goal in the next 2 weeks is to get the trans and motor mounted in the car. It doesn't have to run, drive, or even be wired. Just bolted to mounts.
jeffball610
Too Much Time on His Hands
Posts: 619
Joined: Wed Feb 22, 2006 5:29 am
Location: Las Vegas, NV

Post by jeffball610 »

The bolt hole on the trans that doesn't line up is probably due to the 7 bolt vs 6 bolt components. 2G motors moved their motor mounts to the transmission, so there was a little more on the bell housing portion.
You shouldn't have to worry about crank walk with your engine. It's still an issue because of the oil squirters, but the 98 4G63 should have a separate thrust washer that is much stronger than the earlier thrust bearings.
Looks like a fun build. Keep us updated. I would also suggest that if the car was already running, to try and keep it that way until you have most of this figured out. I hate that I can't drive my car and should have kept it mobile while I worked on the swap.
Do it in a Datsun!
1972 Datsun 510
7-bolt 4G63T, EVO 9 pistons and rods, Garrett GT3076R, "flipped" stock intake, Toyota R154, Z31 R200 w/ CVs
STflyer74
Knowlege Seeker
Posts: 14
Joined: Sun Jun 17, 2012 9:09 pm
Location: Columbia SC/Mooresville NC

Post by STflyer74 »

That's what I had thought about the crank walk. I thought it was resolved mid '97. I've heard from others it was into later '98. Anywho, I would have liked to keep the car running but the piston rings in the stock moor weren't happy and kept sticking. The motor that we in the car was not worth the money so I pulled it out and started all this work. I plan to shave or at least dramatically clean it up. Everything in this car was in the engine bay and bolted to it. Like all the relays and such so there are a lot of bolt holes and retainer clips I want to weld/cut/bondo to smooth out.
DJpowerHaus
Sir Post A Lot
Posts: 1779
Joined: Wed Apr 07, 2004 3:24 pm
Location: Baltimore, MD
Contact:

Post by DJpowerHaus »

Don't smooth it out! Takes away all the character. These cars were stamped out of sheets of steel, spot welded and bolted together. Don't ruin it by making it look like it oozed out of a play dough tub.

As an alternative, get a sign shop to cut a bunch of little vinyl circles that match your paint (or complement it) and then sticker over the holes.
Image
Getting the engine bolted in is about 10% of the way there.
The next 80% can go quickly with help and skill.
That last 10% takes about as long as the 90% that came before it.
STflyer74
Knowlege Seeker
Posts: 14
Joined: Sun Jun 17, 2012 9:09 pm
Location: Columbia SC/Mooresville NC

Post by STflyer74 »

It's really just the holes I want to fill in. The spot welds and seams I'll probably keep. But the amount of little bolt holes in this thing is retarded lol.
STflyer74
Knowlege Seeker
Posts: 14
Joined: Sun Jun 17, 2012 9:09 pm
Location: Columbia SC/Mooresville NC

Post by STflyer74 »

I've been able to make a little headway with the build the past couple of weeks. Starting lining up the motor and trans and made templates using oil board for the motor mounts. I should have the steel I will be using in a week or so. Then I'll weld it all up and drop in the motor. Just some hot rolled, high tensile strength steel with a semi solid poly puck between mounts.

Image

Image


I was able to come into a little bit of money, so I had some spare change and found this pretty lady for a steal on another forum!

Image

Over the next couple of months I should be able to accumulate more parts that I need. Mainly just motor essentials. Timing Kit, water pump, starter etc. etc.
STflyer74
Knowlege Seeker
Posts: 14
Joined: Sun Jun 17, 2012 9:09 pm
Location: Columbia SC/Mooresville NC

Post by STflyer74 »

I was able to get a little bit of work done today with the car. Still working on the mounts, had to finish cutting the crossmember and clean them up so I can weld the extra steel to it to make the actual mounts. I should be able to weld it all together this week. Now I just need to order the semi solid polyurethane pucks.

All cleaned up and cut up crossmember.

Image

Bought the steel I will be using for the mounts yesterday. 24x24 11 gauge hot rolled. Pretty high tensile strength.

Image

Pulled the brake booster from the car. I didn't really want to get rid of it, but to fit everything I will need, I will have to get rid of it. I may end up doing one of those bellow the floor aftermarket boosters. But I'm not worried about no power brakes.

Image

I received the JMFabrication manifold the other day and just had to see how it fits and looks! I love it.

Image

Image
STflyer74
Knowlege Seeker
Posts: 14
Joined: Sun Jun 17, 2012 9:09 pm
Location: Columbia SC/Mooresville NC

Post by STflyer74 »

This weekend was a complete success! I am very happy that I have already gotten this far with the build!!!

To start, I was able to get the sheet metal I wanted to use for the motor mounts. I also finished cutting up the stock crossmember to make room for the oil pan and such.

Here is where the good part comes!

I was able to finish tig welding the mounts Friday. Not the best welds, but I've only been tig welding for 3 weeks. So don't critique to seriously lol.

Image

Image

Image

For the "rubbers", I chose hockey pucks. Dense. Strong. And only 2 bucks a piece.

Image

Drilled 1/2" holes through the middle.

Image

Bought some 1/2" OD spacers and pressed them into the hockey puck.

Image

Image


Bought all the nuts and bolts I needed.

Image

And here is my favorite part!!

Image

Image

Image

Image

My favorite pic! :)

Image

My goal for the year was to have the motor mounted. I didn't plan on getting it some until December. Here it is the end of the first week October and the motor is mounted!! All in all I spent $35 on these motor mounts. A lot cheap than what any shop would want. Sit back and think, you might just save some money.

I still have quite a long way to go with this car, but steadily making progress.
STflyer74
Knowlege Seeker
Posts: 14
Joined: Sun Jun 17, 2012 9:09 pm
Location: Columbia SC/Mooresville NC

Post by STflyer74 »

Sorry I have been gone for so long my friends. I have been a busy man. So here is my update :D

So I've been bored not having much to do on the car, so I decided to whip out the oil board and start a template for a spark plug cover. I'm not going to pay, what, like $75 for machined covers. Mine will be hand built and all. Fitment will be darn close to that of the machined ones. Not perfect. But great.

Image

Also, I will have several of these available at a very low cost, if anyone needs one of these and all proceeds will go to this build!!
STflyer74
Knowlege Seeker
Posts: 14
Joined: Sun Jun 17, 2012 9:09 pm
Location: Columbia SC/Mooresville NC

Post by STflyer74 »

Got to work on the gauge panel I need for everything I plan to run. Unfortunately I won't have all the gauges and such for a good while, but non the less, I have the panel to work with.

Image
STflyer74
Knowlege Seeker
Posts: 14
Joined: Sun Jun 17, 2012 9:09 pm
Location: Columbia SC/Mooresville NC

Post by STflyer74 »

All the parts I ordered and a semi Mach up. I of course I'm running into issues. :/

But nonetheless.

Thermostat relocate from Jay Racing. (Side note. Every time I order something I ask them to "ship with love". ECM tuning and jay racing are the only ones who have actually done this haha)

Image

Image

Baby little turbo haha. I only got this cause it was cheap and will allow me to drive the car.

Image

PTE 780's

Image

Image

Prosport 60mm peak warning boost gauge.

Image

Timing kit

Image

The gauge panel I made.

Image

PP, alternator, eprom ECU, starter, and timing covers

Image

Decided to clean up my fuel rail

Image

Image

Manifold with turbo Mach up

Image

And the first problem I ran into. I have to remove the core plug from the head for the thermostat relocation. And this happened upon "removal"

Image

I should have the transmission mount tigged up within the next week or so. Then I need to finish the crossmember brace. After that, it should be smooth sailing to get to driving. Hopefully.
STflyer74
Knowlege Seeker
Posts: 14
Joined: Sun Jun 17, 2012 9:09 pm
Location: Columbia SC/Mooresville NC

Post by STflyer74 »

Image

Image

Image

Image
STflyer74
Knowlege Seeker
Posts: 14
Joined: Sun Jun 17, 2012 9:09 pm
Location: Columbia SC/Mooresville NC

Post by STflyer74 »

I am also now sponsored by Mishimoto!!!

Image

Image

Image

That is my most up to date update. More has been done, but I don't have pics or anything yet. I am shooting to be driving the car by september. I graduate April 12th, so I will be working full time starting then. :)
Post Reply