Dan's (HP Autosports) 4G63 1969 Plymouth Valiant build threa
Posted: Wed Feb 23, 2011 11:38 am
I have decided to change projects, I love my talon, but after almost 15 years of breaking parts, its time for a change.
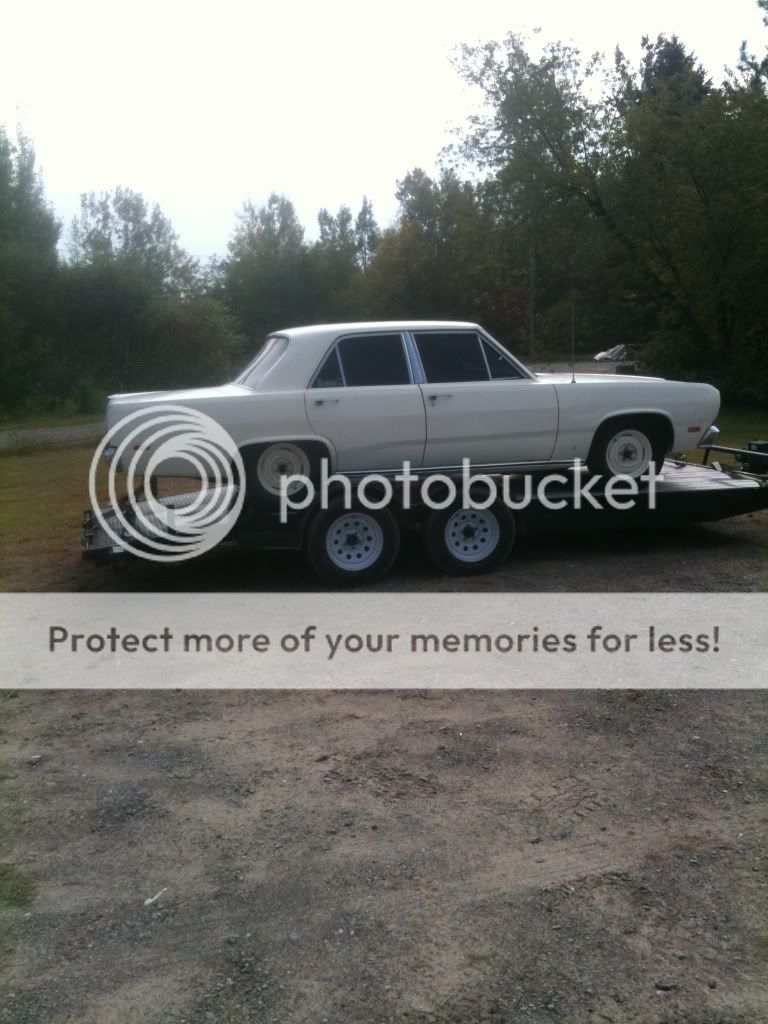
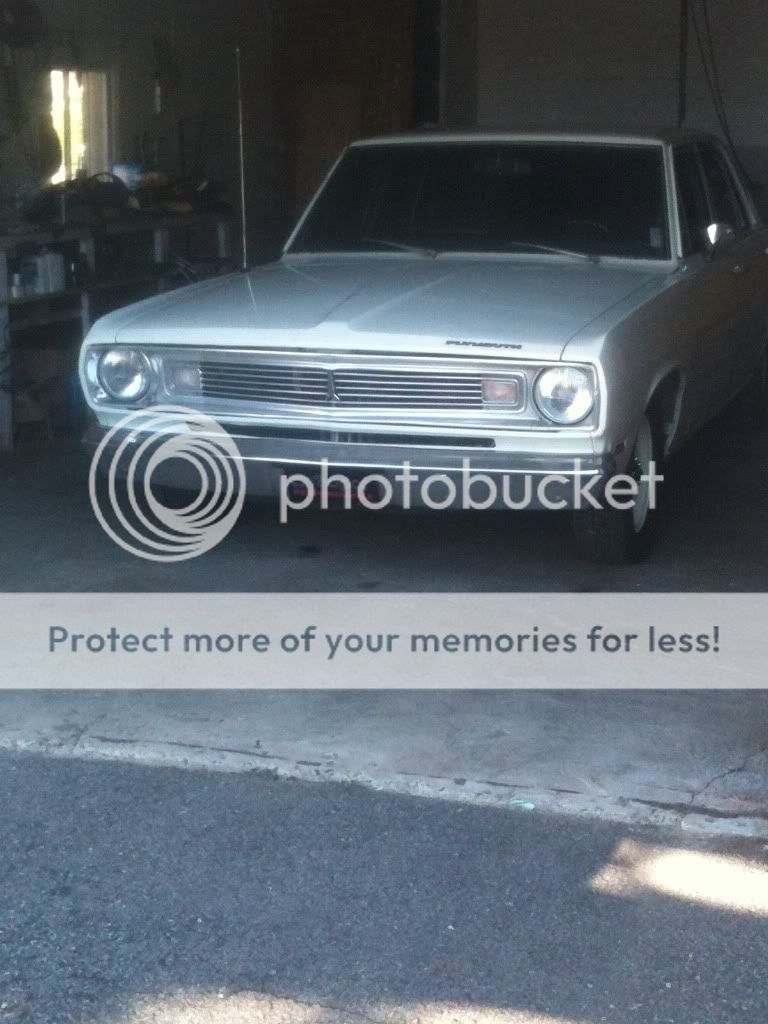
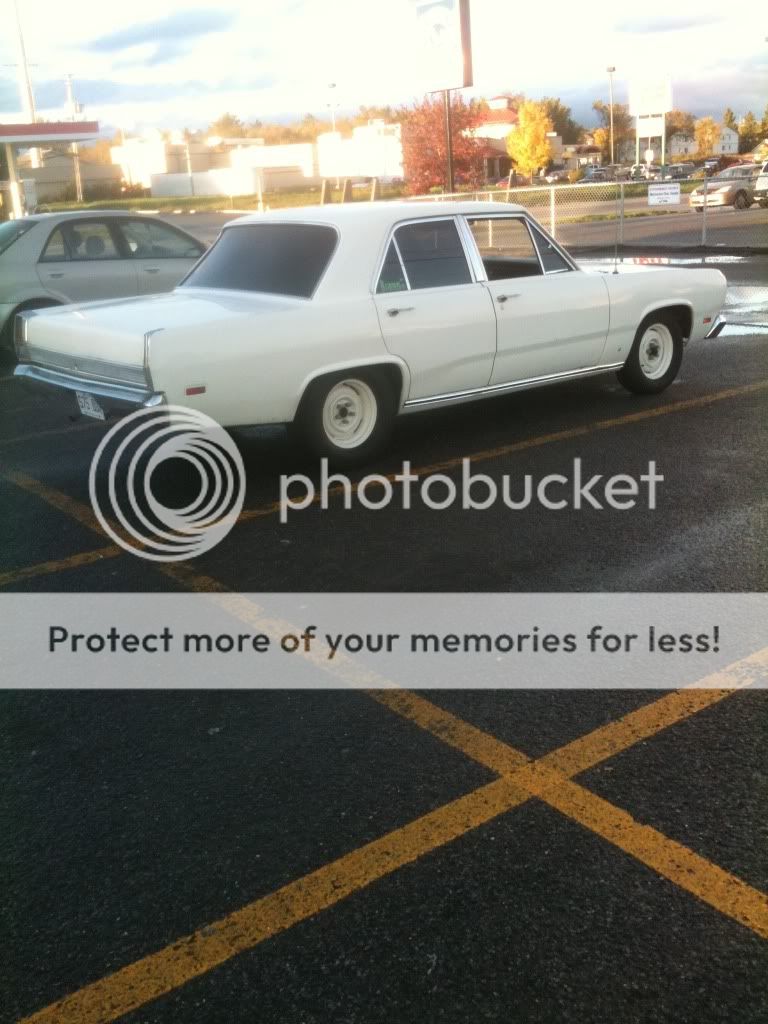
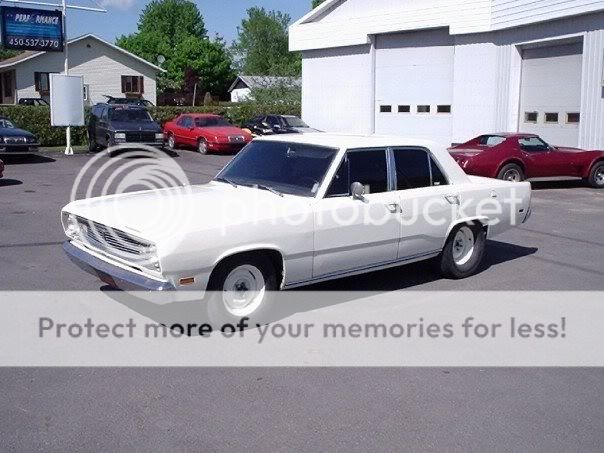
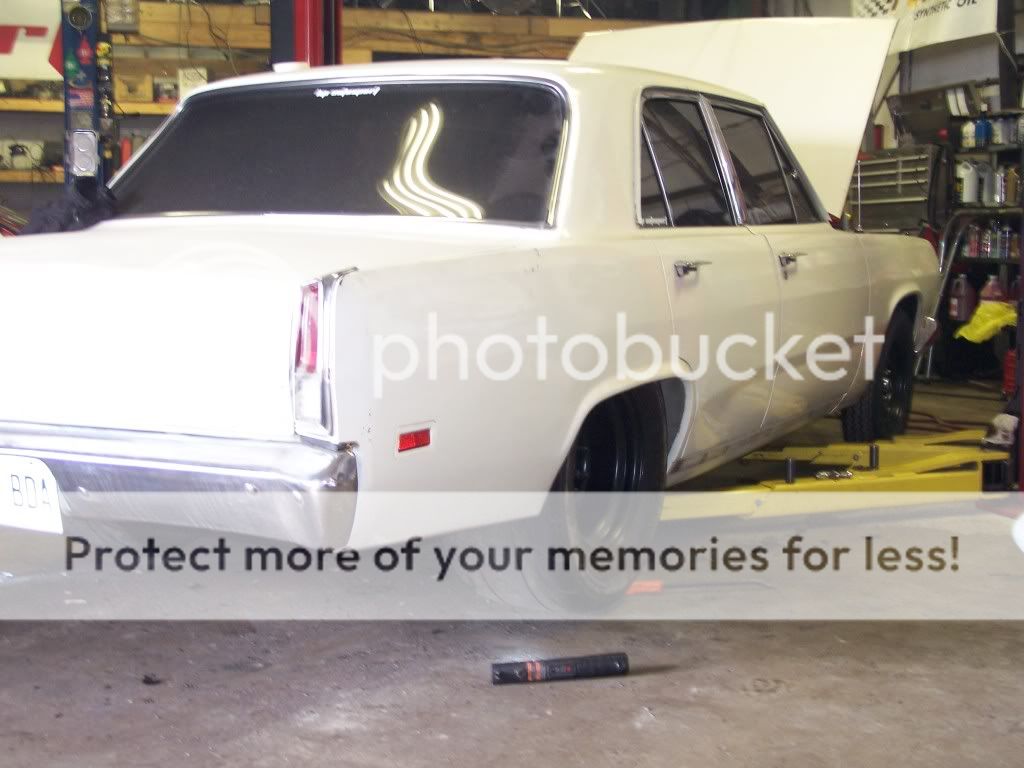
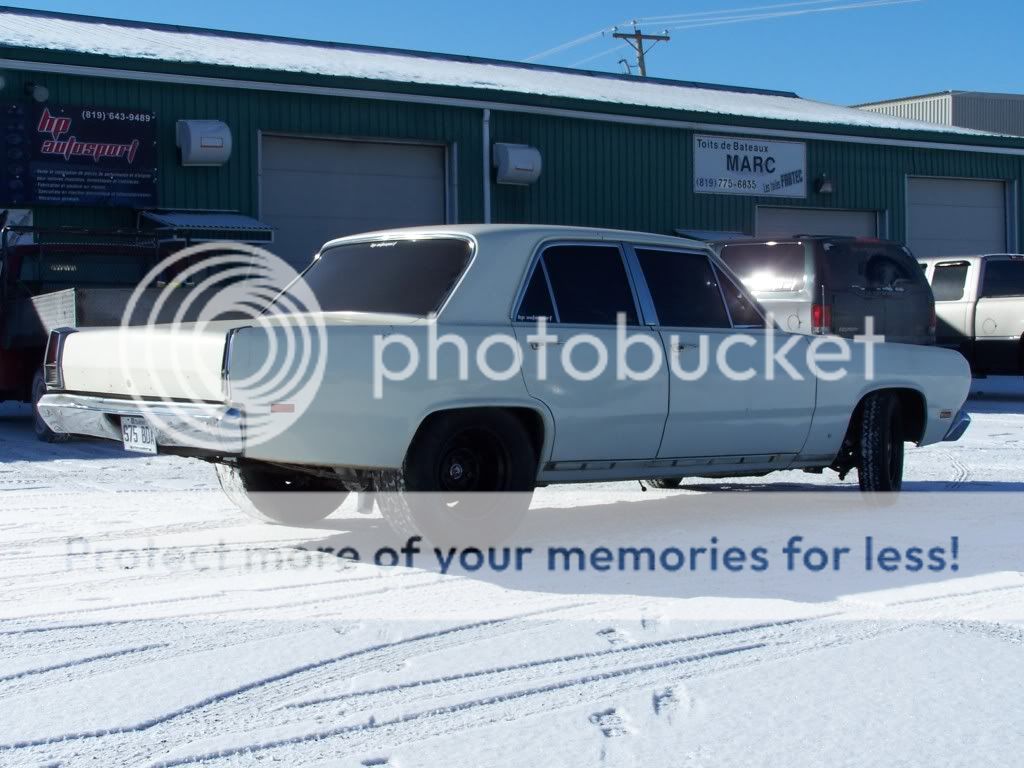
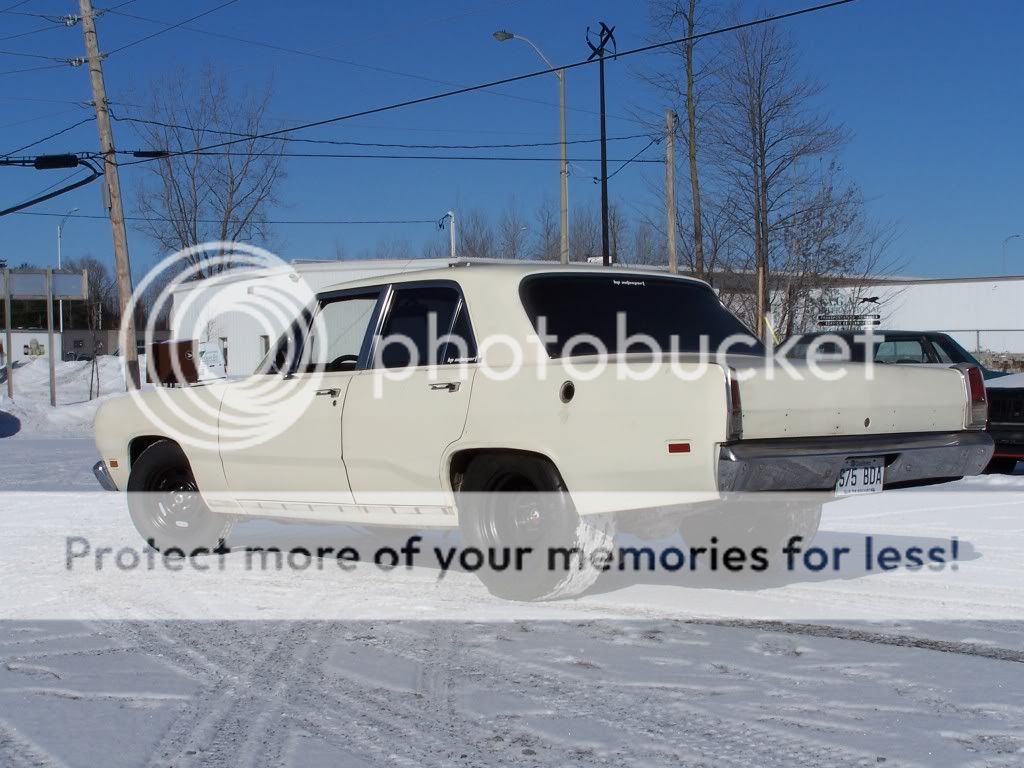
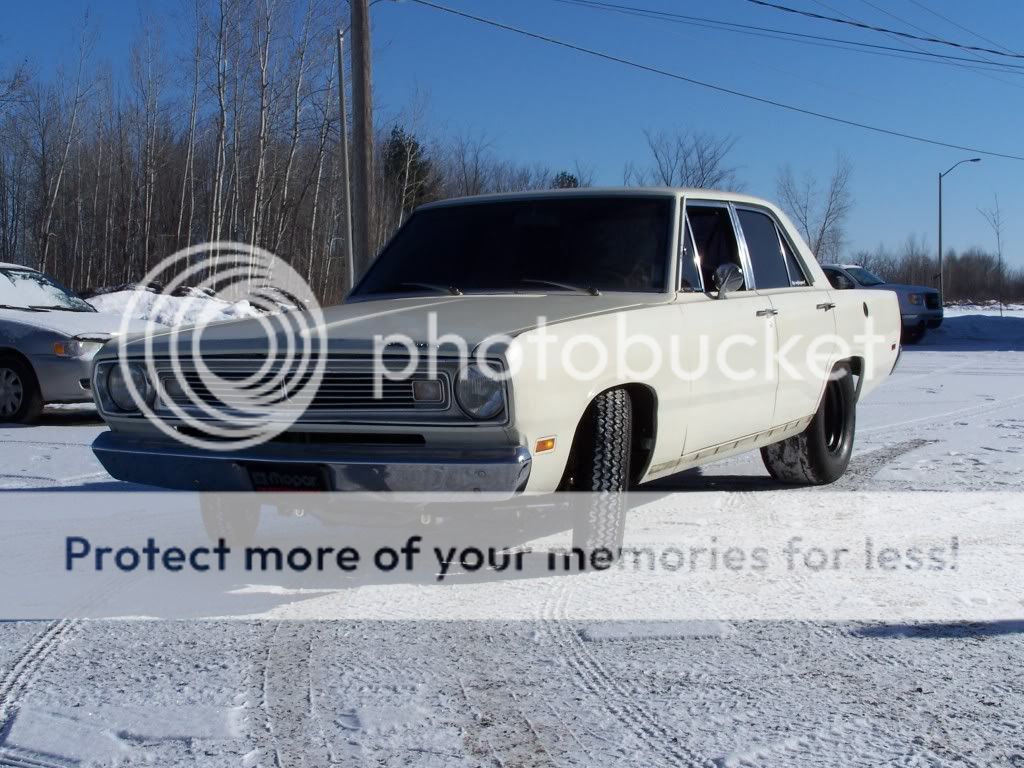
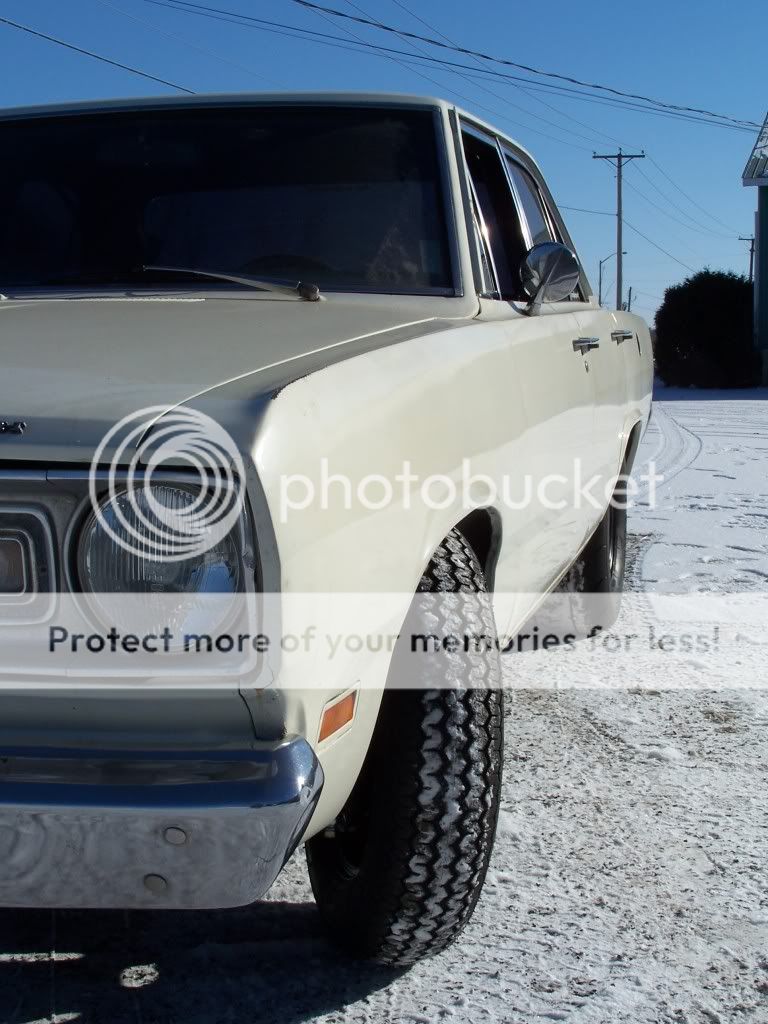
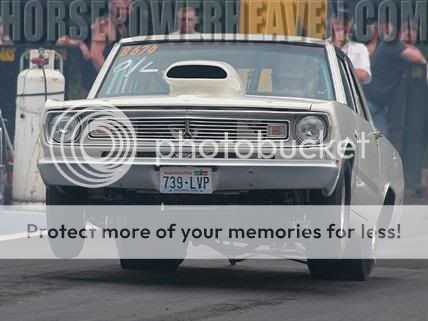
I owned this car for many years and it has been fun to drive with the factory slant 6 but now its time to give it a new heart, 4G63 style, so here it is, my 1969 Plymouth Valiant powered by a 4G build thread
Its funny because ive been preparing for this for over a year now, and then i saw frankendarts car..... ok so im not so original anymore. LOL
here she is.... beauty is in the eye of the beholder..
It all starts with a trip to RMS Motorsports on monday to buy some parts. right now the car has torsion bar suspension, 4 wheel 9 inch drums and steering box style suspension, needless to say it sucks.... so this is what i bought.

So I drive 7 hours to Pensylvainia,
this is what im greeted with... HEMIS!
All aluminum 572 hemi, 800hp on pump


And more hemi goodness, the owners 69 Dart with a crate 572


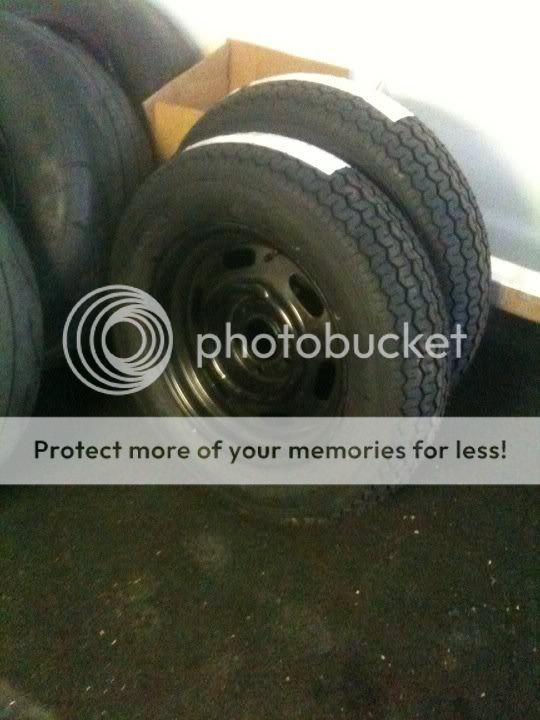
So heres the parts i picked up, new wheels and tires,
rears are 15-10 with 28 inch drag radials
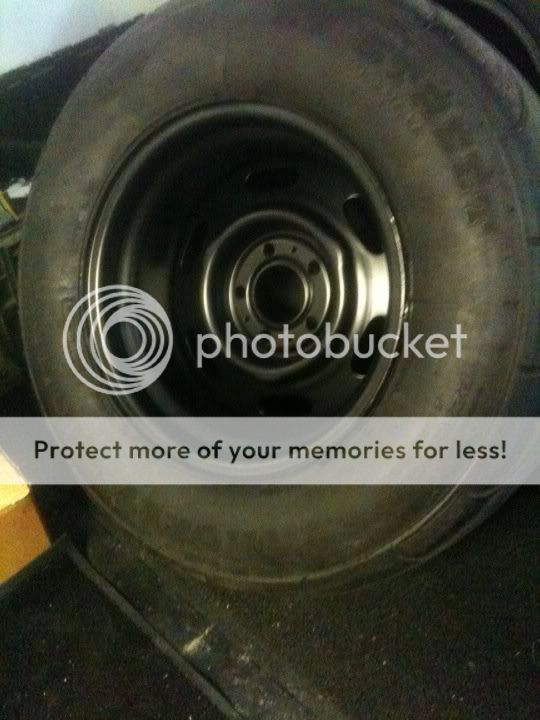
fornts are 15-4 on 26 inch tires

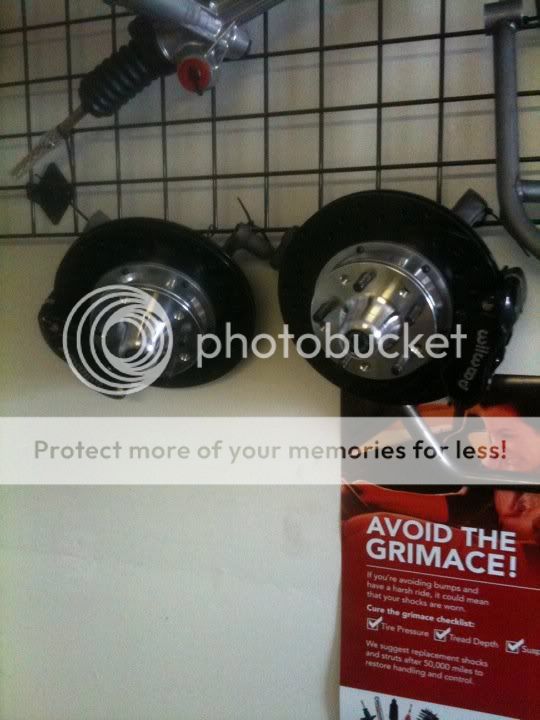
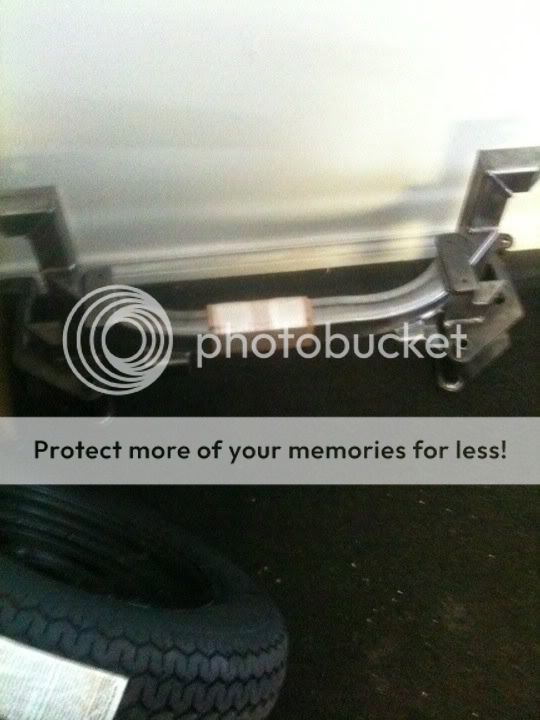
suspension parts
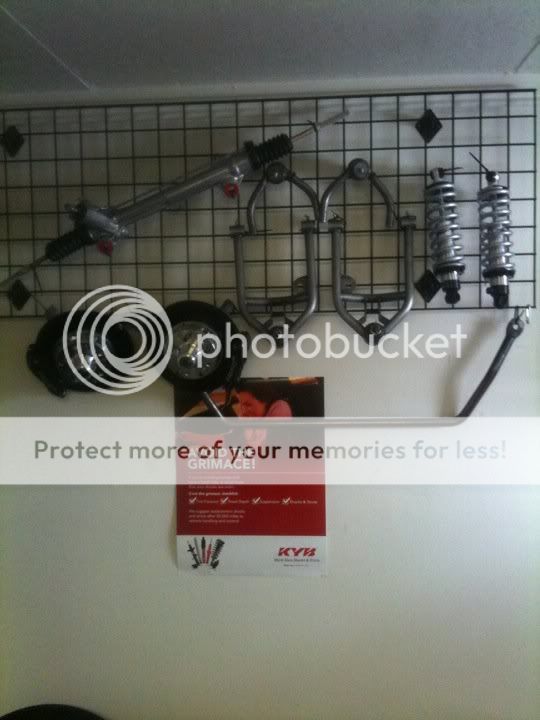
coilovers
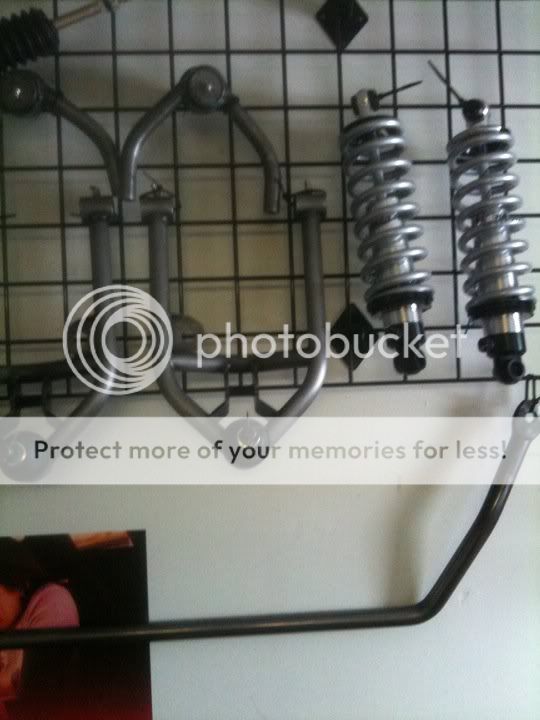
wilwoods
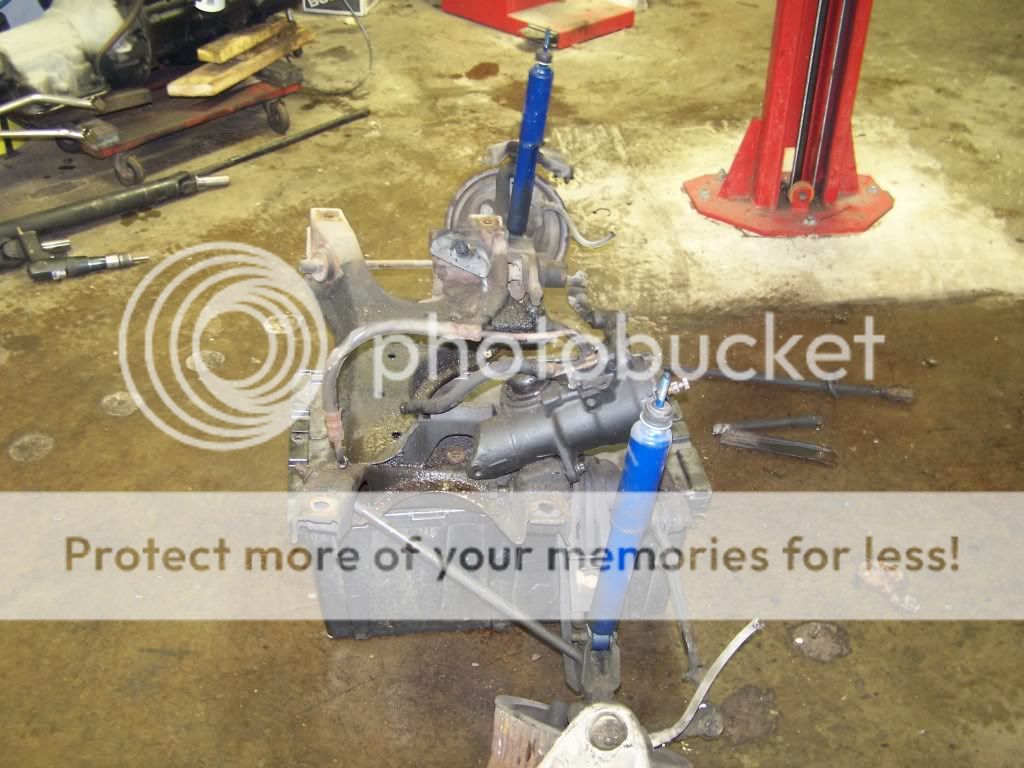
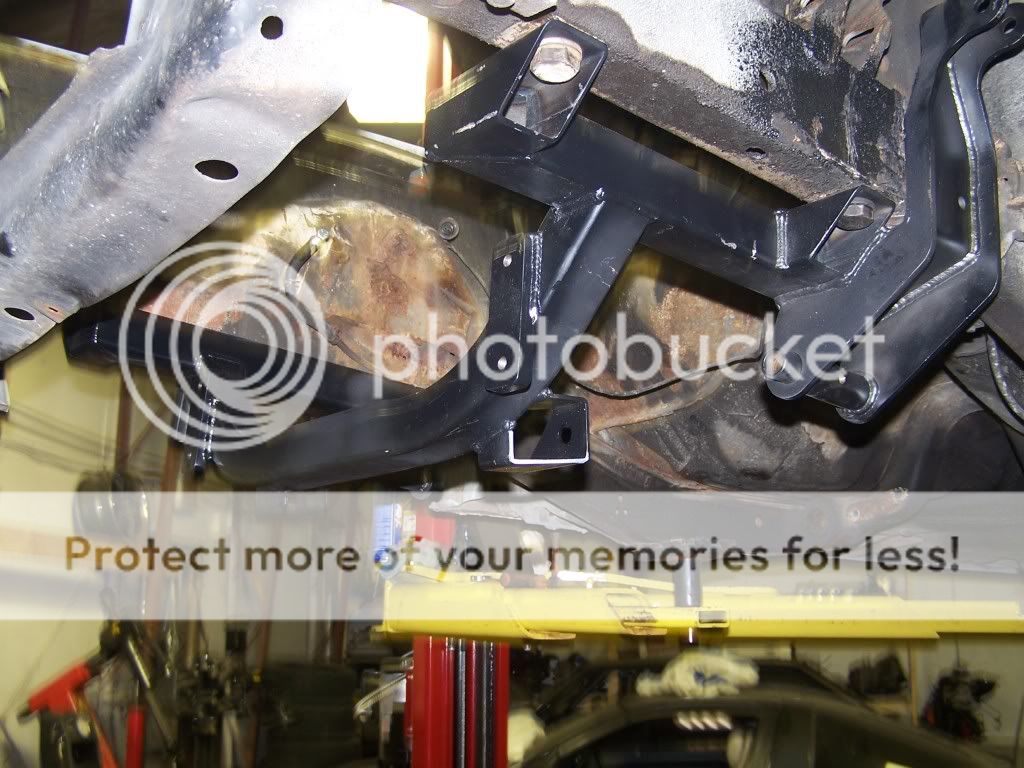
k frame
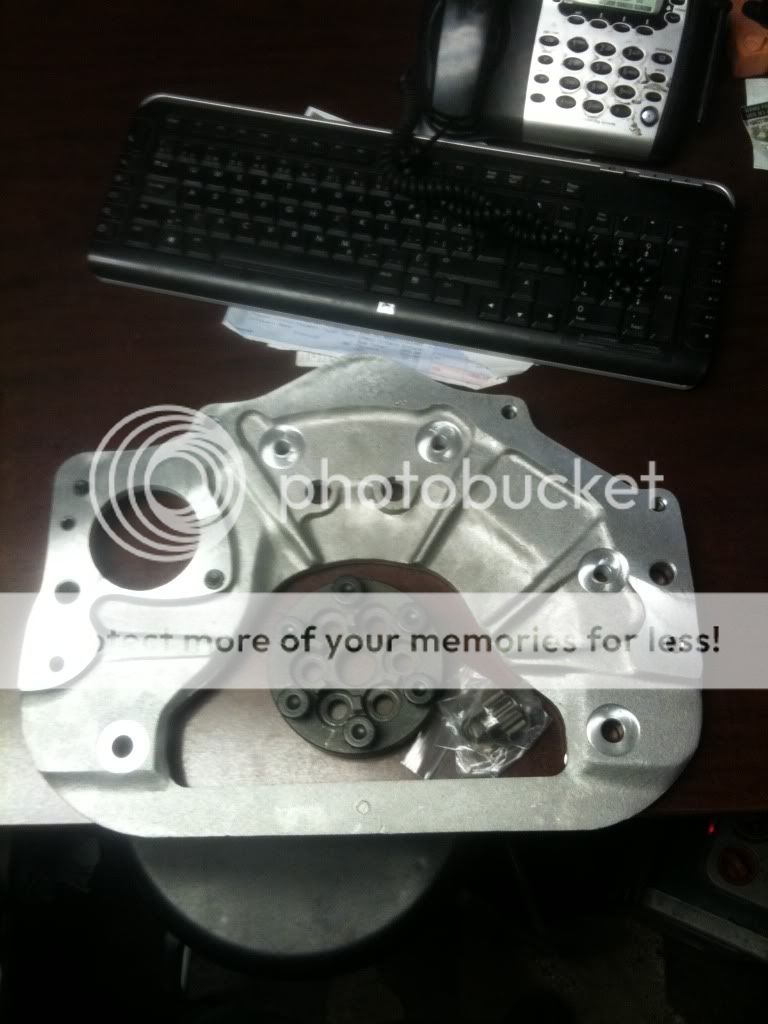
this is not from the same guys, but, bills autofab GM adaptor plate for automatic tranny
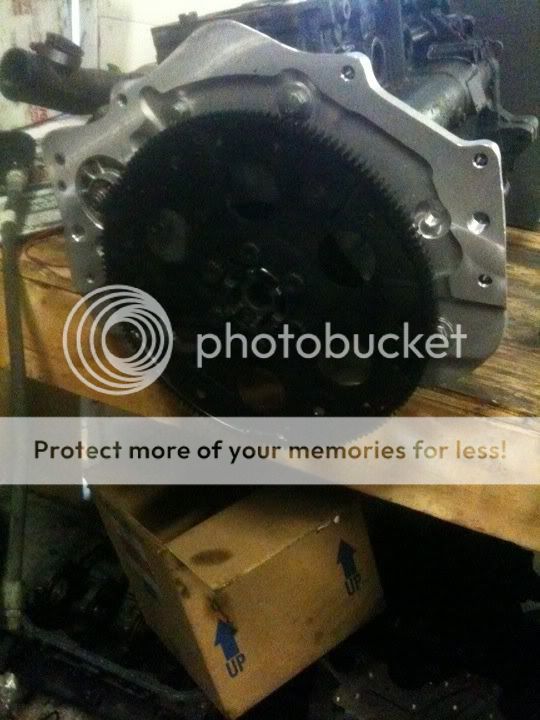
bolted up
first update, I start work today, this is its new home for the winter....

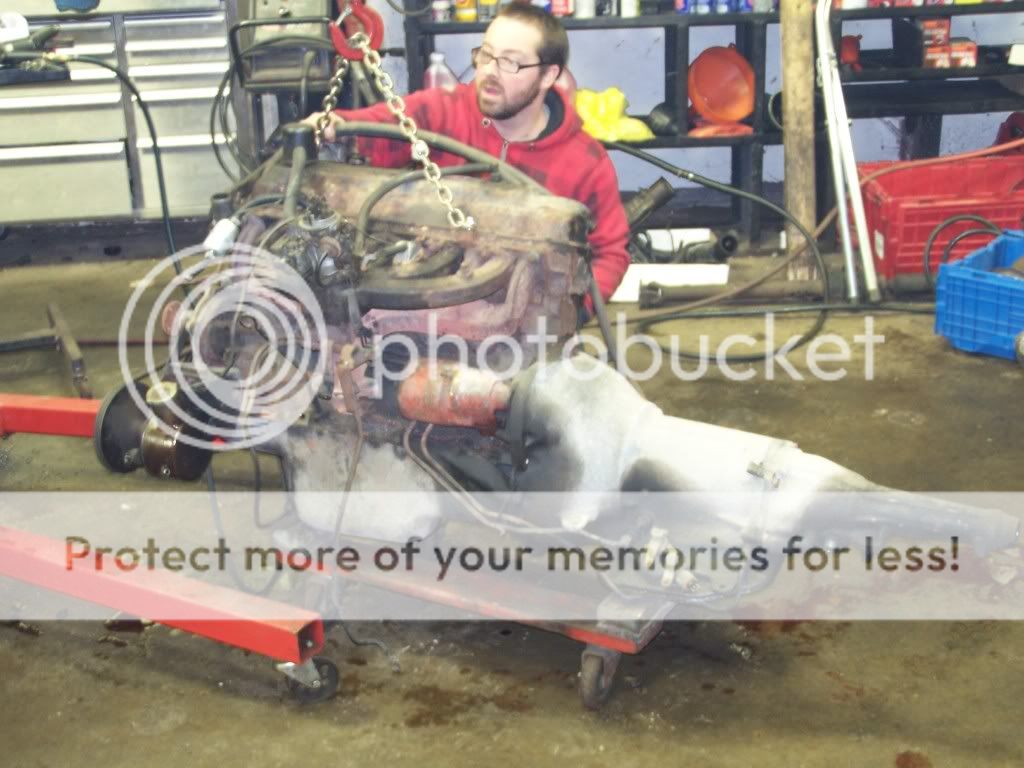
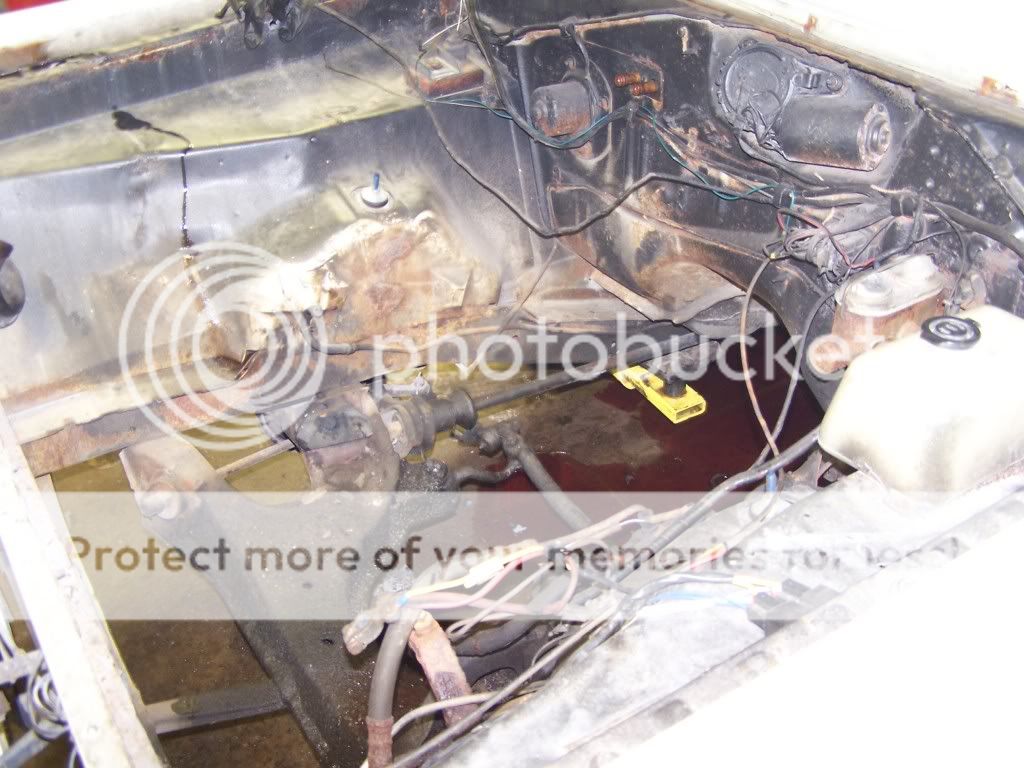
Wheels off fluids out.... bye bye slant six

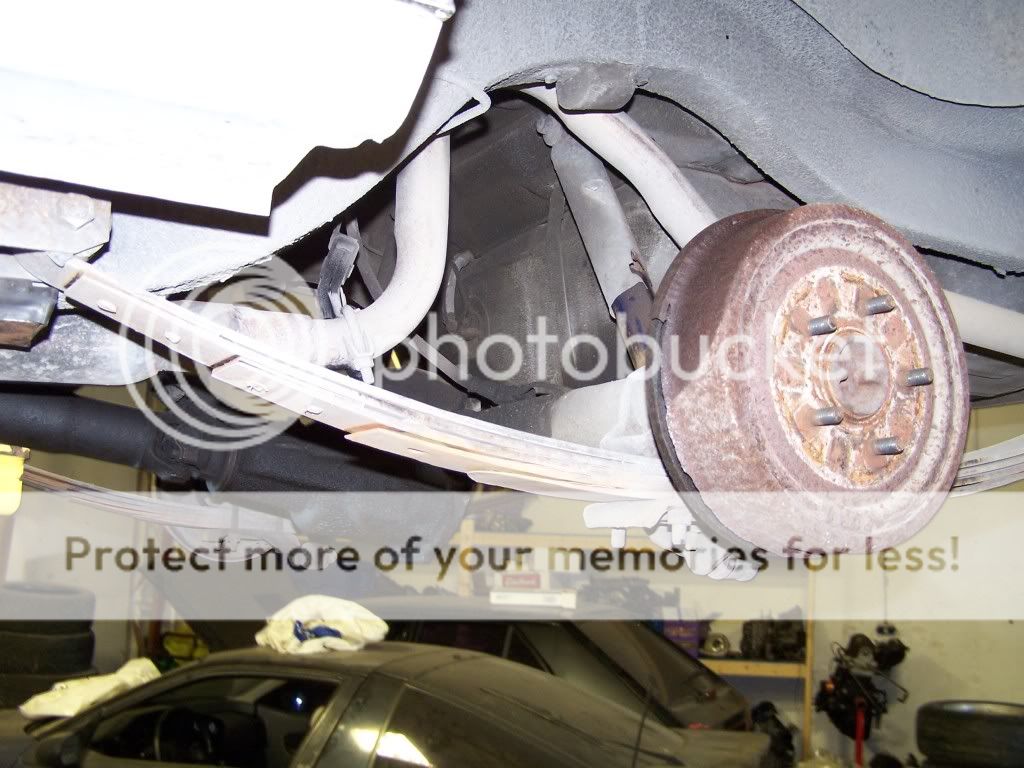
front suspension and brakes that are soon to be replaced. factory steering box, torsion bar suspension, drum brakes all going to the scrappers.


teeny tiny rear end, soon to be replaced by a ford 9 inch or something like, im not sure yet.

it should all be out by the end of the day.
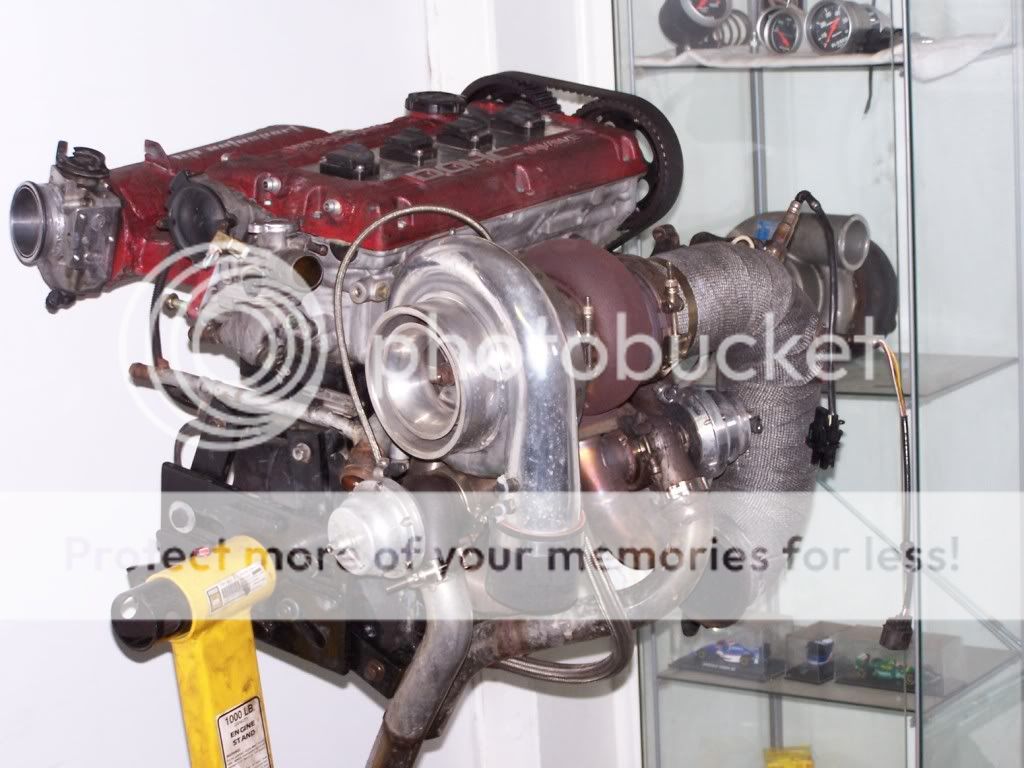
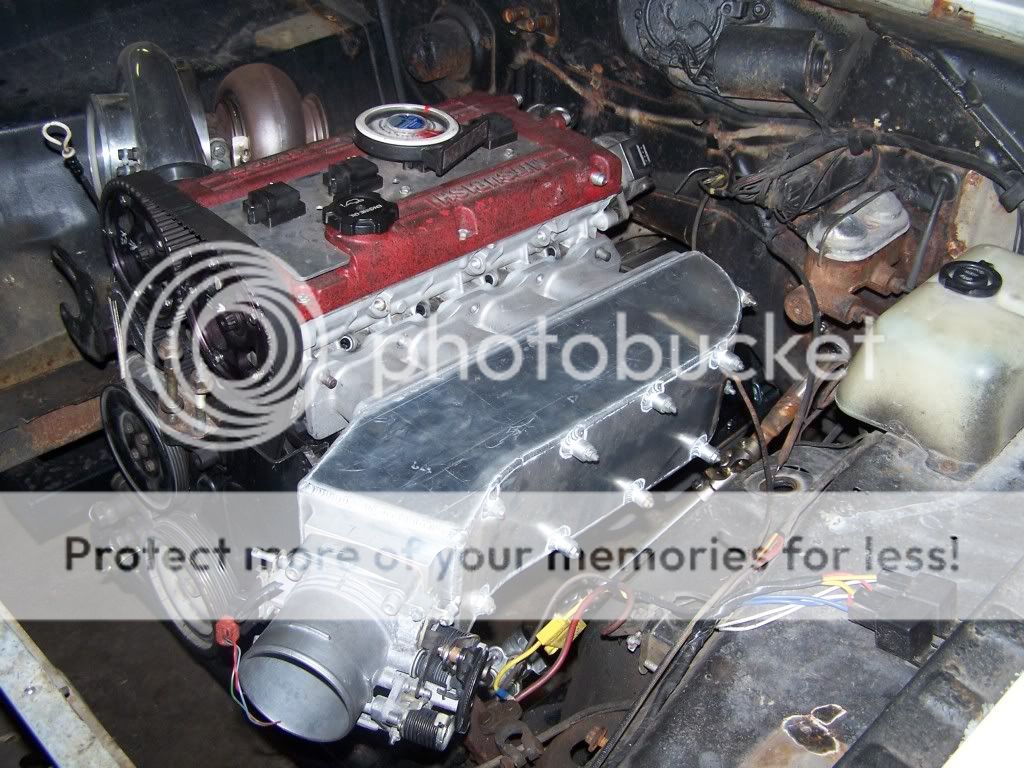
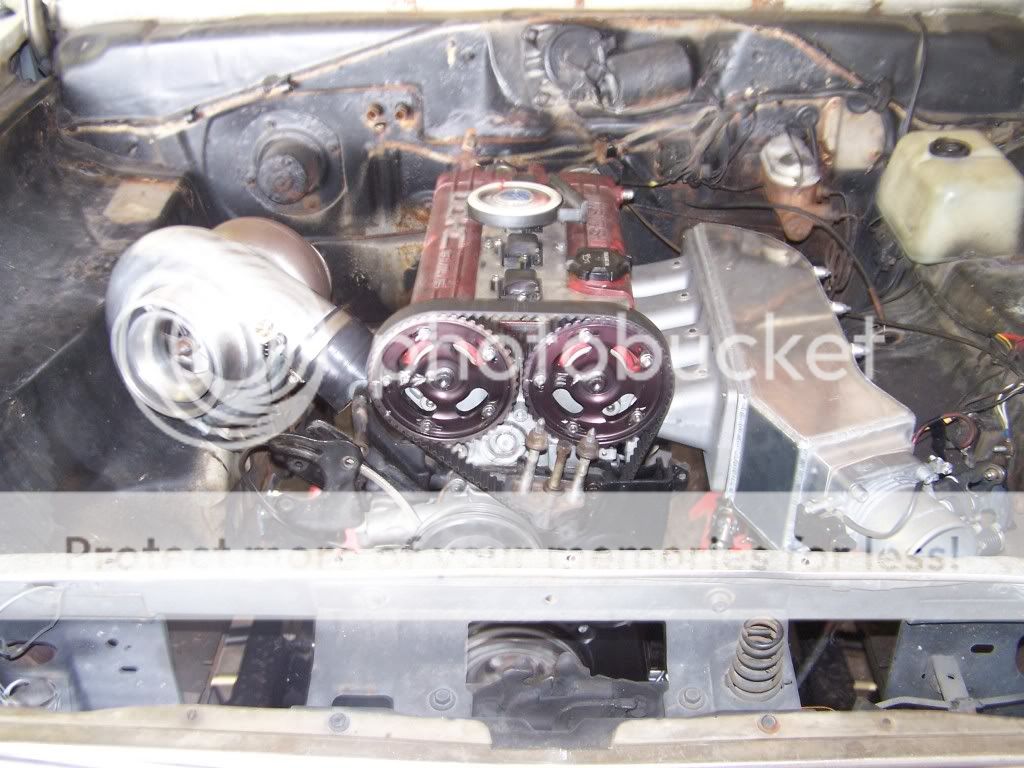
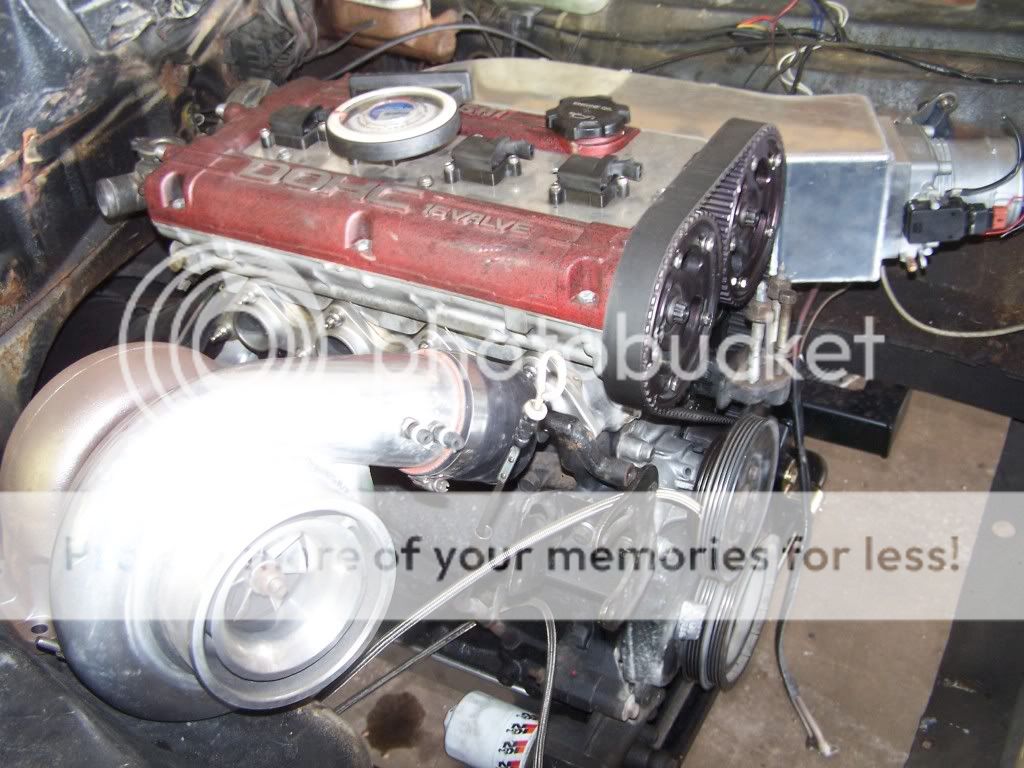
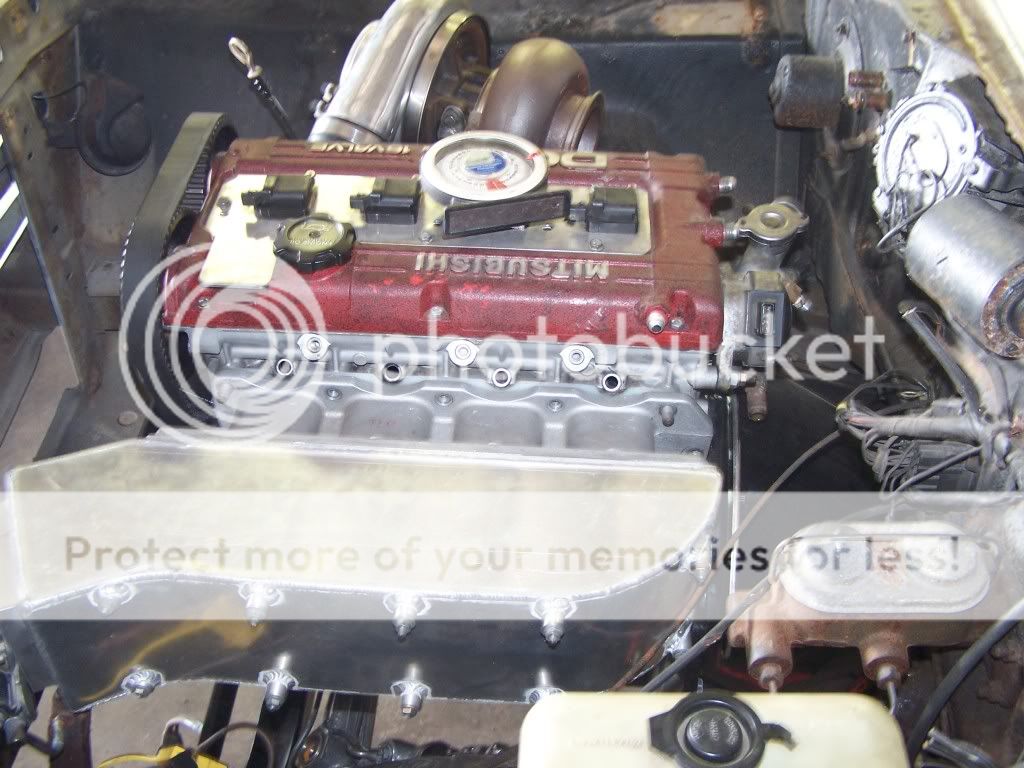
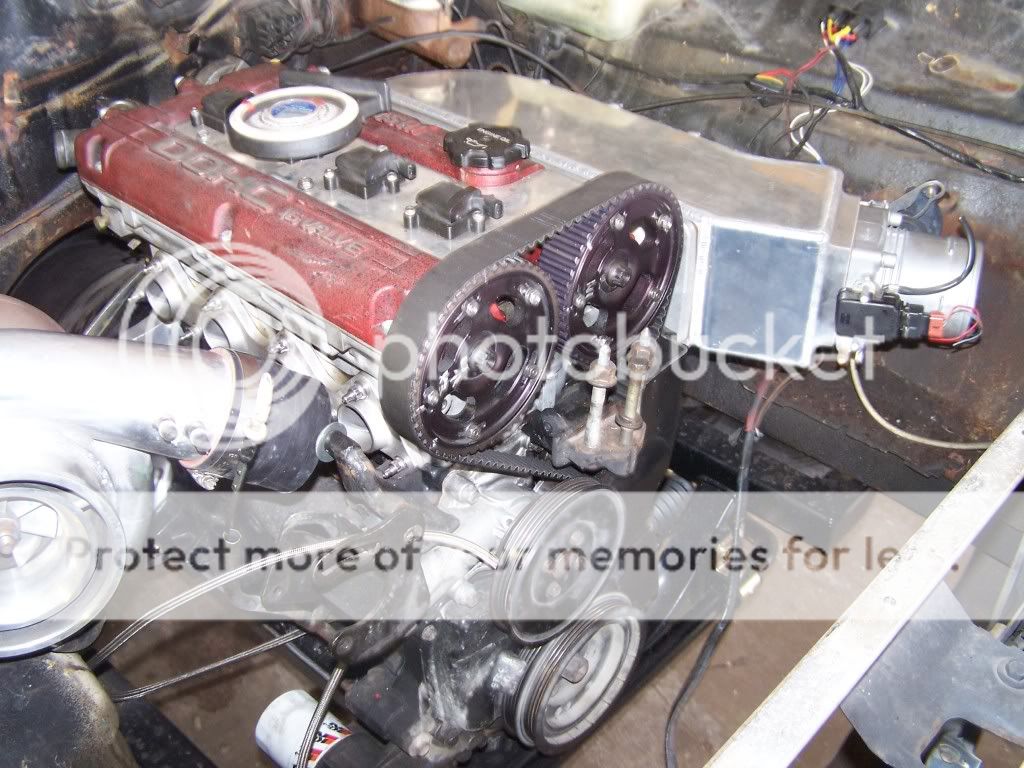
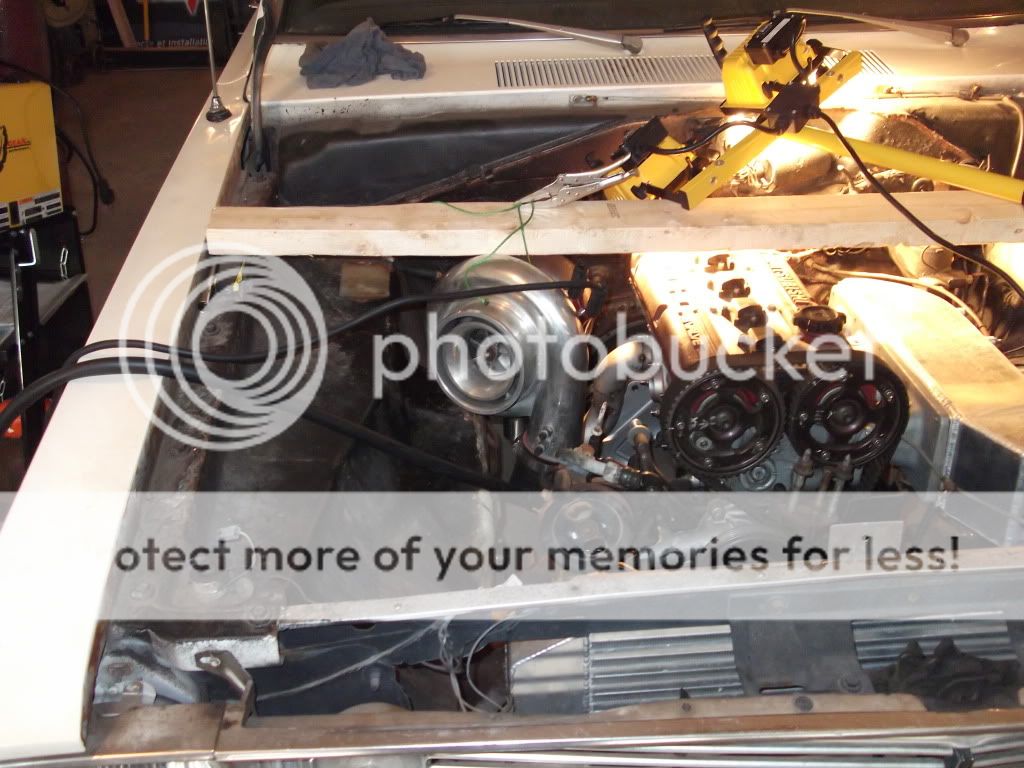
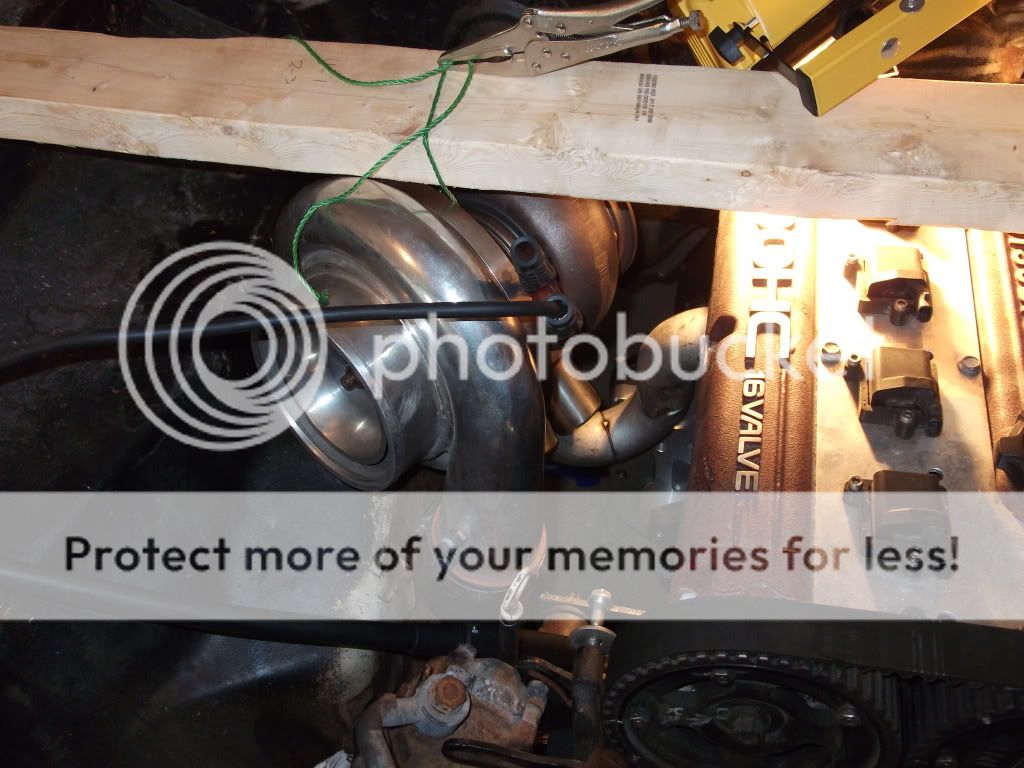
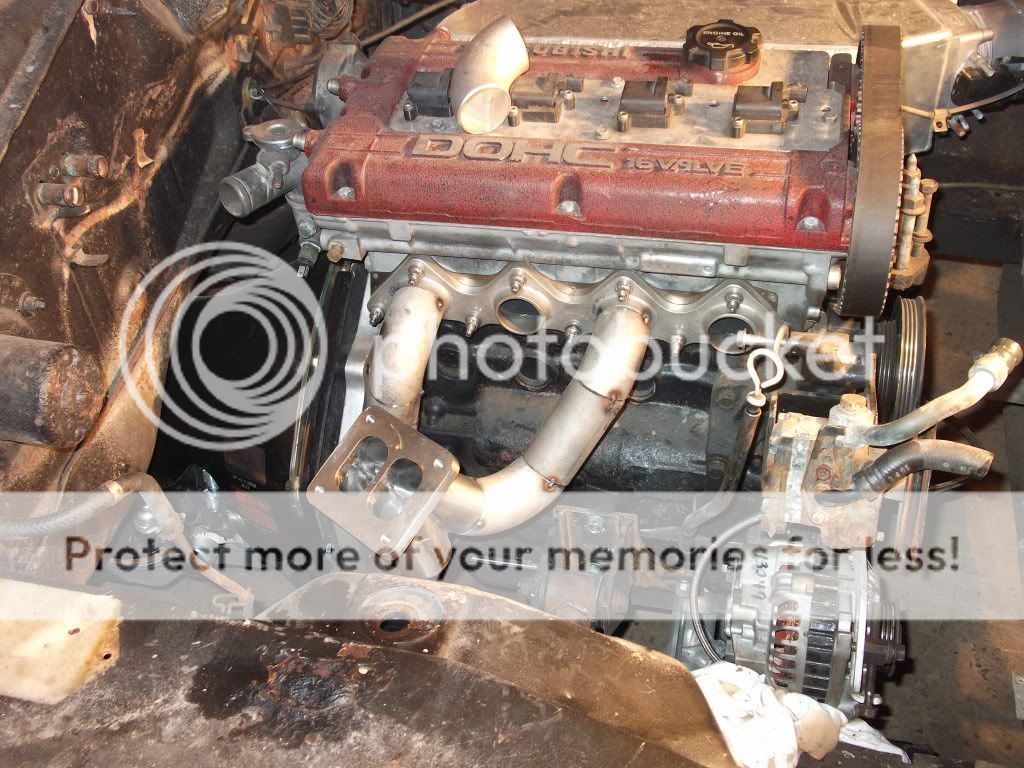
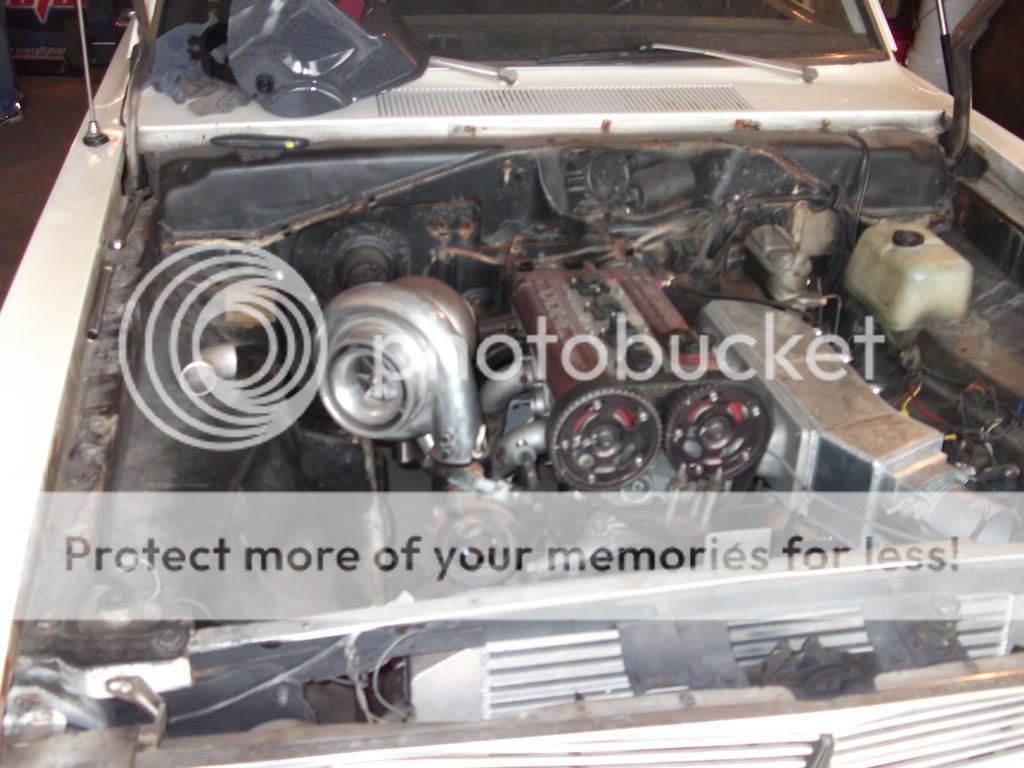
And here is the Valiants soon to be new heart.... (but the header is now sold)
La, cest le temps de sortir le vieux Méo Pancher (slant 6) de la, cest vraiment incroyable comment pessant que cest.... mon petit 4g63 va etre tellement leger a comparer...

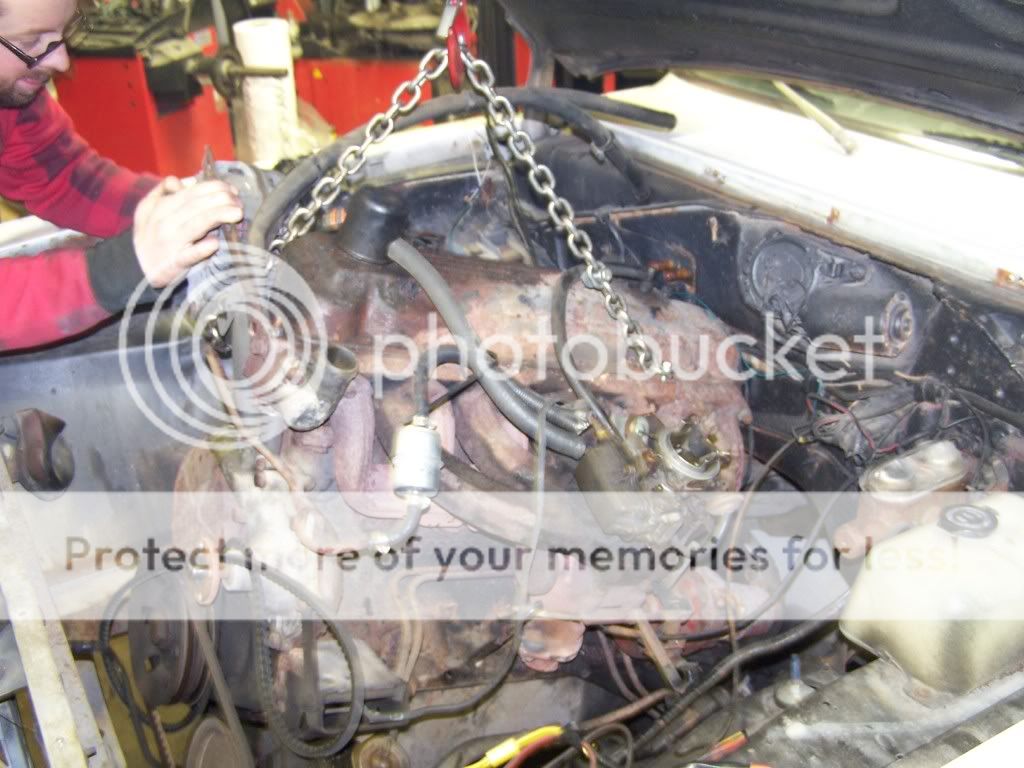
Au moin 800 livres, cest completment debille, tout fait en fonte, mais y roulais tellement bien...
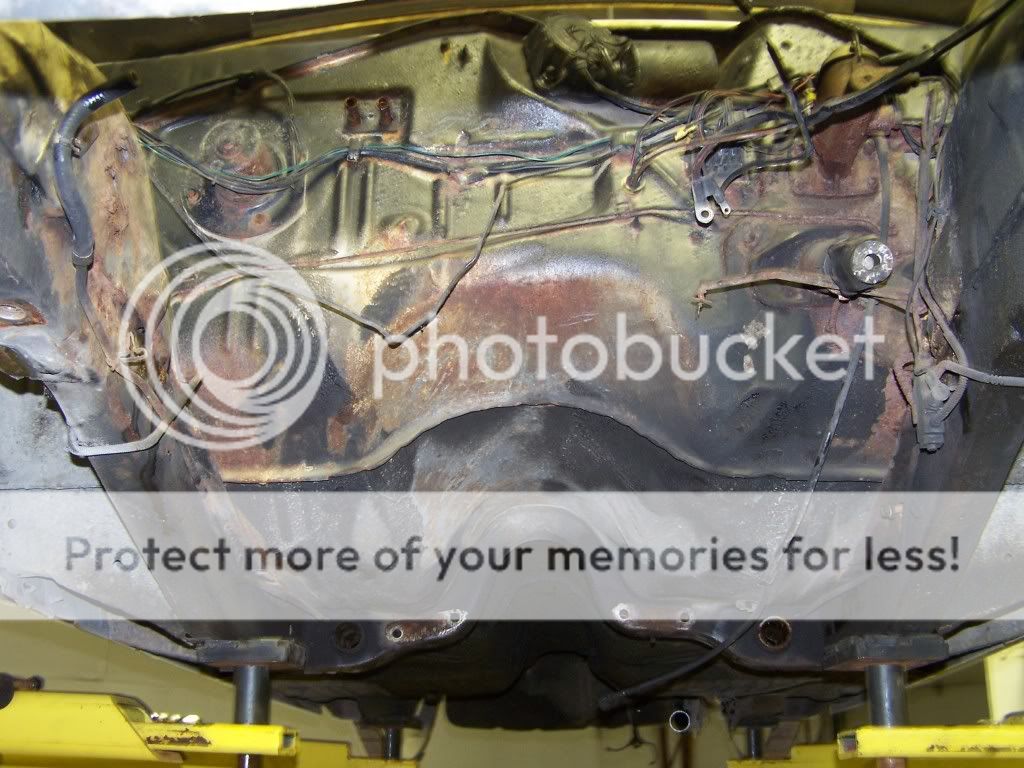
un gros trous...
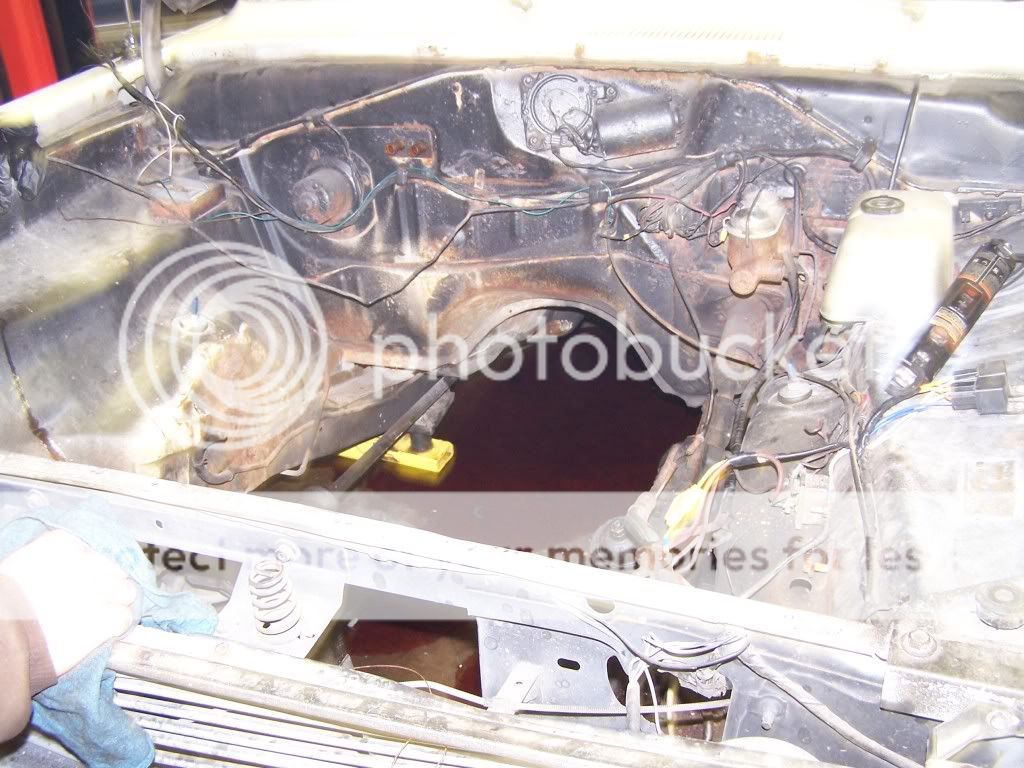
Bon, mantenant le temp d'arracher tout le front end, encore un GROS weight savings...
Test kit du nouveau K frame Tubulaire RMS motorsports.. 41 ans pis le frame na pas tordu de un millimetre...
Bon, a ce point ici, mon stagiere ye tanner, pi moi aussi, on ferme le lumiere pi on lache ca pour la fin de semaine... une petit derniere photo...
More updates, shop wasnt to busy yesterday so I did some more work....
I dont know why i did this, im going to have to do it again after I paint the car.

Repainted the K frame, the powdercoat wast nice on this piece.
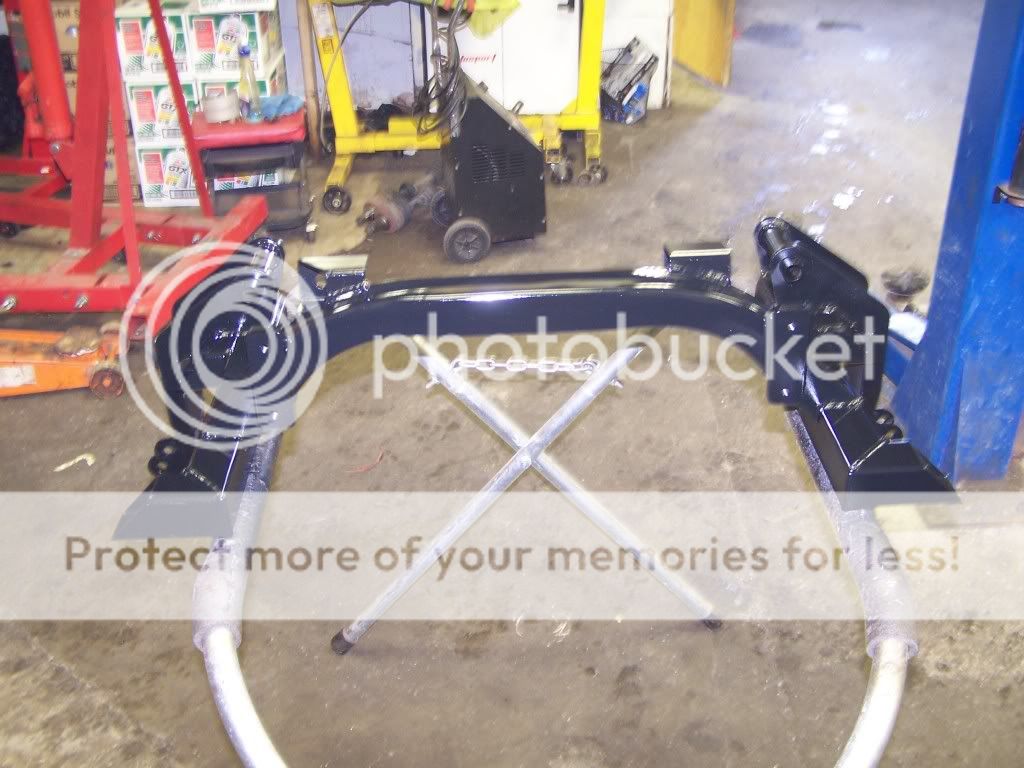
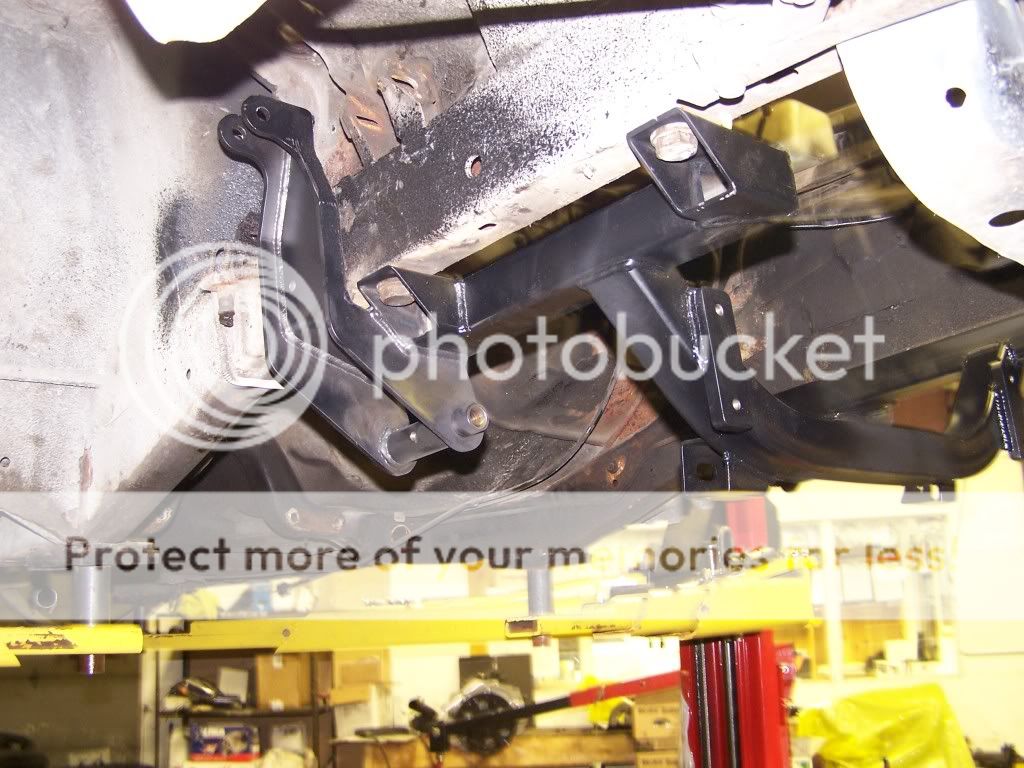
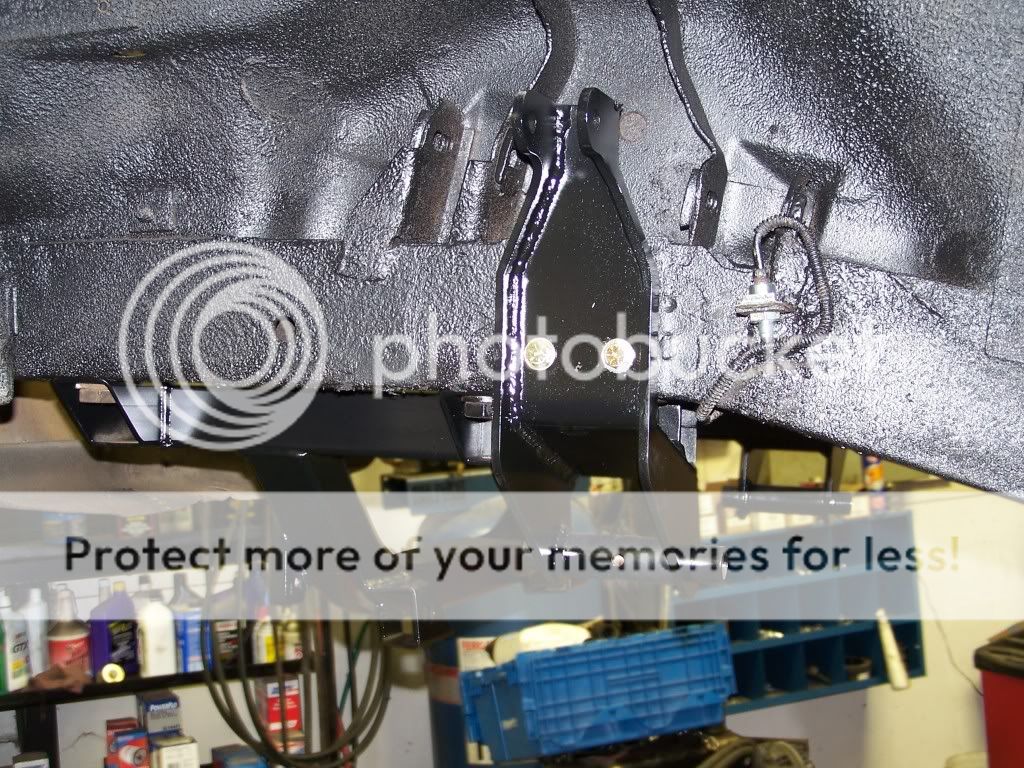
Bolted into place
Lower control arms
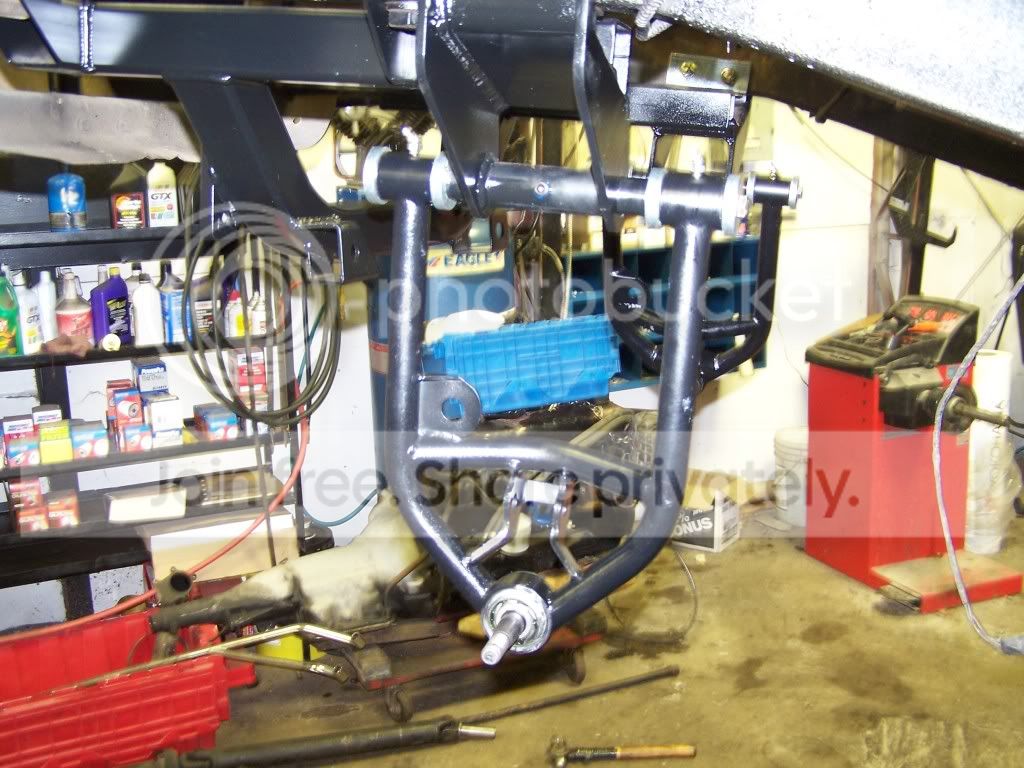
with coilover
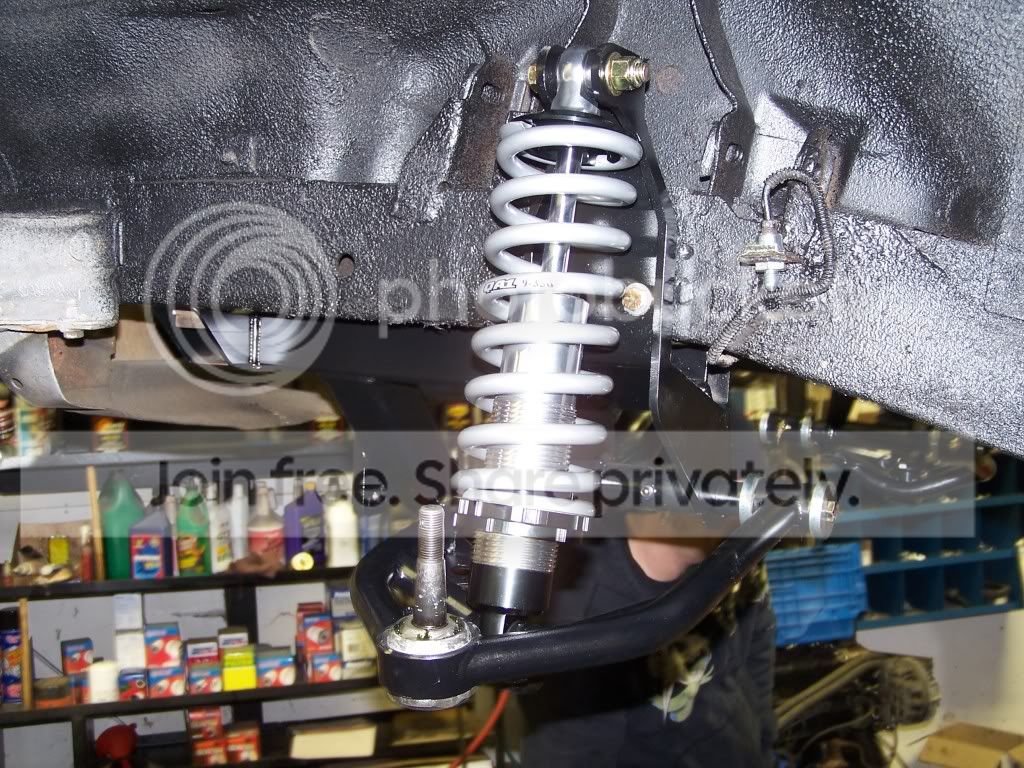
spindles and brakes

Sway bar and Rack

MOAR!

Wheels fit


But not in the back, I want the back tire to be tucked in the wheel well, and thats not going to happen with this size of tire, so no im debating between mini tubbing or just doing a whole backhalf 4 link setup... I did get a chance to measure up the rear diff width, nothing stock is gonna work, i have to get something narrowed, so im thinking explorer 8.8...
Boring update of the week, i found someone on a local forum that wanted to trade his mickey thompson DR for a smaller pair, turns out i had the size he wanted, so no ive got a bigger pair! woohoo more traction! I have to do a mini tub anyways so why not...
used to be 275-60-15, now 325-50-15 or 28-13.5-15


Well Ive decided on my diff, ford explorer 8.8, found one localy for 250$ hihihi, comes with disk brakes and a 4.10 gear, which should be able to hit about 160mph in 3rd @ 8000rpm depending on converter and tranny slip, who knows....
Also found a local guy to narrow it, its going to be chopped almost 10 inches to fit the new tires, theres going to be alot of cutting in the body to make them fit, time to buy a plasma cutter!
here it is before the work , sandblast, paint etc...
HOLY SHIT THE AXLES ARE BIG! and they are only 31 spline, im setting up for 33.
:f pick with a standard talon axle... no more breaking parts woohoo! :f
thats about it for today.
HAPPY NEW YEARS BONNE ANNEE!
Boring update, Rear end is at my chassis guy to get narrowed, waiting for a big package from Moser, spool axles etc.
but some stuff showed up yesterday.
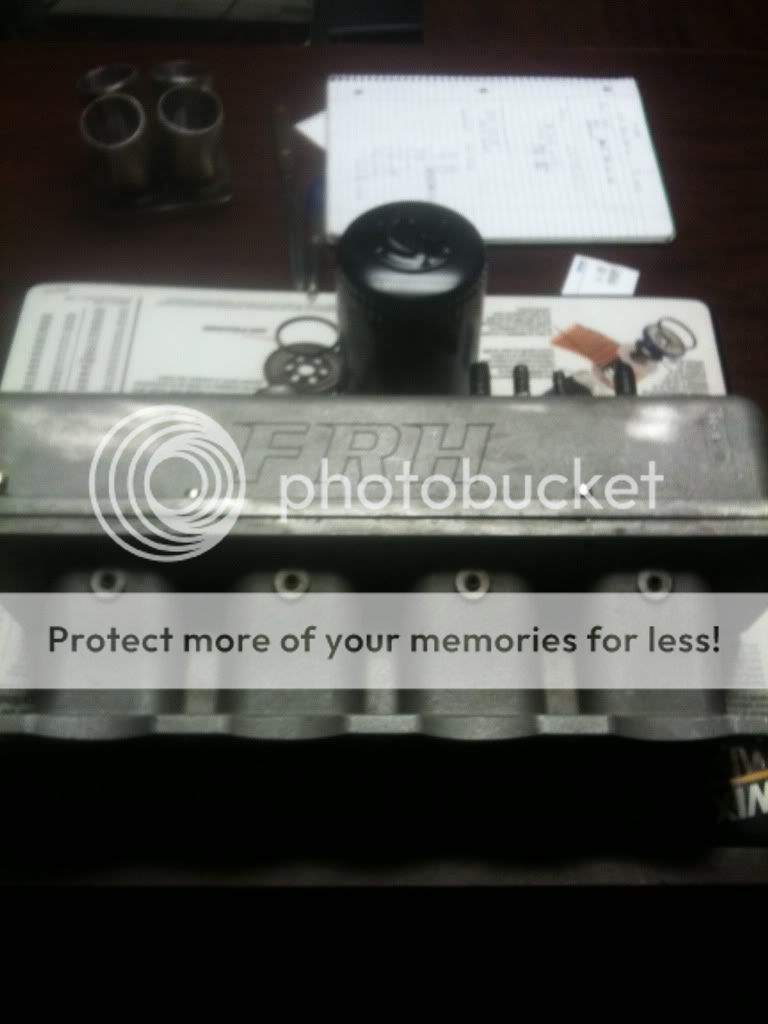
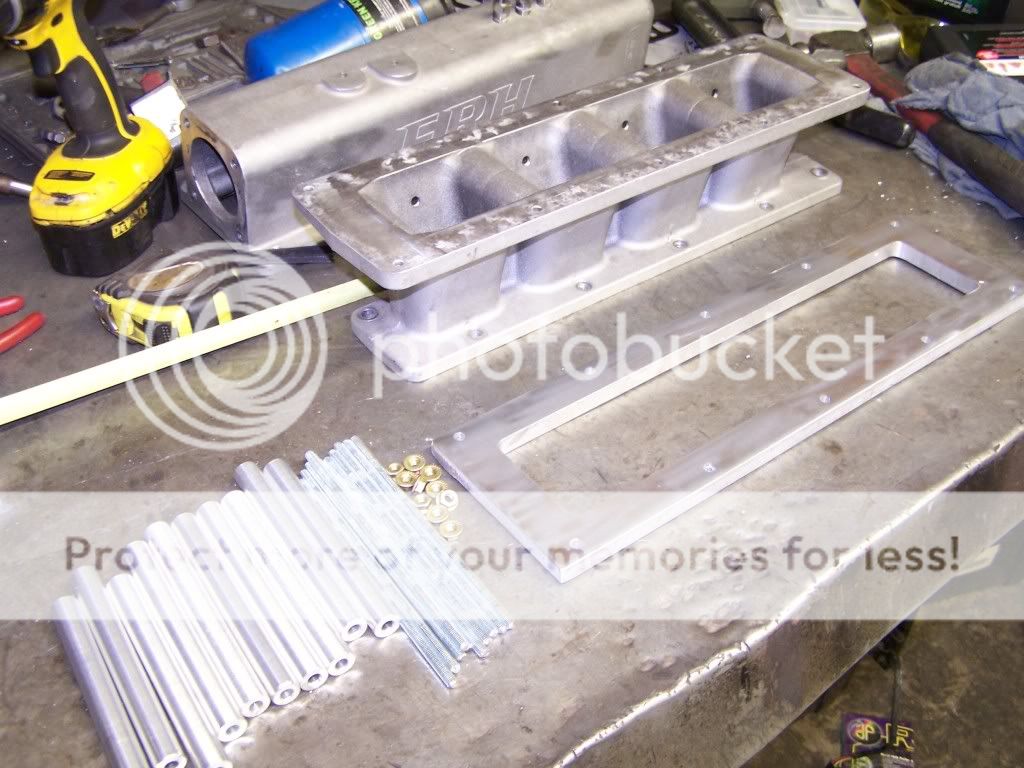
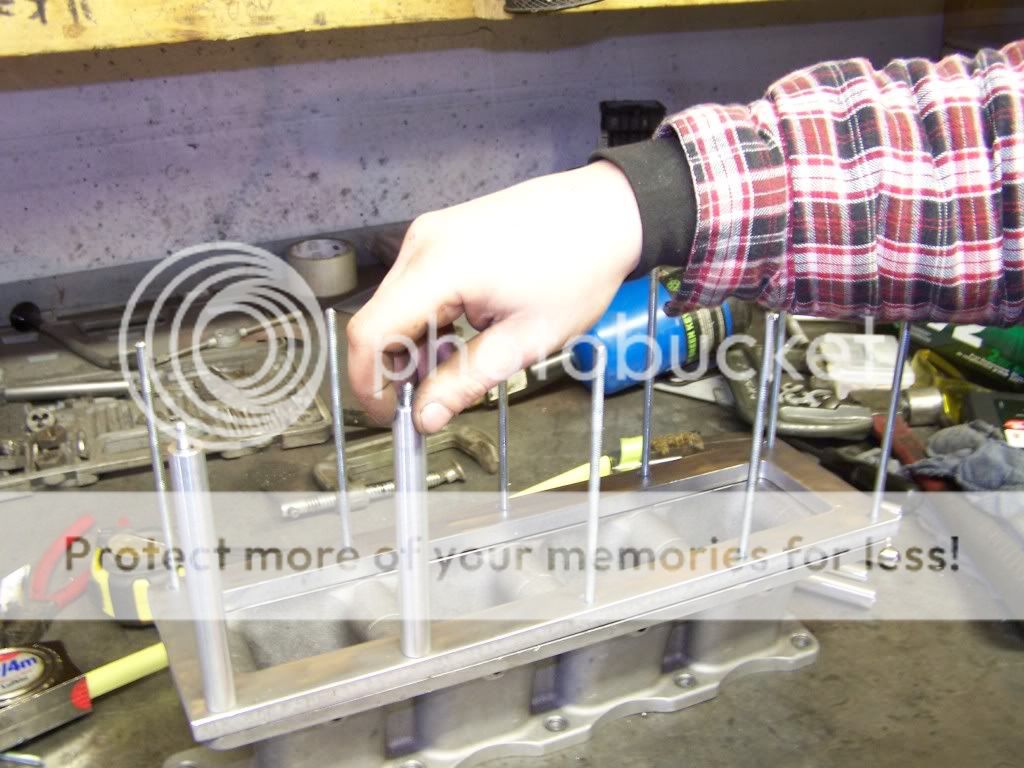
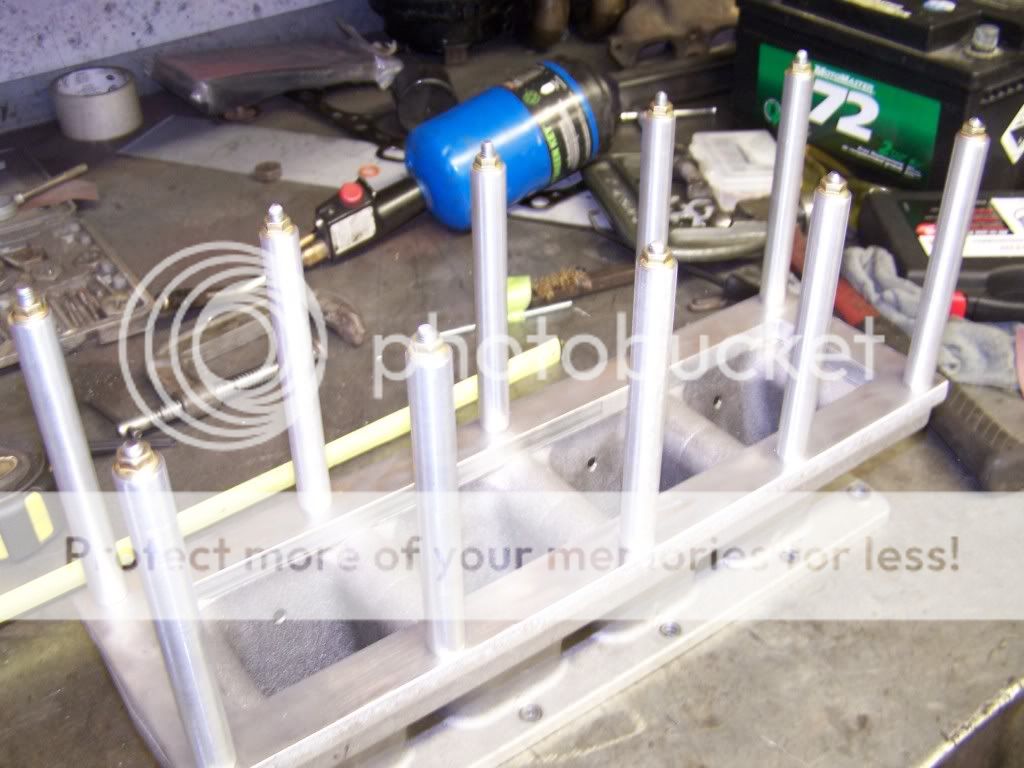
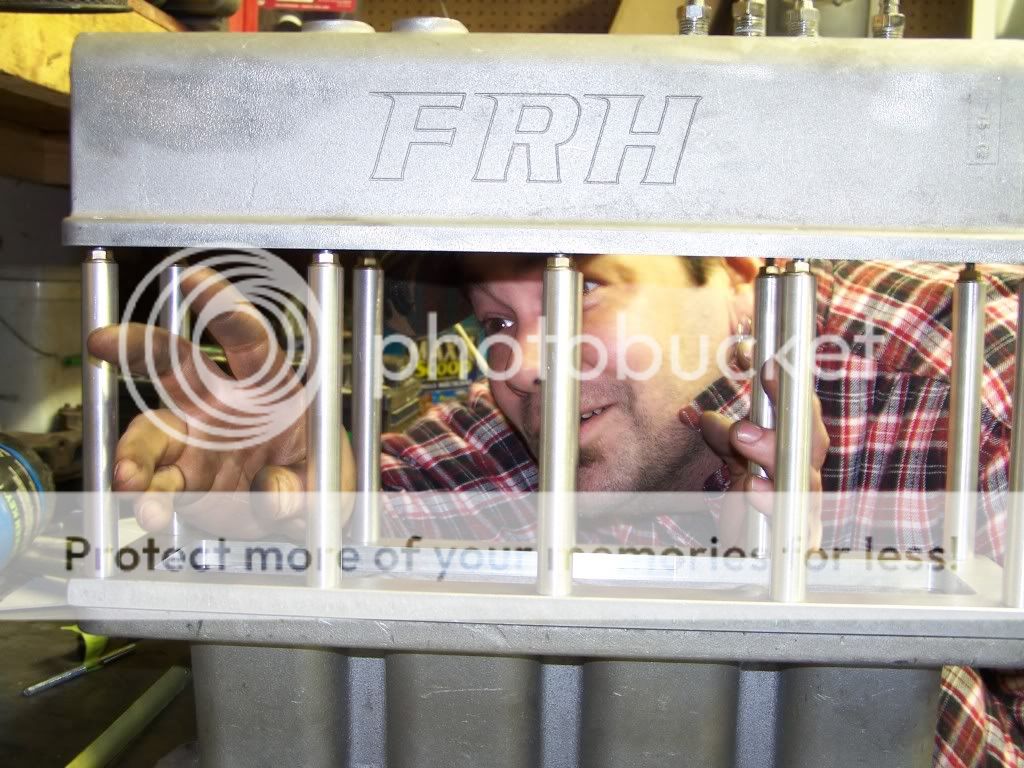
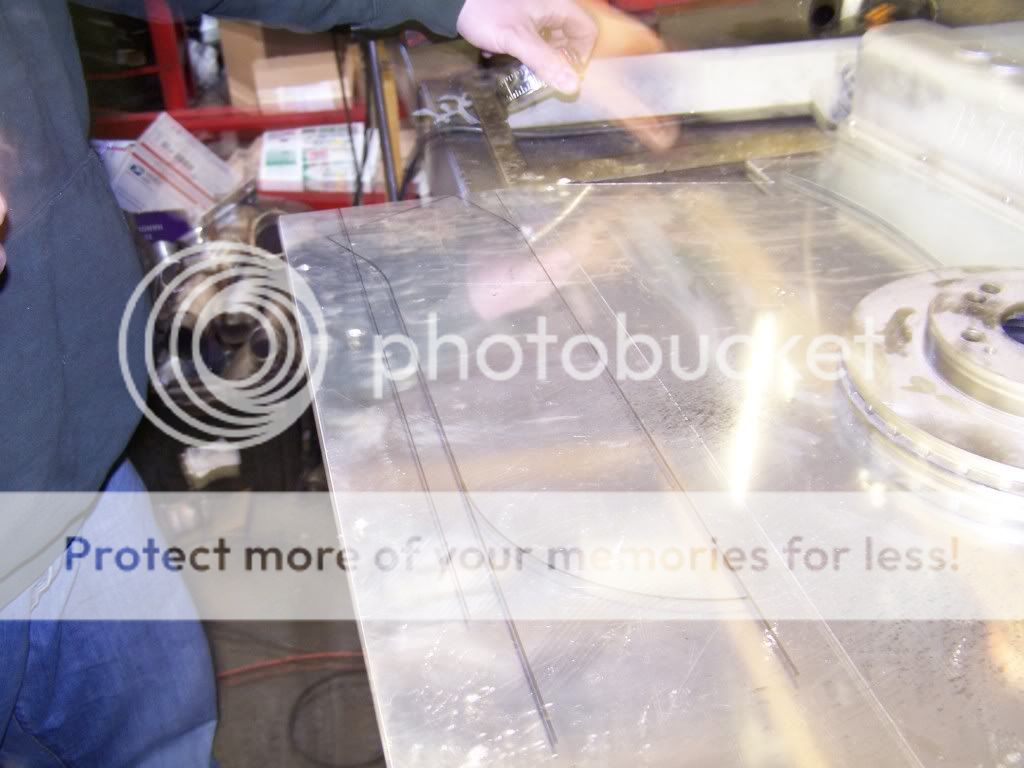
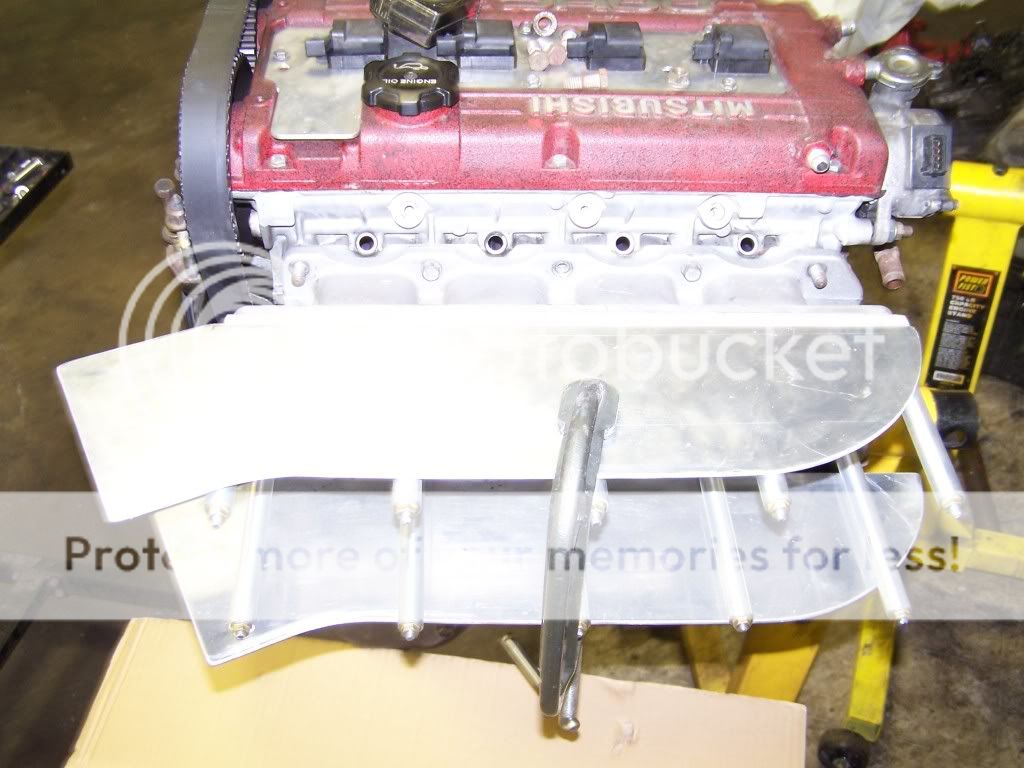
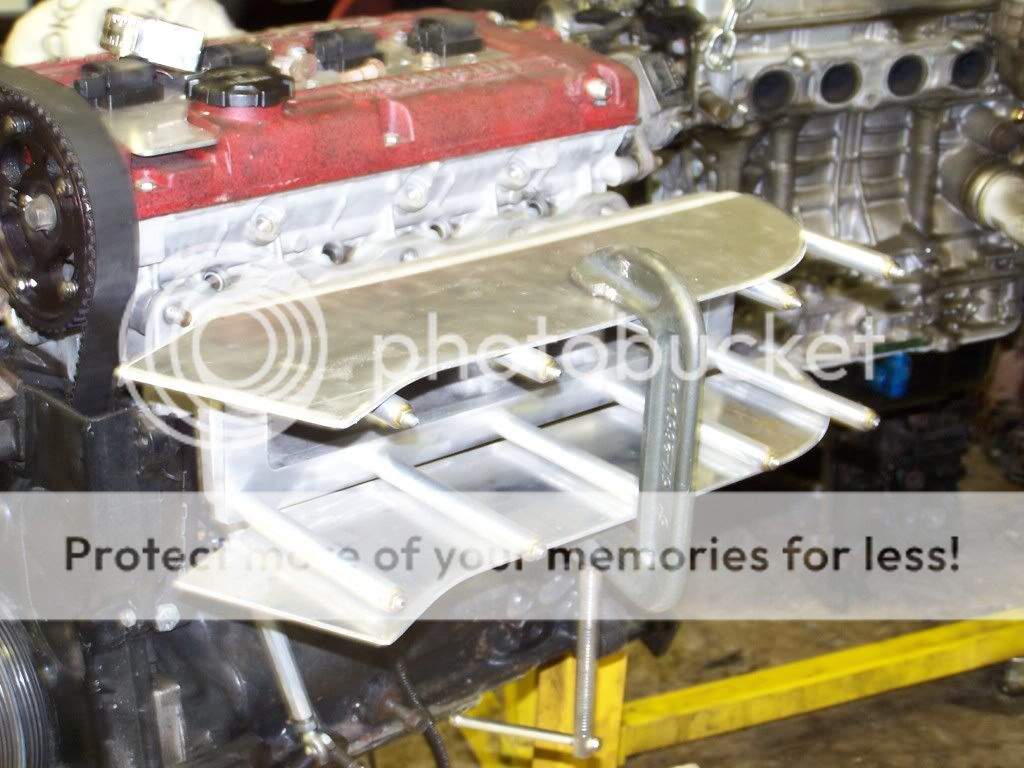
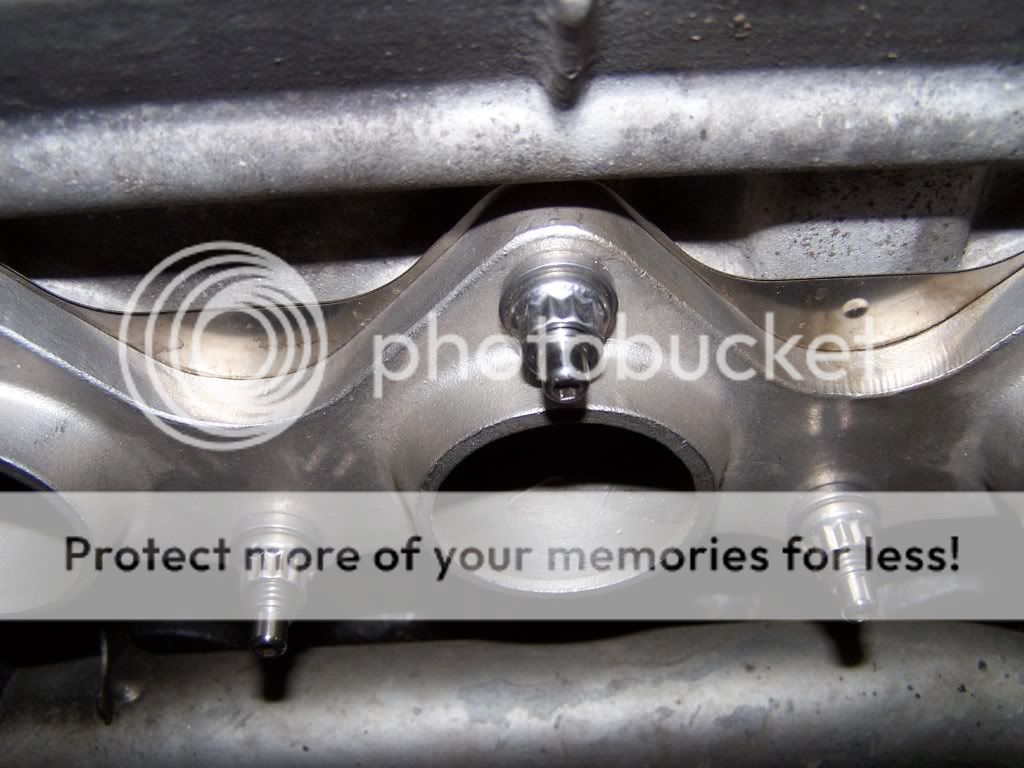
FRH intake, Old school i know, but i honestly cant belive this isnt made anymore, In my opinion one of the best designed intakes I have seen, I find the plenum small, so i will be building a new one, but the runner section is amazing.
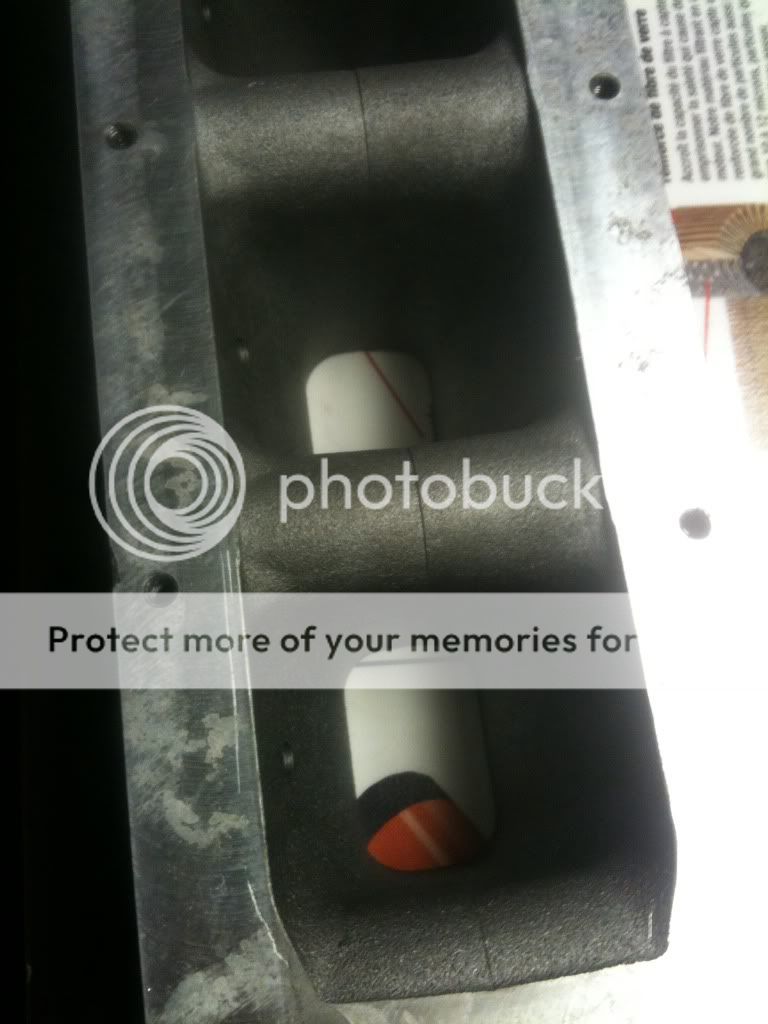
Look at the transition and the size of the runners.
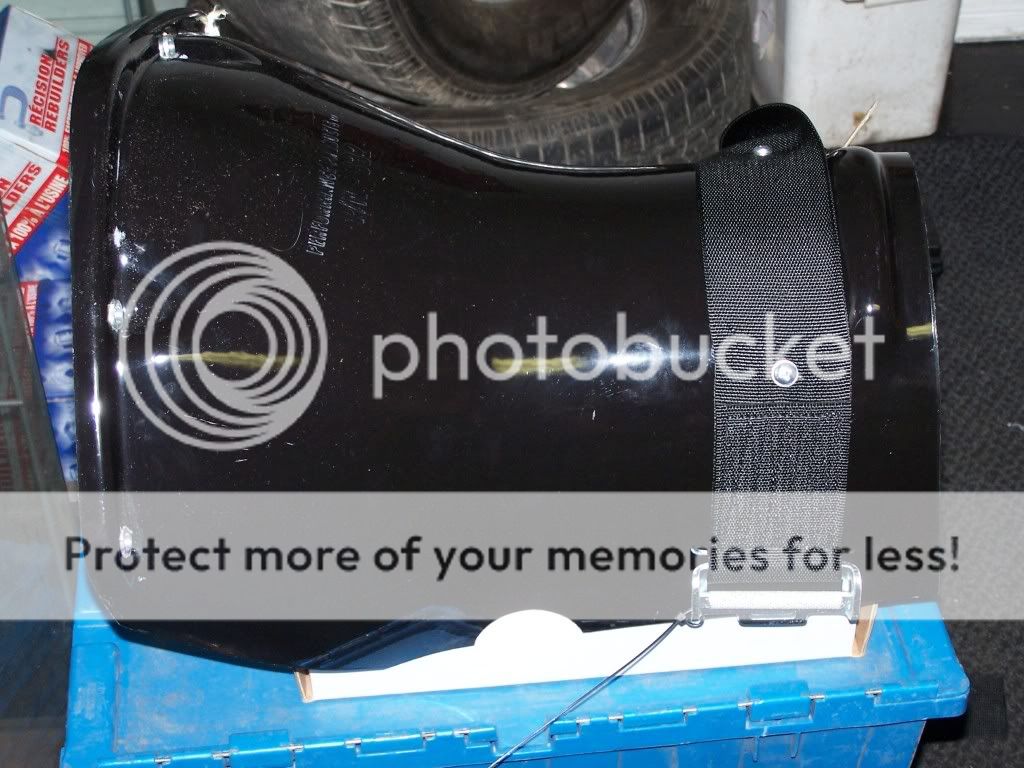
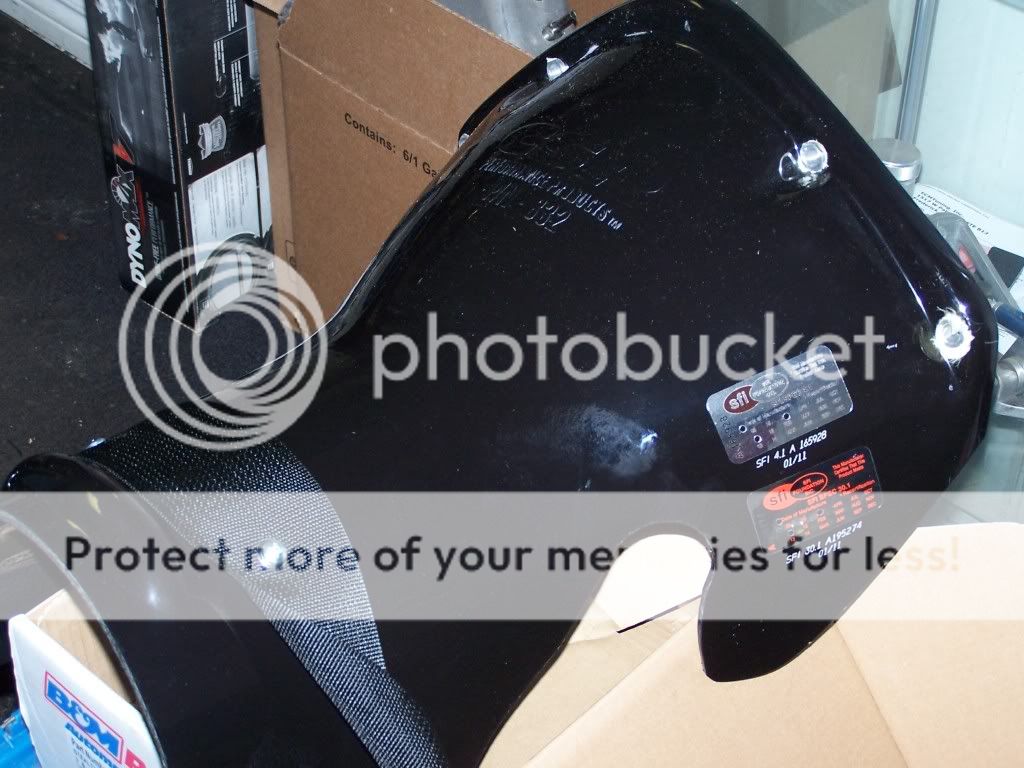
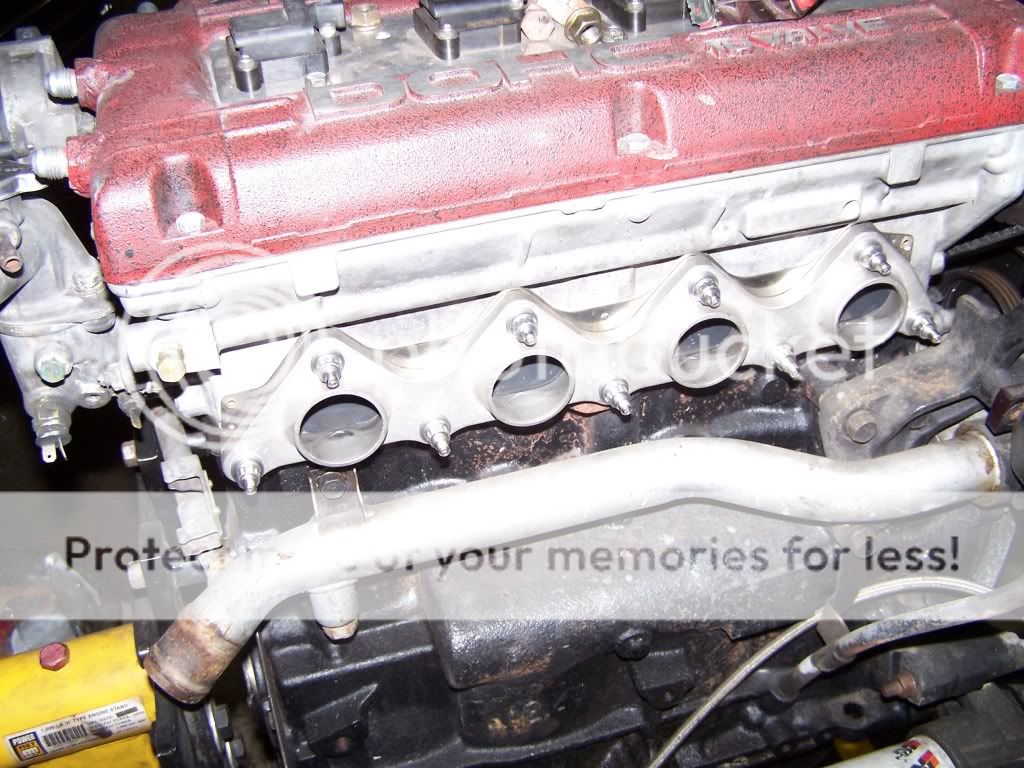
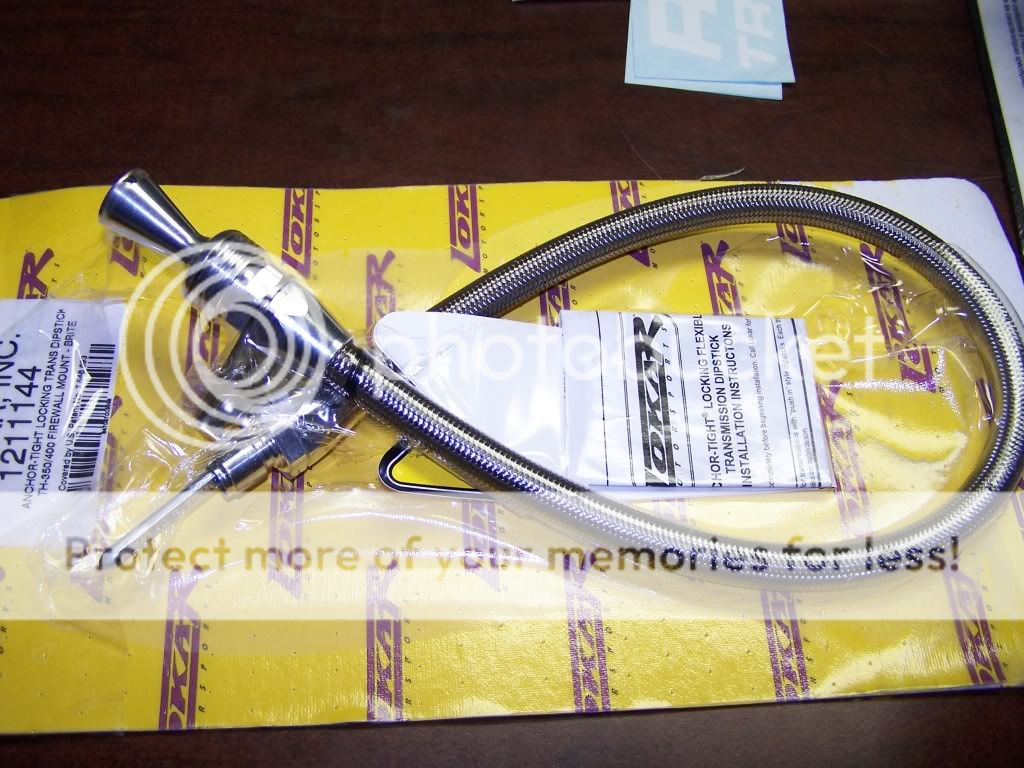
and then this showed up from Ron @ shearerfab. man he does good work
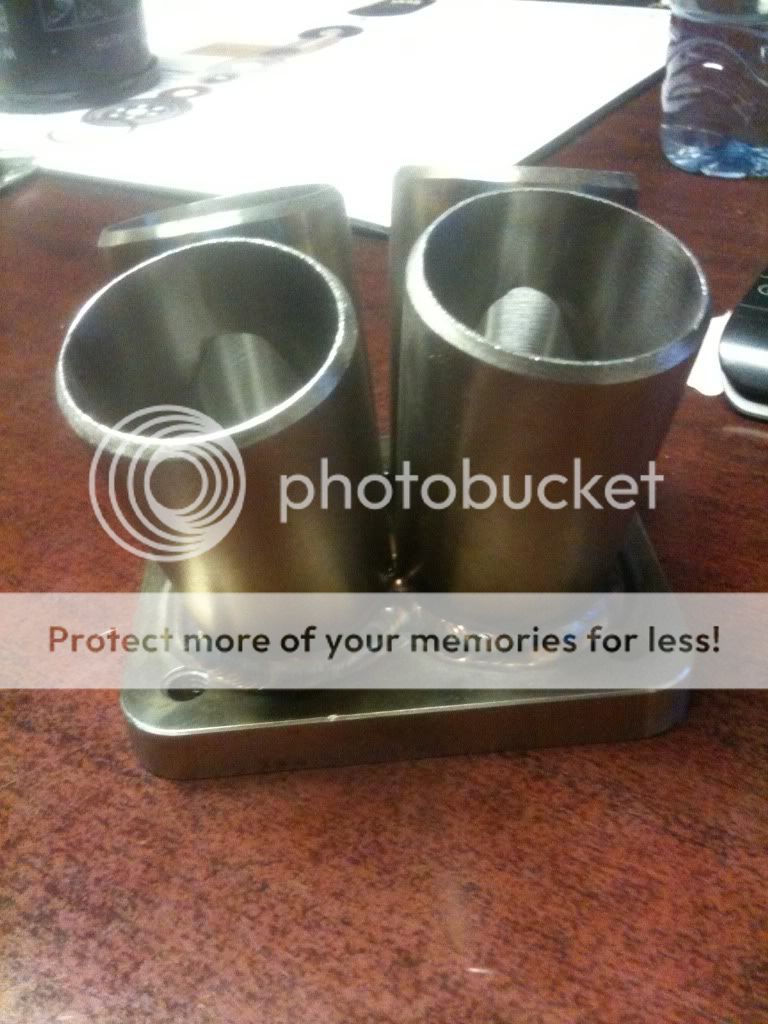
smooth....

thats about it , Im getting married this week end so things go on hold for a couple of weeks. but hopefully the rear end will be done and i can start tubbing the car.
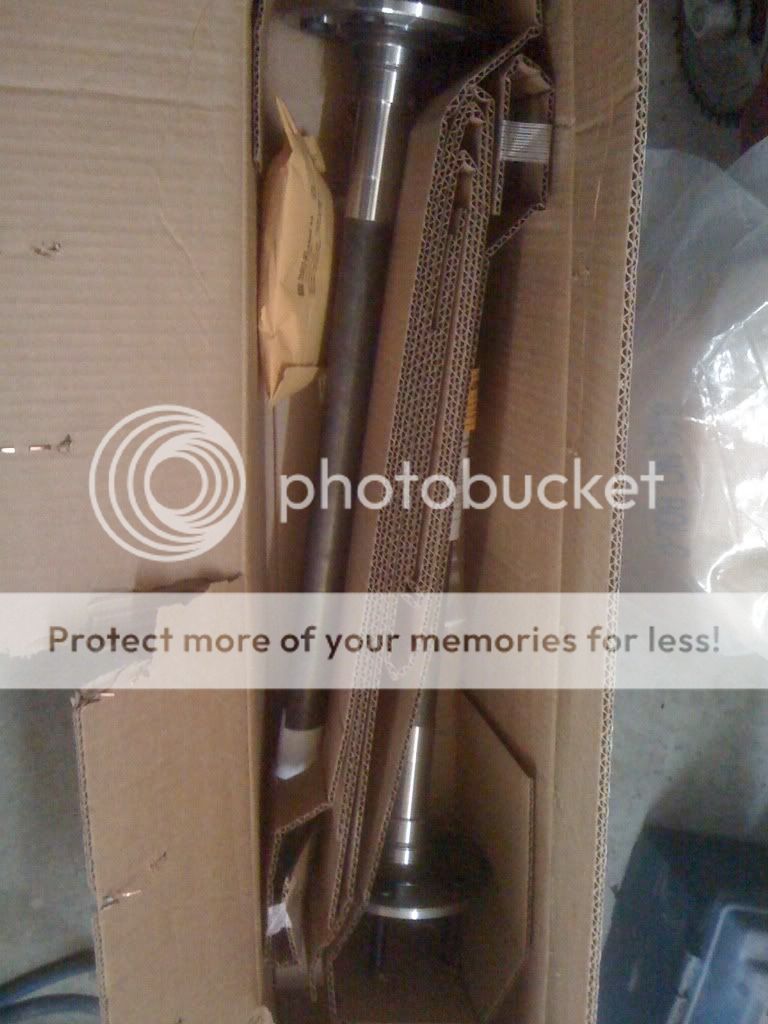
News.... Im waiting to board a plane back to ottawa after a week long honeymoon in florida... Turns out some parts showed up from Moser at the shop for my hopefully bullit proof rear end...
New shortened 35 spline axles
Spool, axle ends (c-clip eliminator)
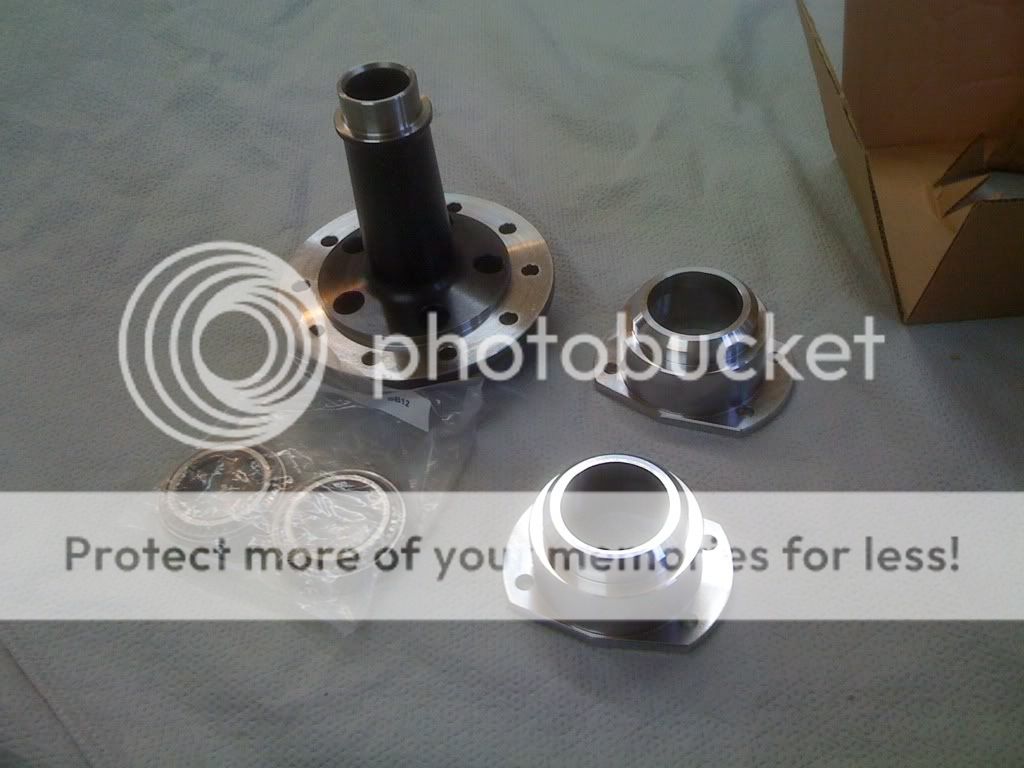
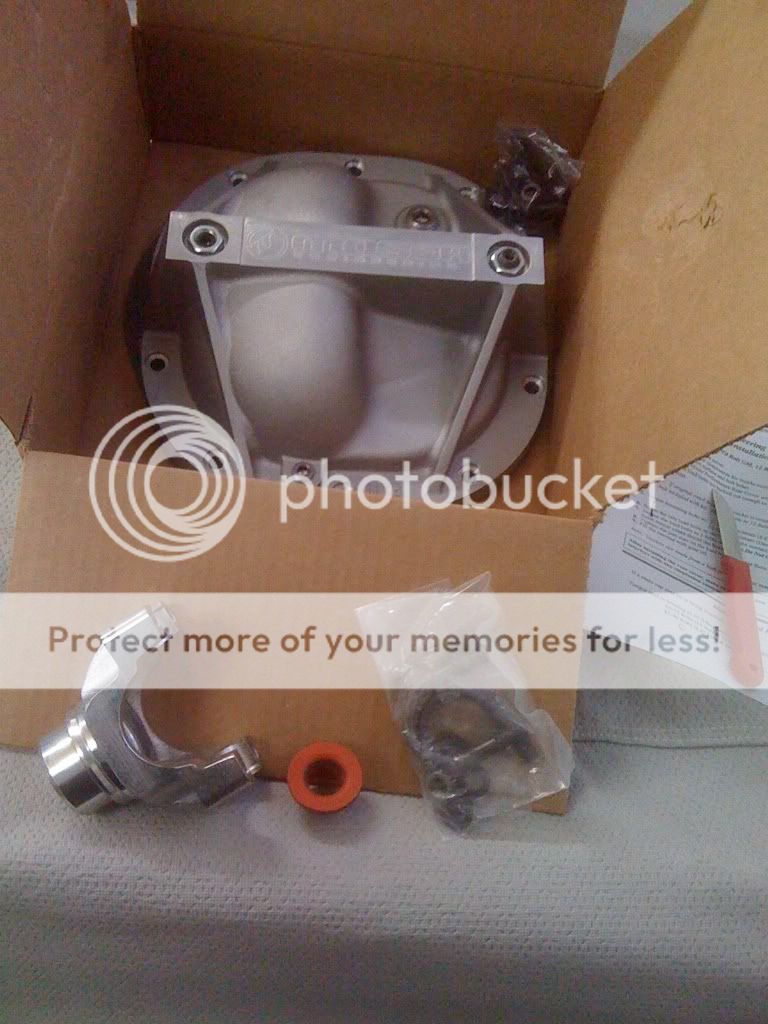
And diff cover with wheel lugs, input yolk and hardware..
I should have the diff back on thursday, then the cutting begins... With my new hypertherm plasma!!! Can wait to burn some metal!
When i get home im gonna post some pics of my trip to t
Titan Motorsports.... Lets just say it made me doubt my powerplant choice....
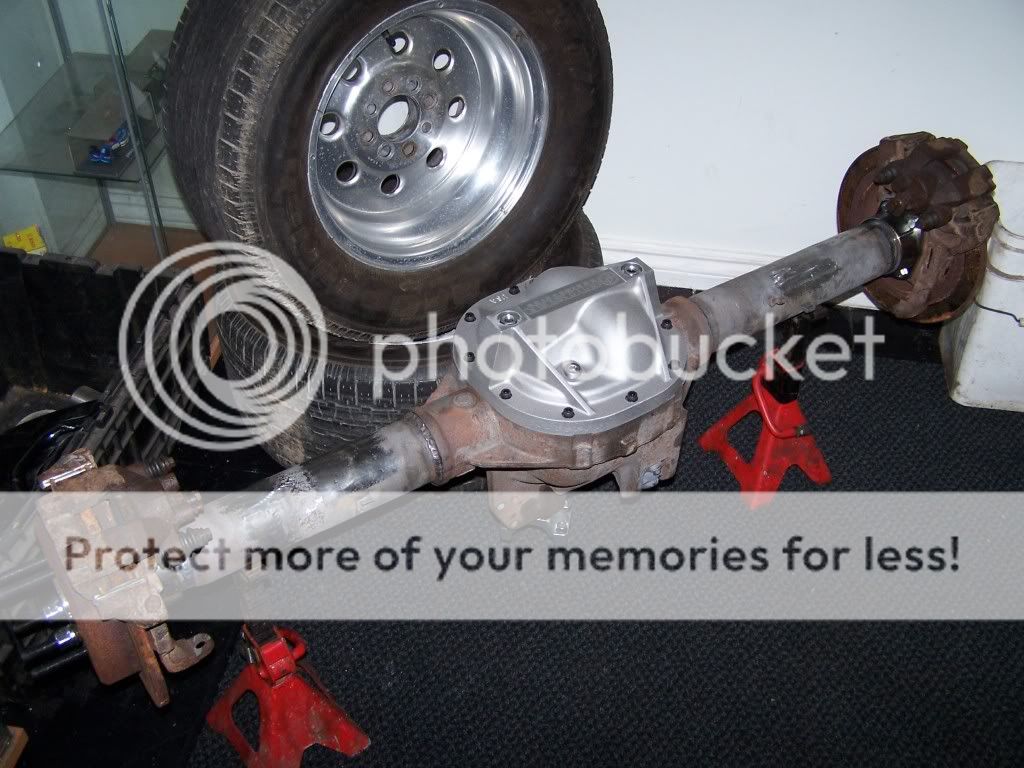
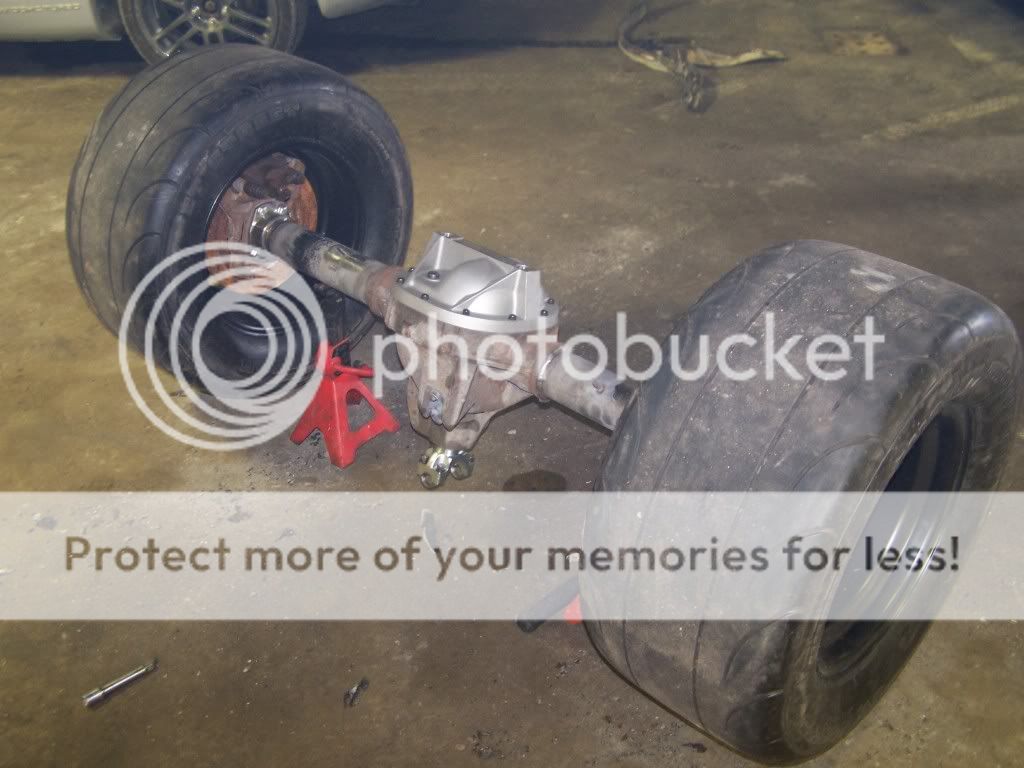
Small news, My diff is back! he did a great job, very happy. Has a 4.10 gear, spool, new axles yada yada yada...
pics

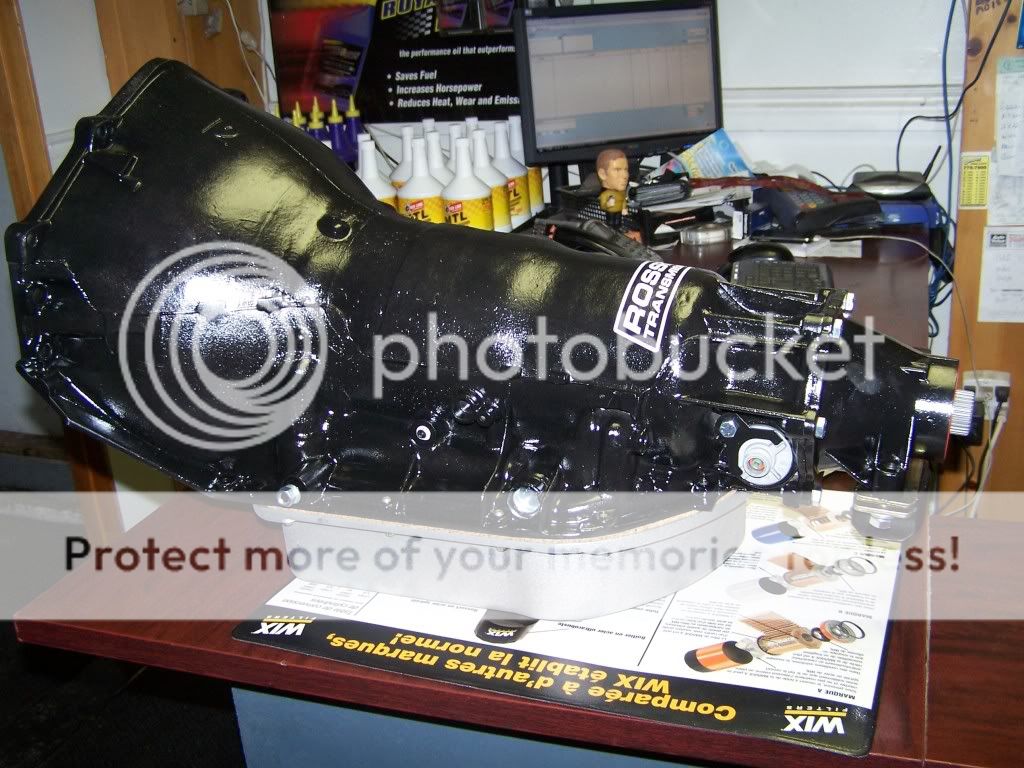
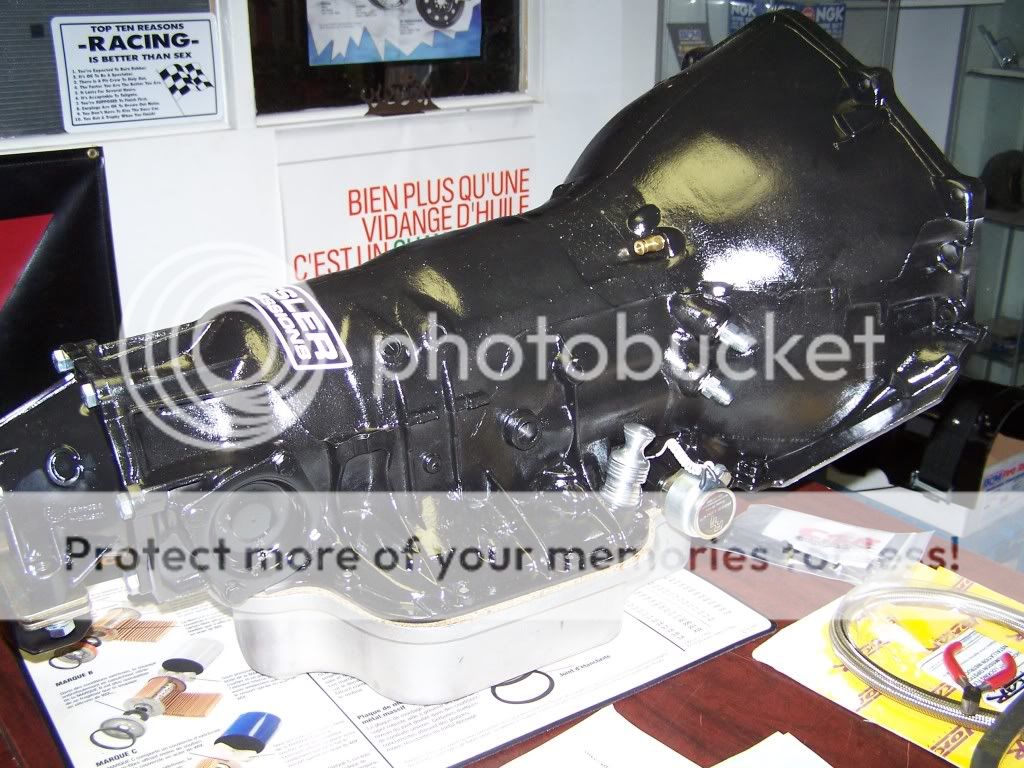
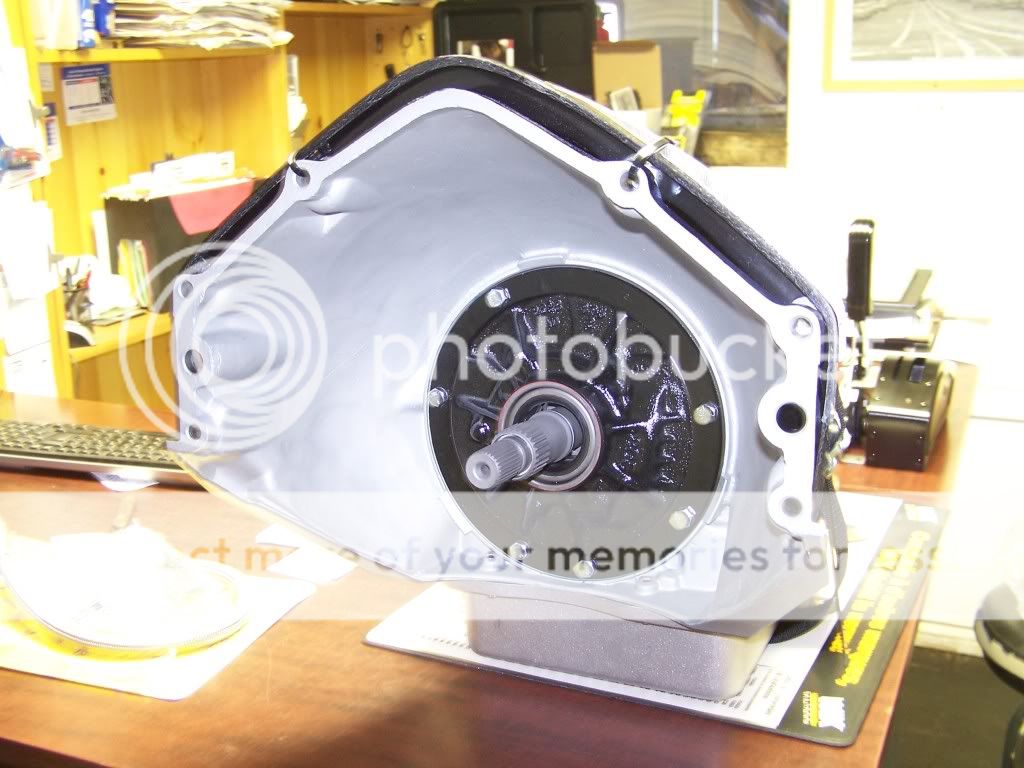
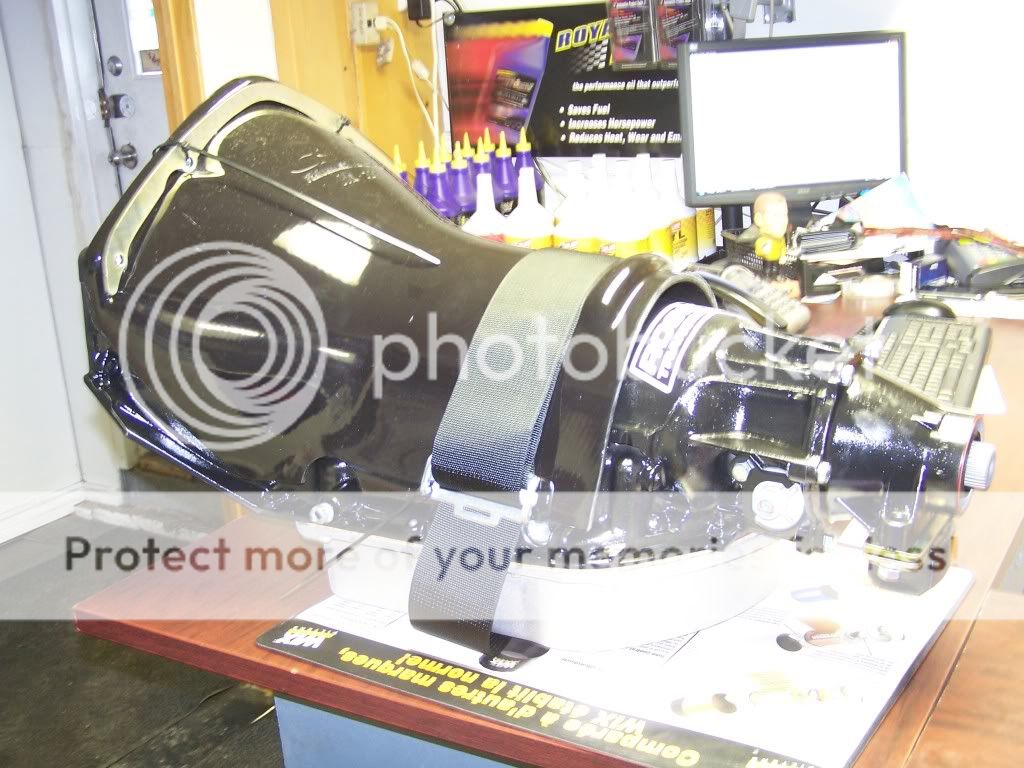
BIG NEWS THE TALON IS SOLD! so i have the money to order my TH400 transmission from Rossler! WOOHOOOOO :megadance
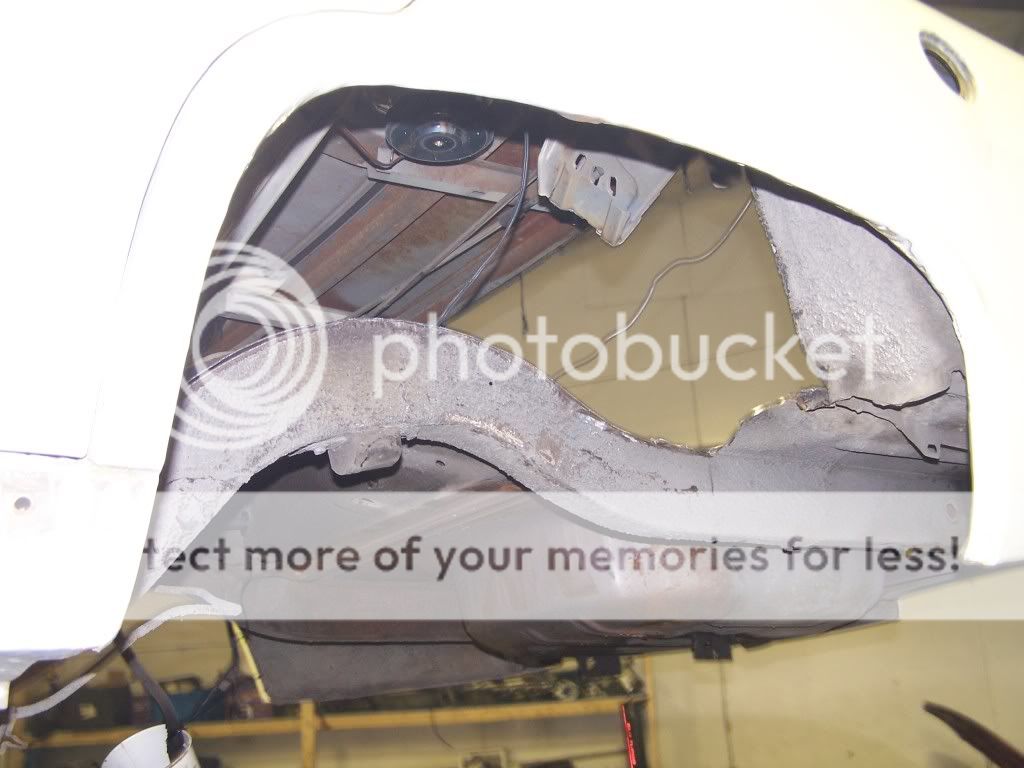
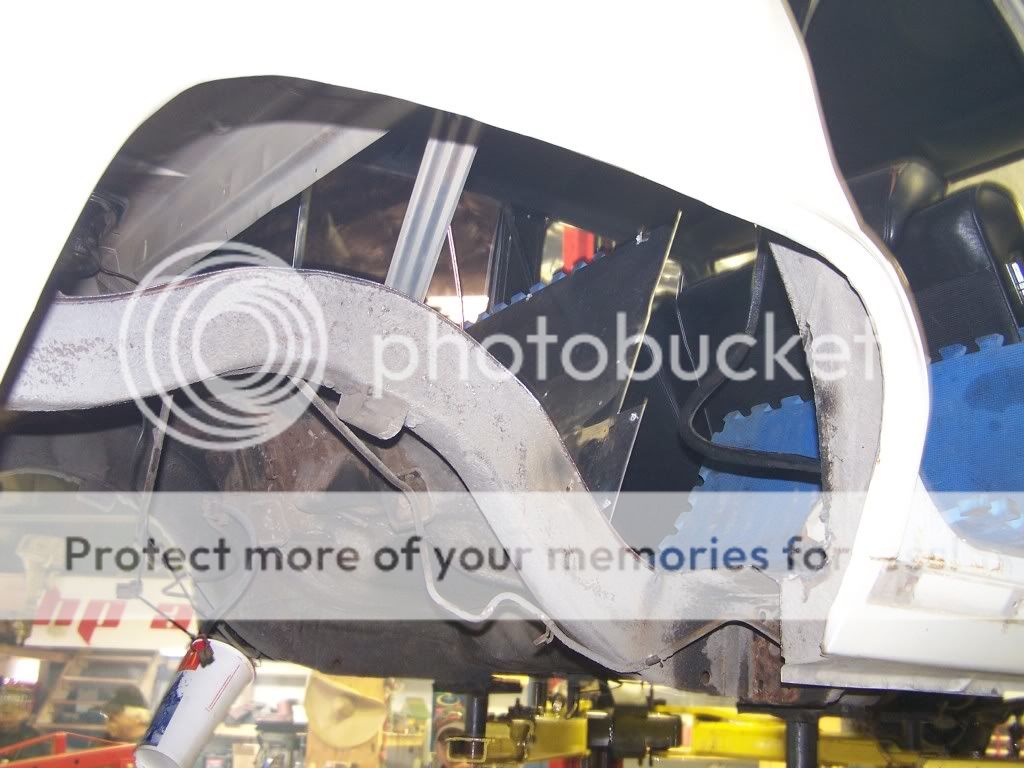
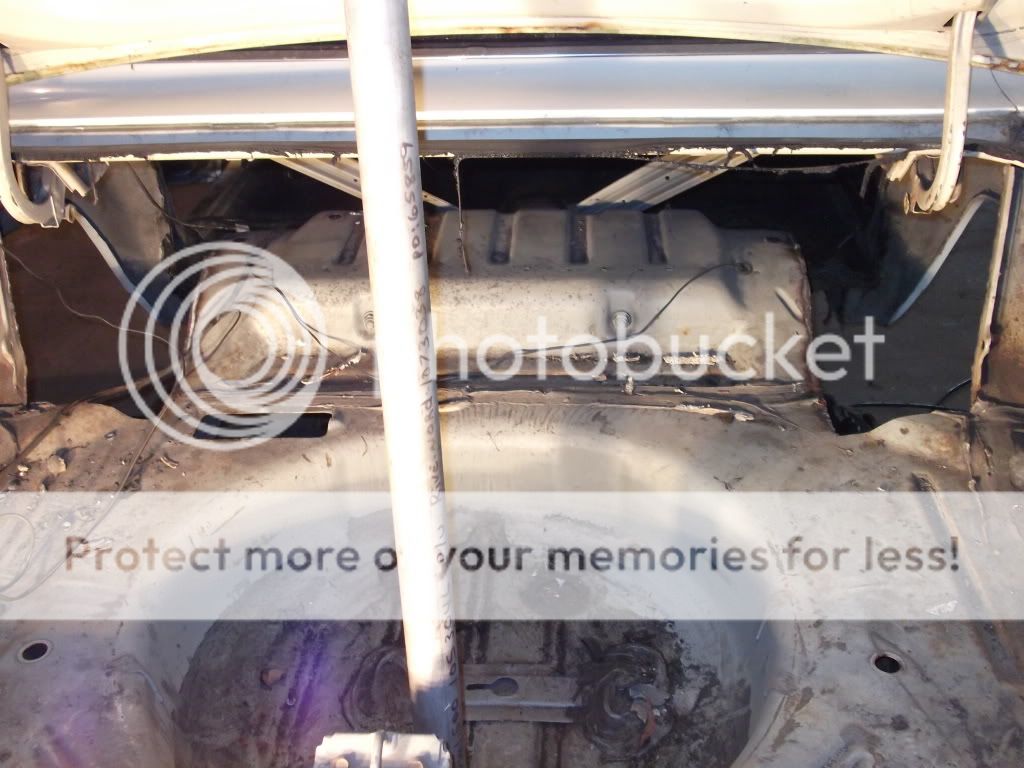
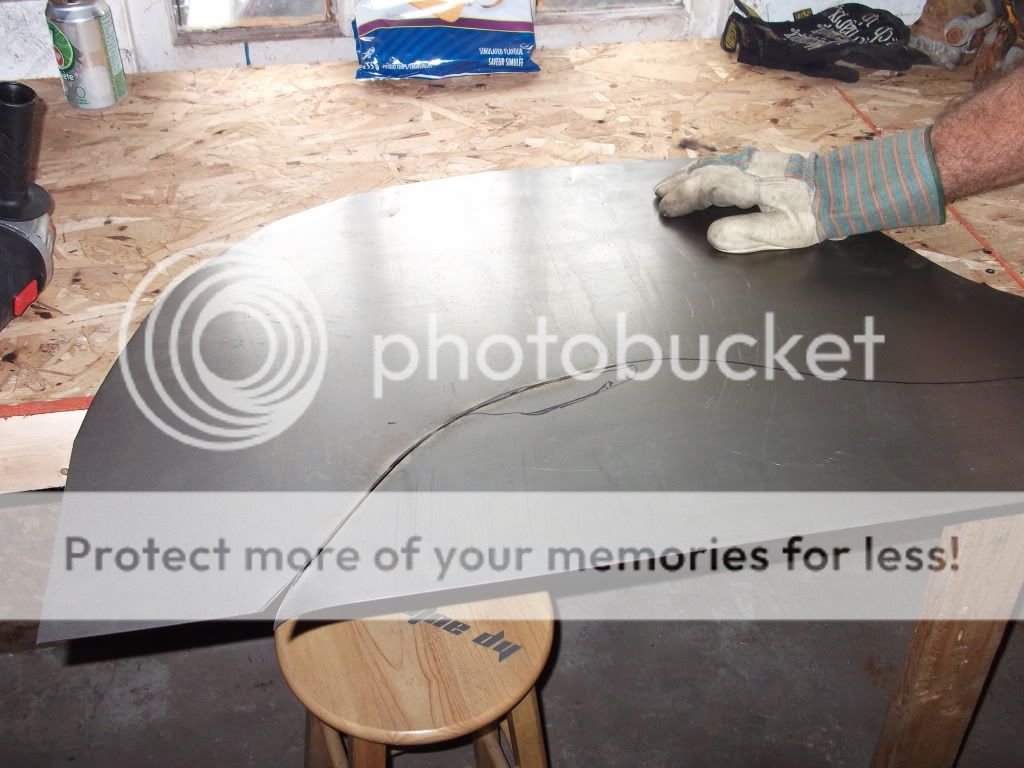
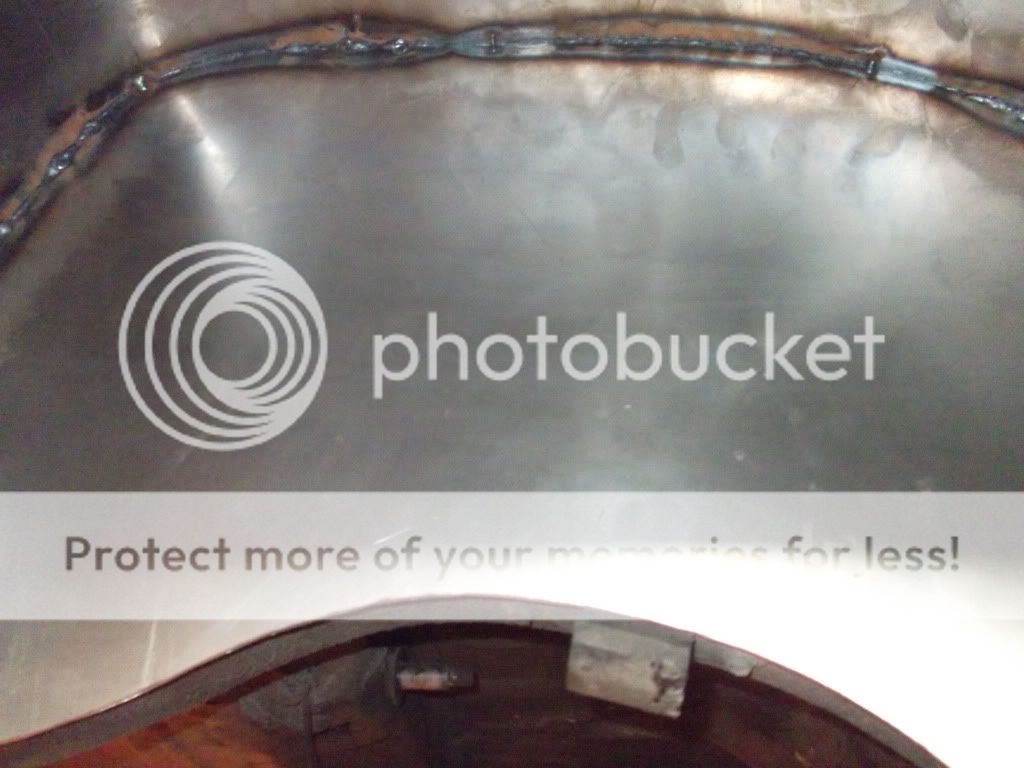
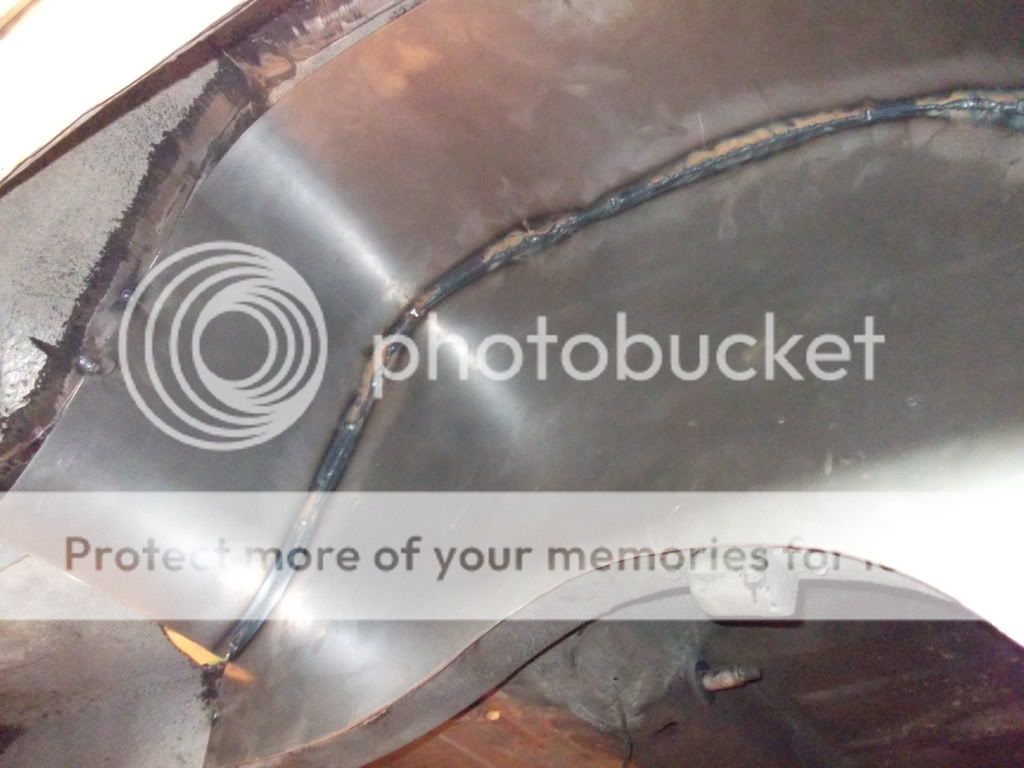
Big progress last weekend, started fitting my diff in the car, start by cutting out the wheel tubs to fit mini tubs in place...
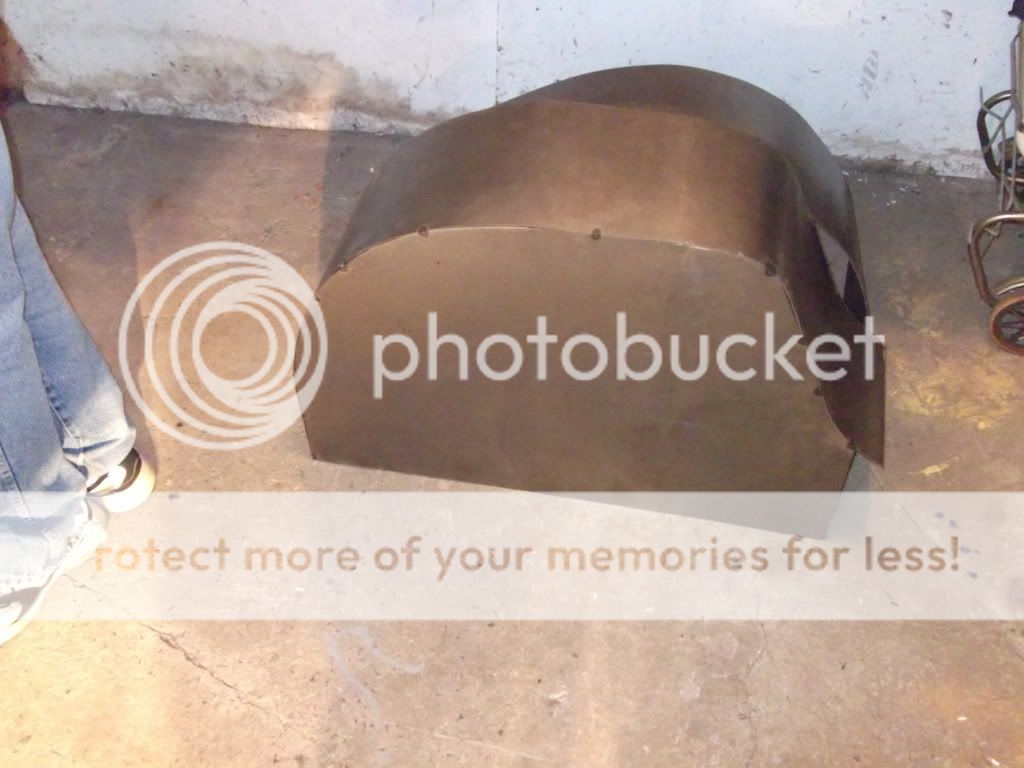
This is what has to fit in there....

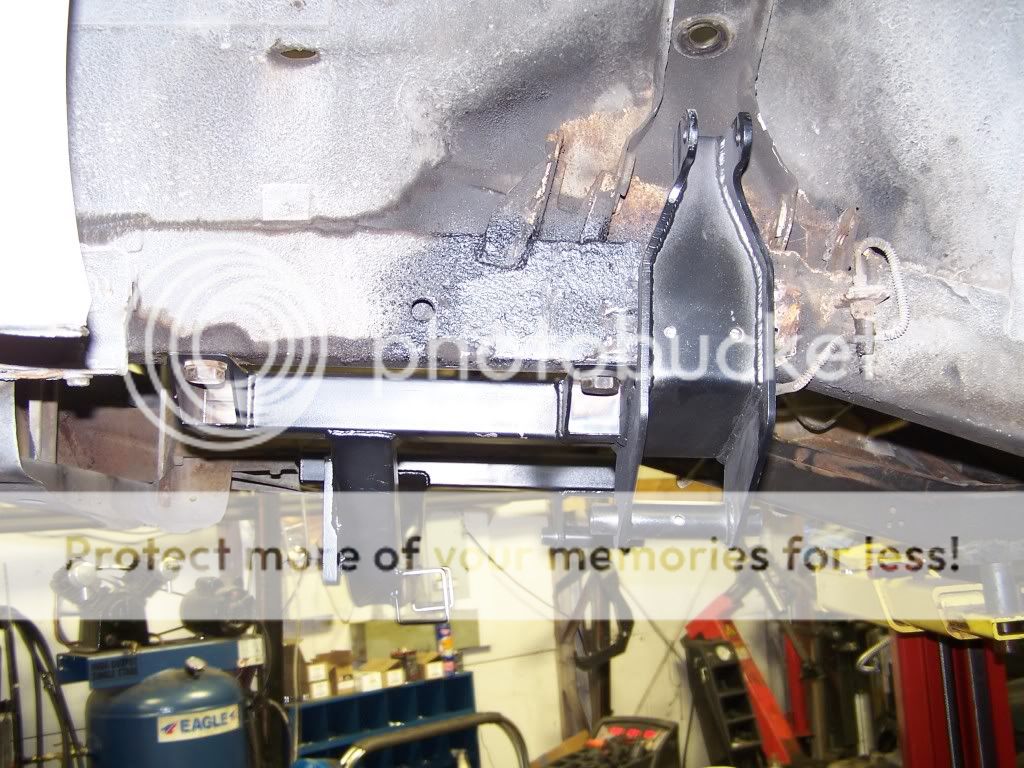
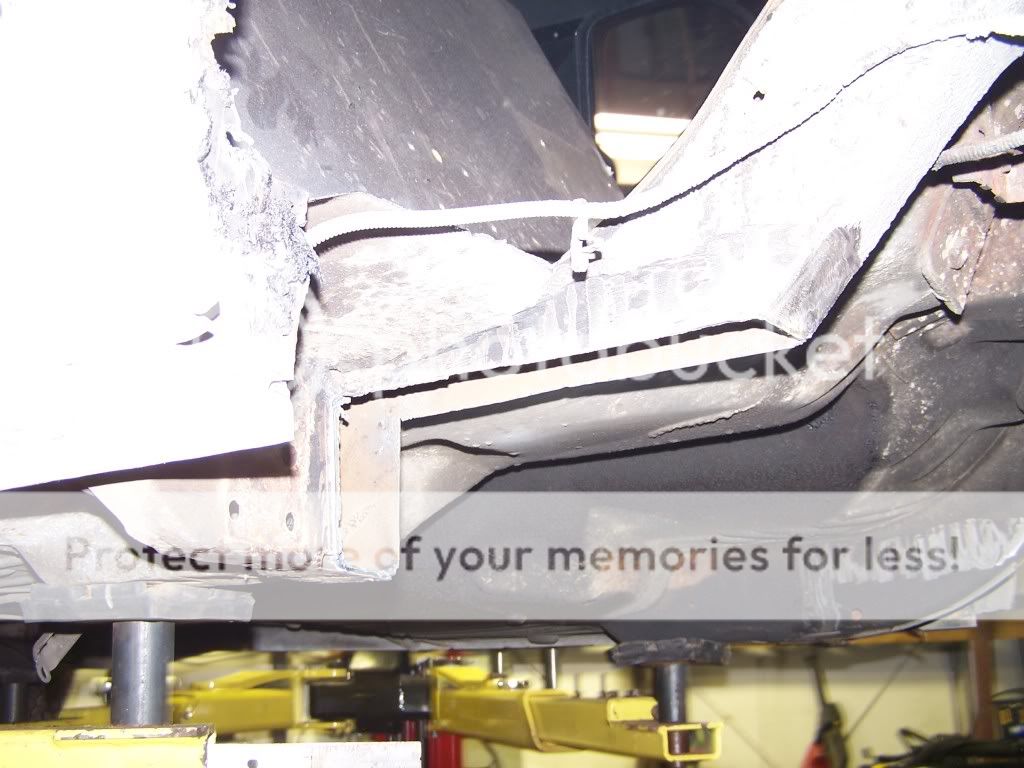
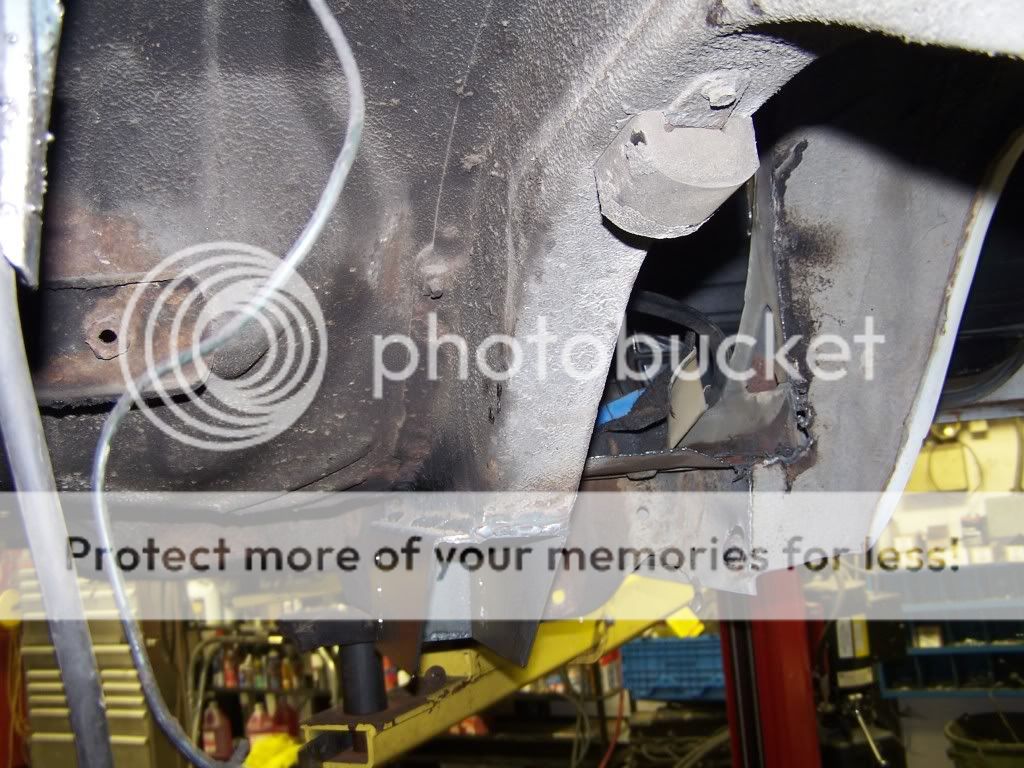
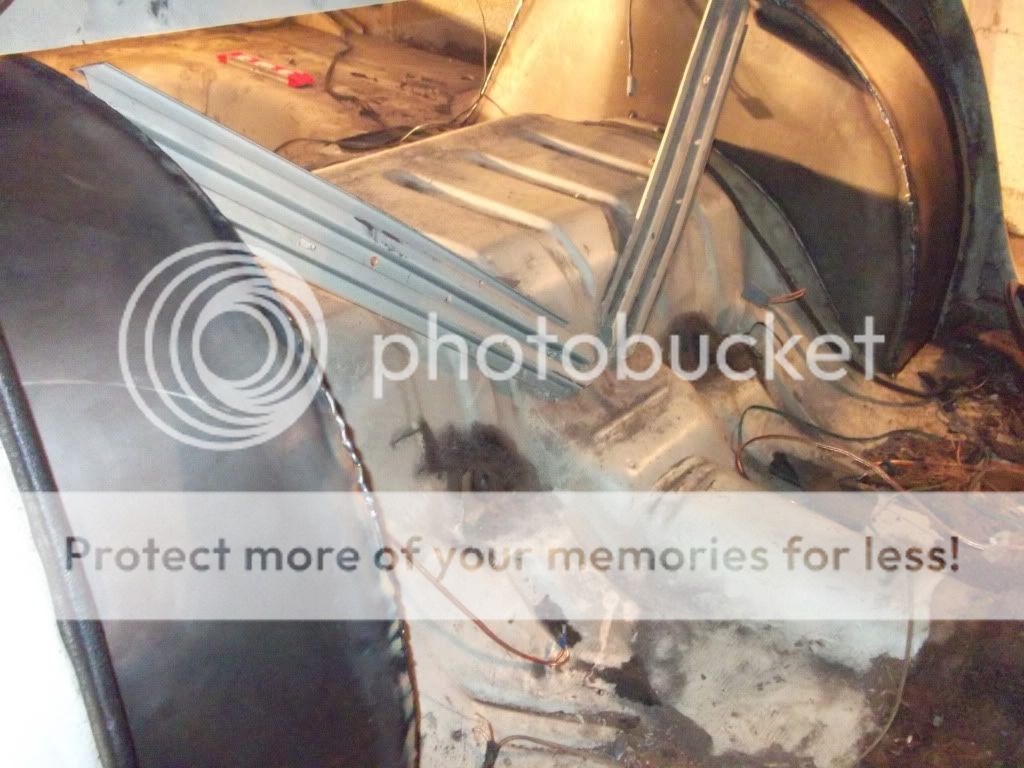
start cutting for the leaf spring relocation.
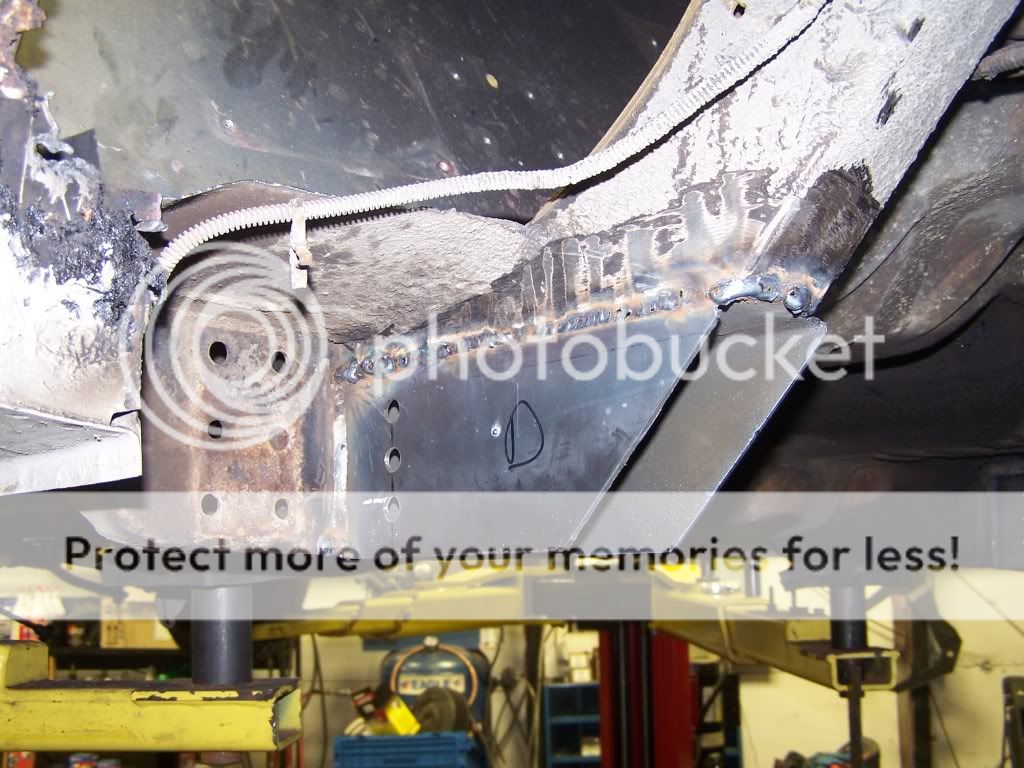
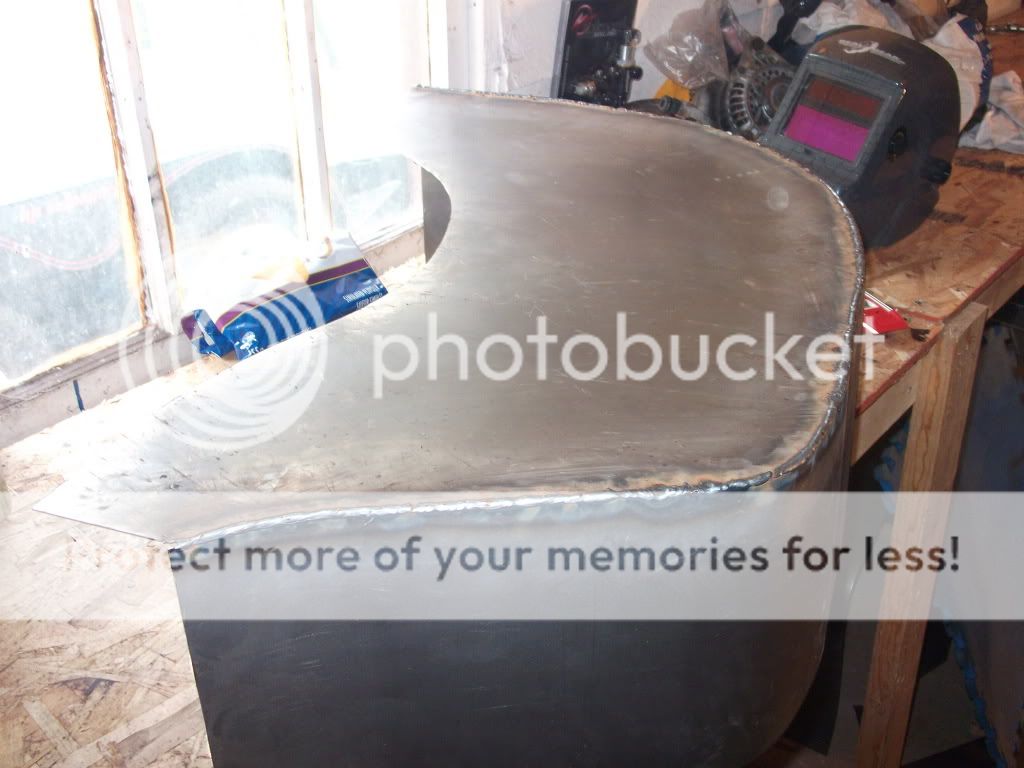
relocation kit welded in
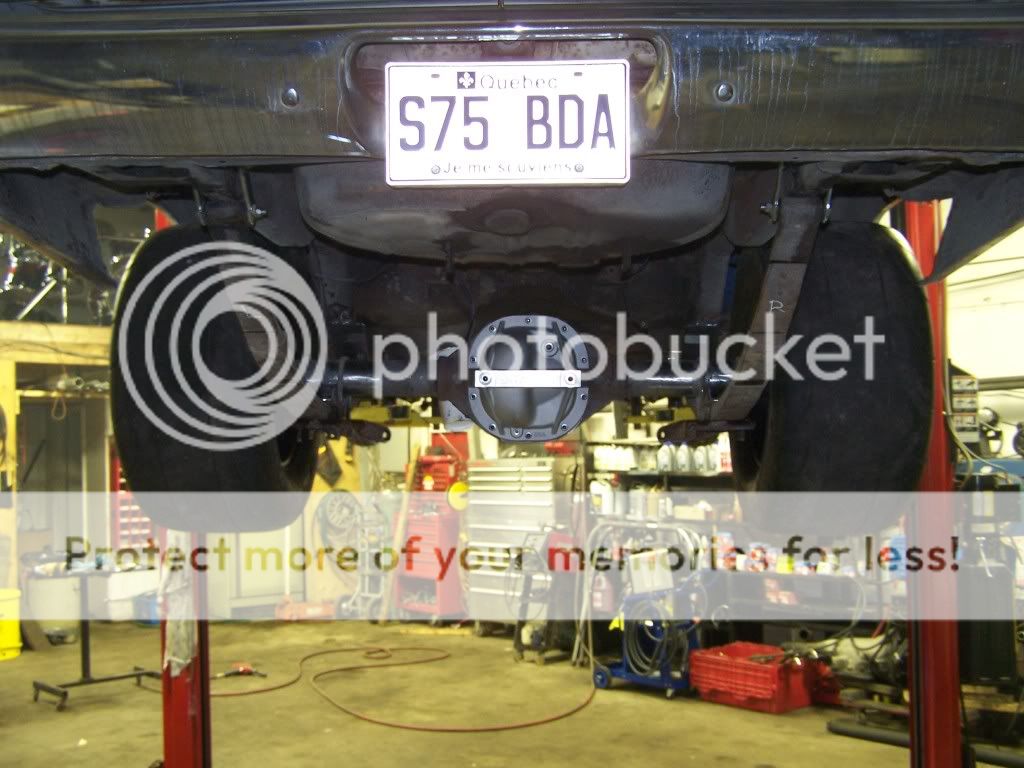
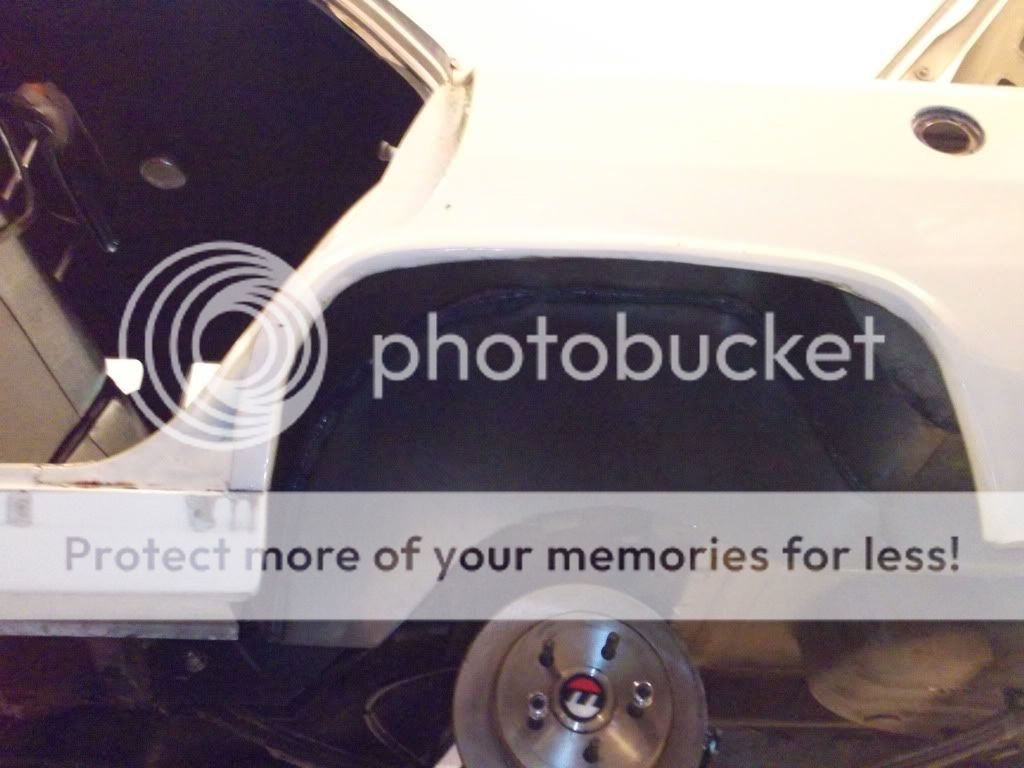
lower the car over the diff and hope it fits...

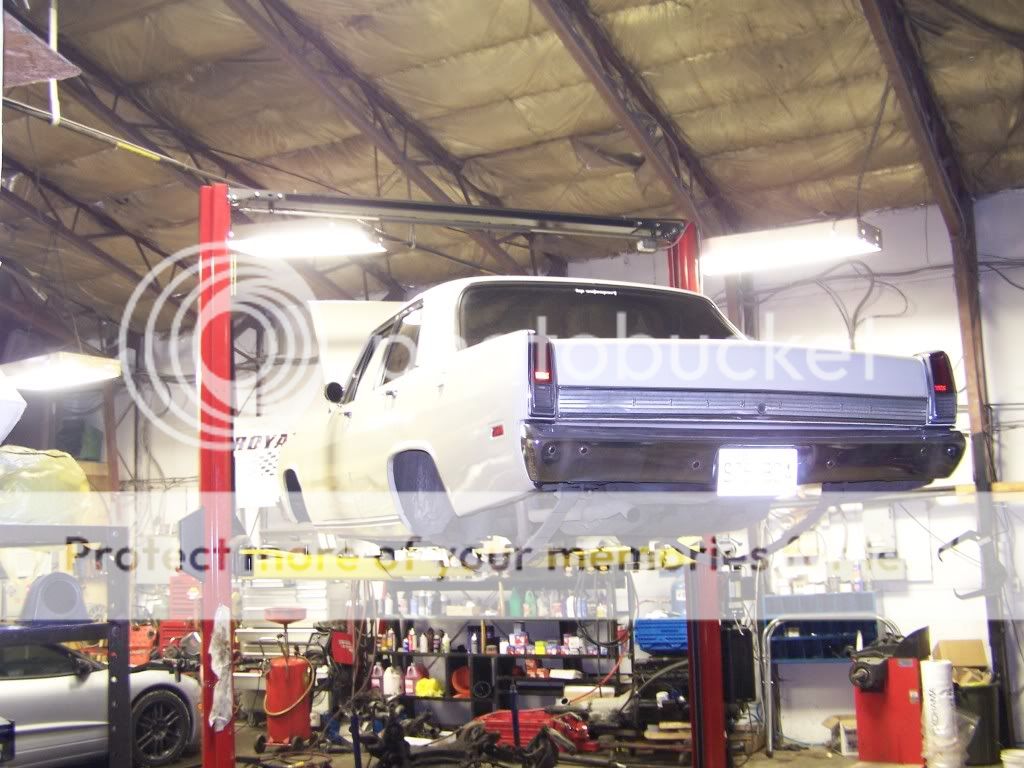
the result...

from the back on the ground
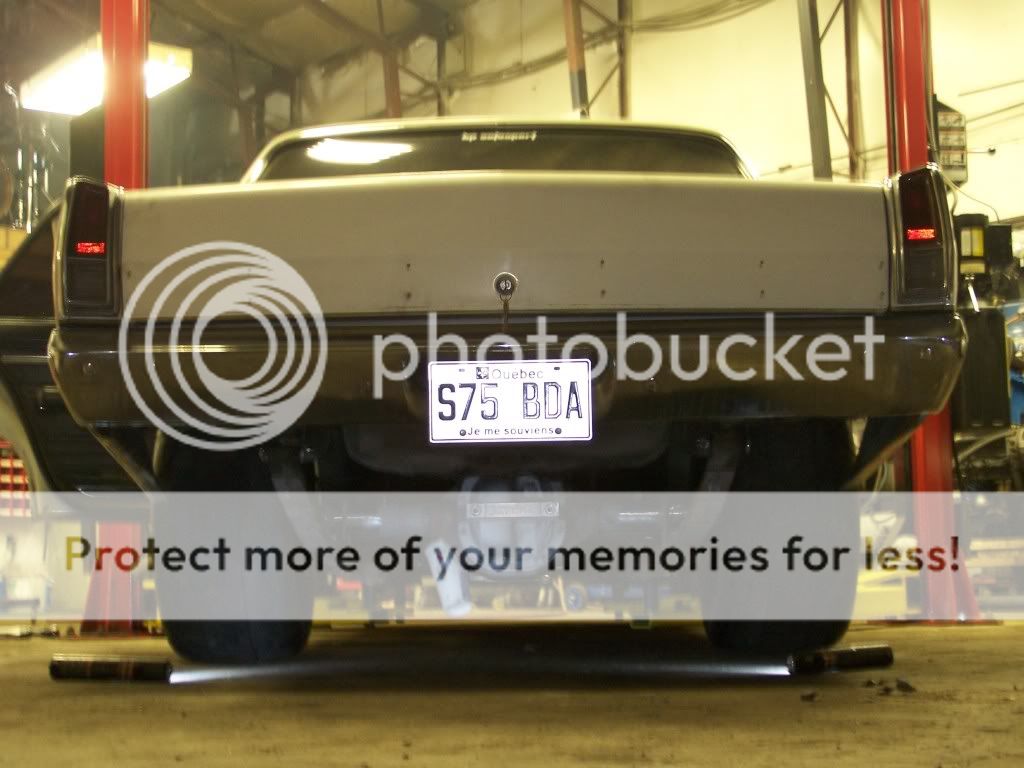

Pushed it outside to get a better look...


I owned this car for many years and it has been fun to drive with the factory slant 6 but now its time to give it a new heart, 4G63 style, so here it is, my 1969 Plymouth Valiant powered by a 4G build thread
Its funny because ive been preparing for this for over a year now, and then i saw frankendarts car..... ok so im not so original anymore. LOL
here she is.... beauty is in the eye of the beholder..
It all starts with a trip to RMS Motorsports on monday to buy some parts. right now the car has torsion bar suspension, 4 wheel 9 inch drums and steering box style suspension, needless to say it sucks.... so this is what i bought.
So I drive 7 hours to Pensylvainia,
this is what im greeted with... HEMIS!
All aluminum 572 hemi, 800hp on pump
And more hemi goodness, the owners 69 Dart with a crate 572
So heres the parts i picked up, new wheels and tires,
rears are 15-10 with 28 inch drag radials
fornts are 15-4 on 26 inch tires
suspension parts
coilovers
wilwoods
k frame
this is not from the same guys, but, bills autofab GM adaptor plate for automatic tranny
bolted up
first update, I start work today, this is its new home for the winter....
Wheels off fluids out.... bye bye slant six
front suspension and brakes that are soon to be replaced. factory steering box, torsion bar suspension, drum brakes all going to the scrappers.
teeny tiny rear end, soon to be replaced by a ford 9 inch or something like, im not sure yet.
it should all be out by the end of the day.
And here is the Valiants soon to be new heart.... (but the header is now sold)
La, cest le temps de sortir le vieux Méo Pancher (slant 6) de la, cest vraiment incroyable comment pessant que cest.... mon petit 4g63 va etre tellement leger a comparer...
Au moin 800 livres, cest completment debille, tout fait en fonte, mais y roulais tellement bien...
un gros trous...
Bon, mantenant le temp d'arracher tout le front end, encore un GROS weight savings...
Test kit du nouveau K frame Tubulaire RMS motorsports.. 41 ans pis le frame na pas tordu de un millimetre...
Bon, a ce point ici, mon stagiere ye tanner, pi moi aussi, on ferme le lumiere pi on lache ca pour la fin de semaine... une petit derniere photo...
More updates, shop wasnt to busy yesterday so I did some more work....
I dont know why i did this, im going to have to do it again after I paint the car.
Repainted the K frame, the powdercoat wast nice on this piece.
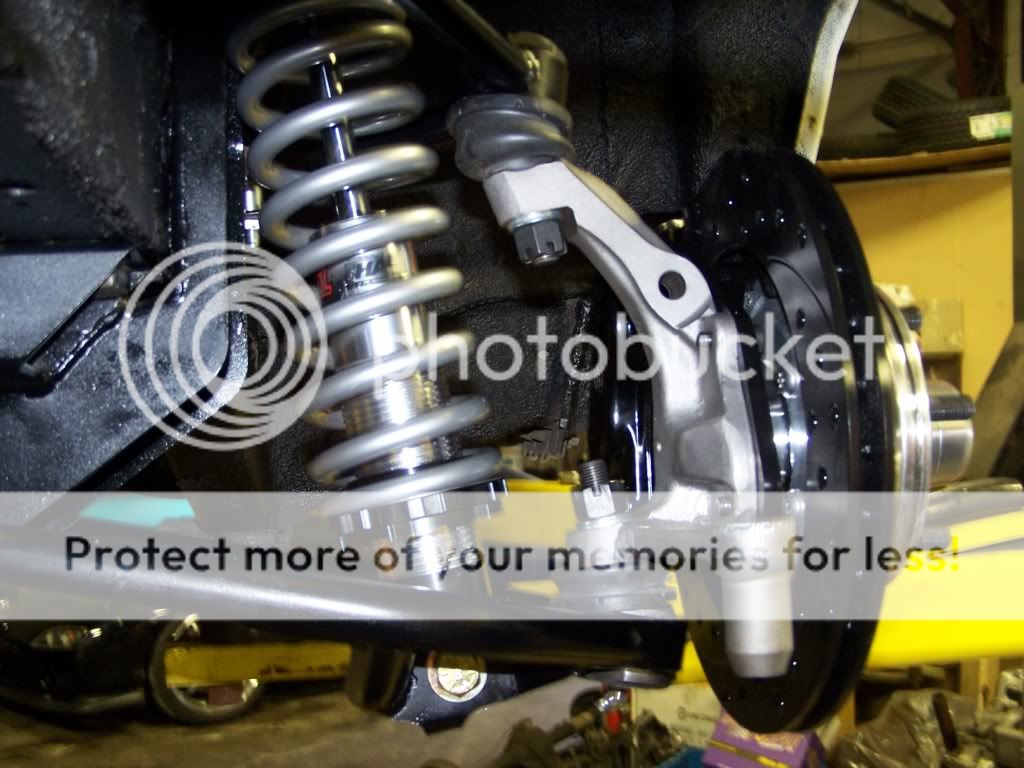
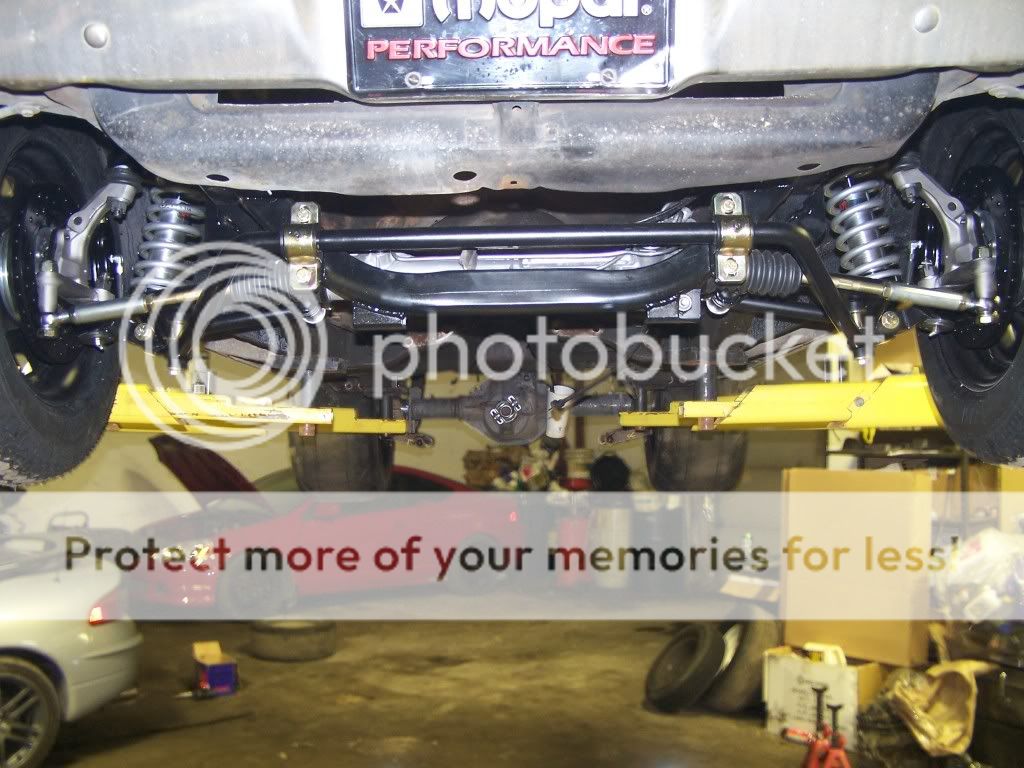
Bolted into place
Lower control arms
with coilover
spindles and brakes
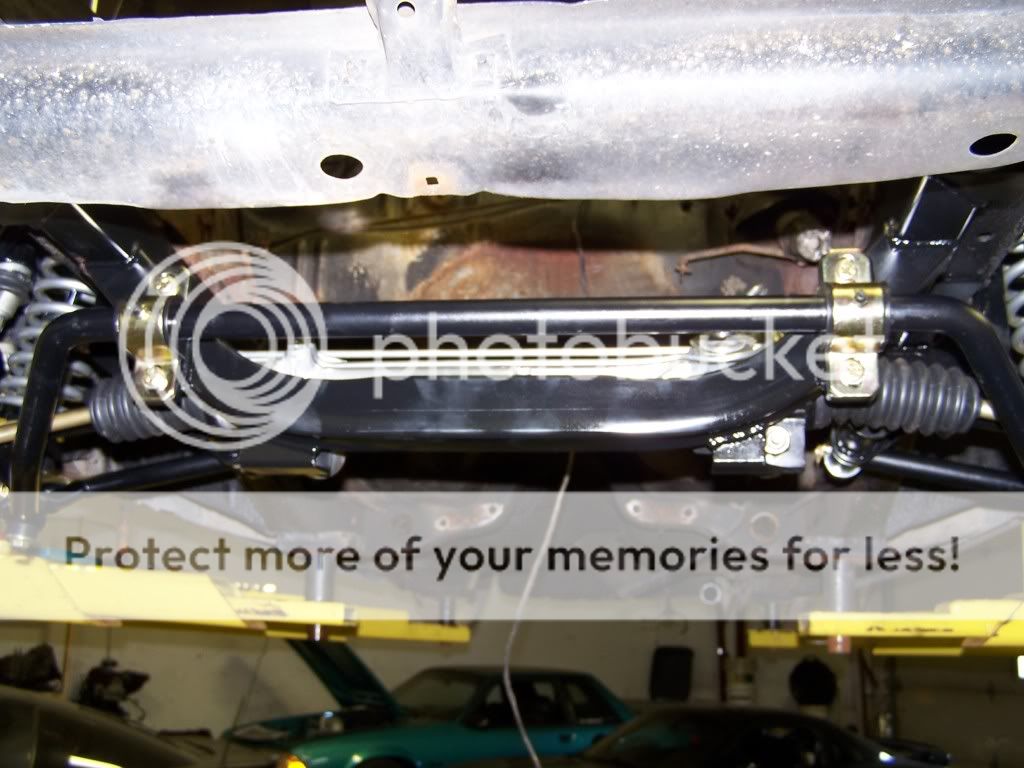
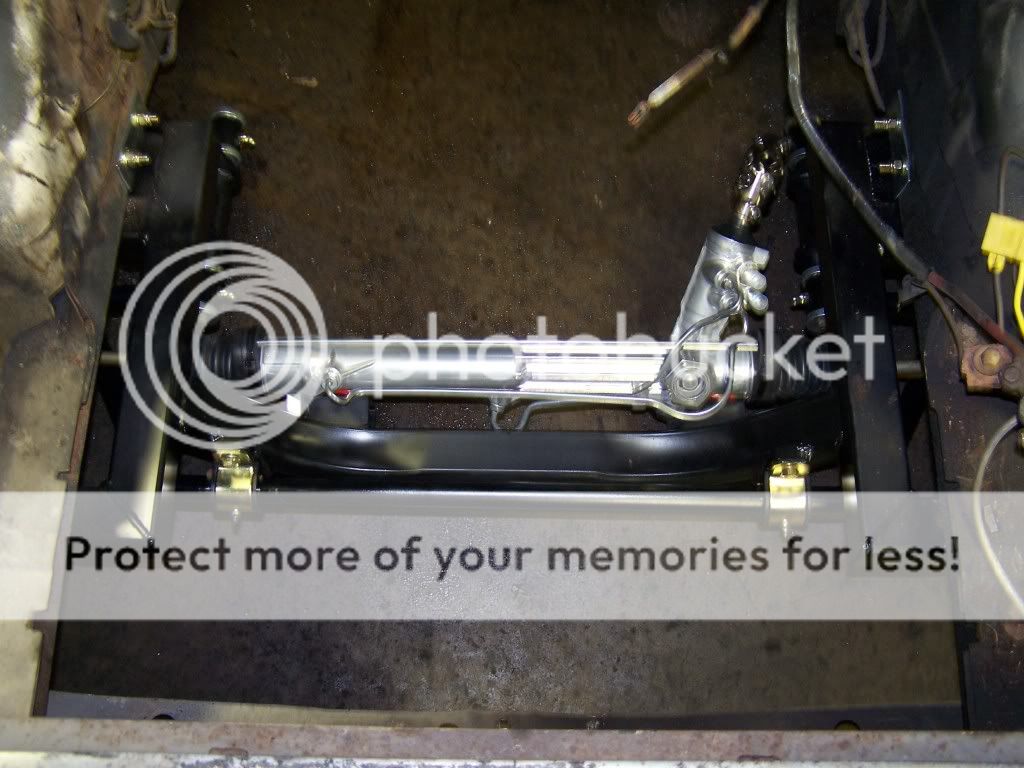
Sway bar and Rack
MOAR!
Wheels fit
But not in the back, I want the back tire to be tucked in the wheel well, and thats not going to happen with this size of tire, so no im debating between mini tubbing or just doing a whole backhalf 4 link setup... I did get a chance to measure up the rear diff width, nothing stock is gonna work, i have to get something narrowed, so im thinking explorer 8.8...
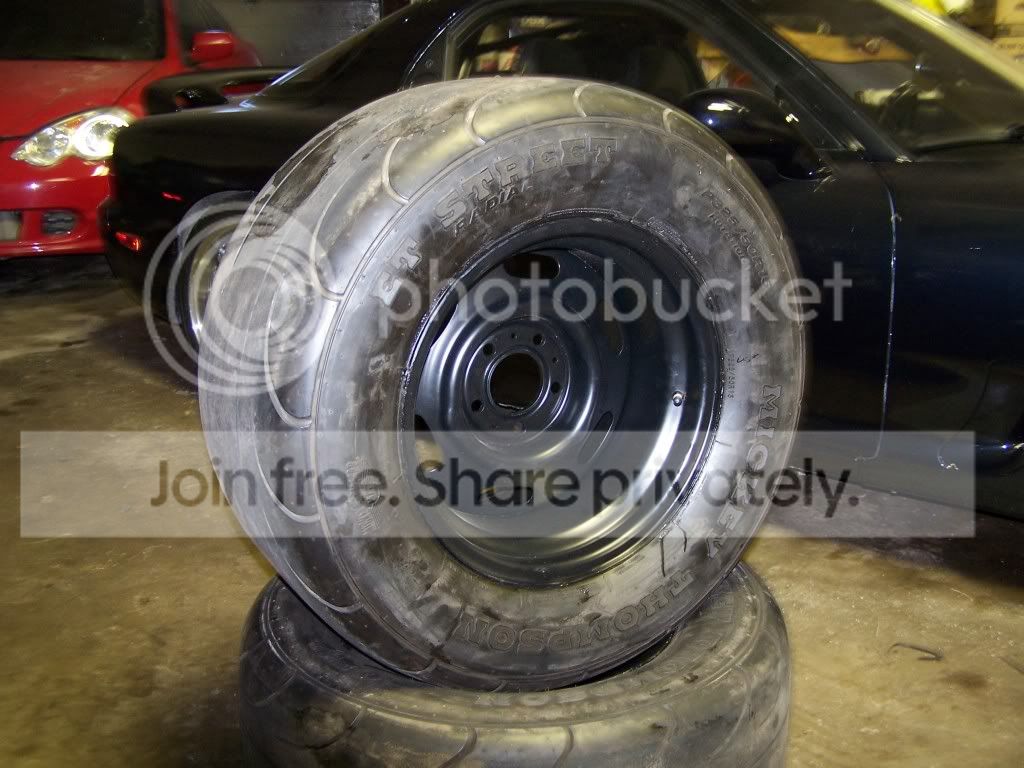
Boring update of the week, i found someone on a local forum that wanted to trade his mickey thompson DR for a smaller pair, turns out i had the size he wanted, so no ive got a bigger pair! woohoo more traction! I have to do a mini tub anyways so why not...
used to be 275-60-15, now 325-50-15 or 28-13.5-15
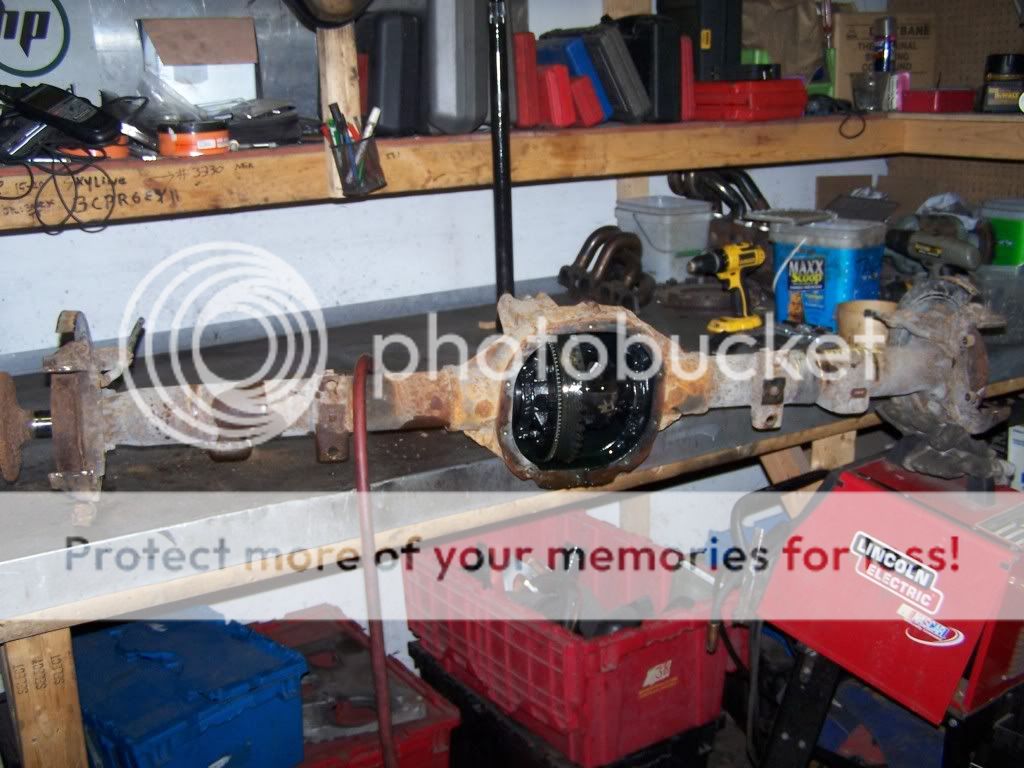
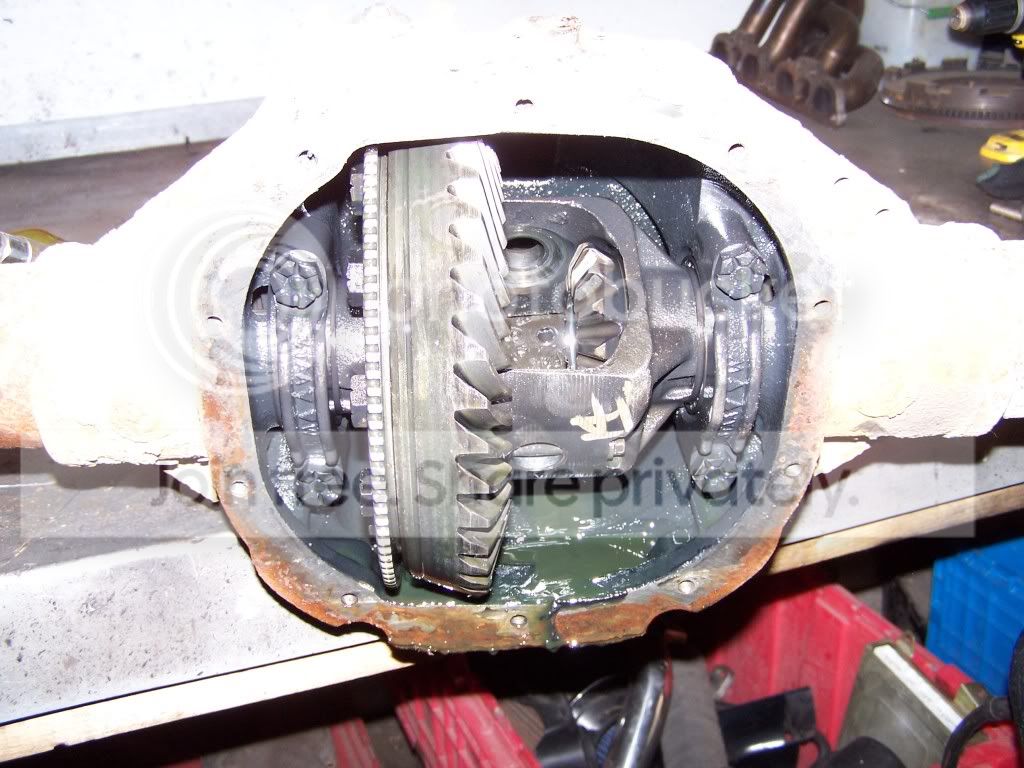
Well Ive decided on my diff, ford explorer 8.8, found one localy for 250$ hihihi, comes with disk brakes and a 4.10 gear, which should be able to hit about 160mph in 3rd @ 8000rpm depending on converter and tranny slip, who knows....
Also found a local guy to narrow it, its going to be chopped almost 10 inches to fit the new tires, theres going to be alot of cutting in the body to make them fit, time to buy a plasma cutter!
here it is before the work , sandblast, paint etc...
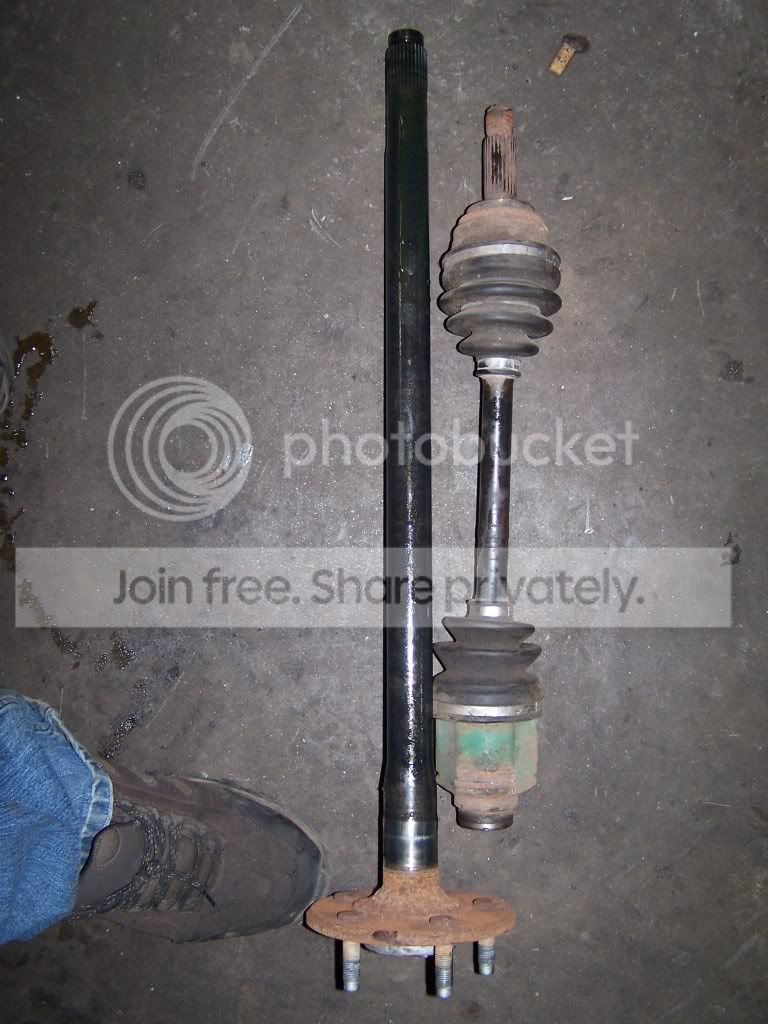
HOLY SHIT THE AXLES ARE BIG! and they are only 31 spline, im setting up for 33.
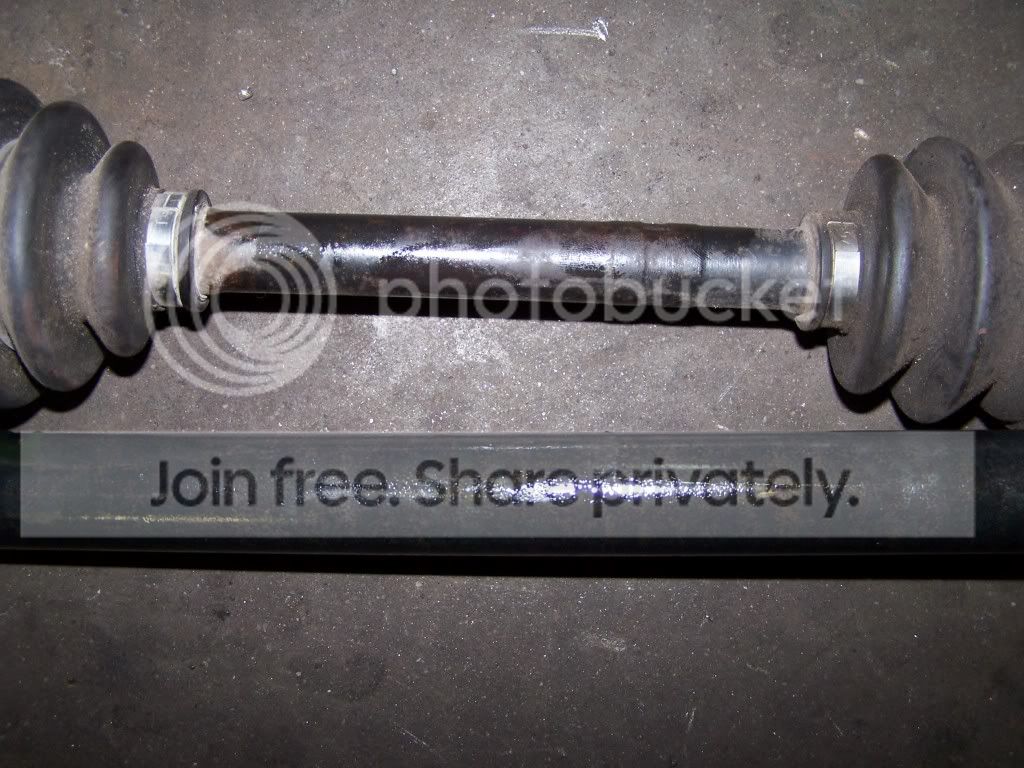
:f pick with a standard talon axle... no more breaking parts woohoo! :f
thats about it for today.
HAPPY NEW YEARS BONNE ANNEE!
Boring update, Rear end is at my chassis guy to get narrowed, waiting for a big package from Moser, spool axles etc.
but some stuff showed up yesterday.
FRH intake, Old school i know, but i honestly cant belive this isnt made anymore, In my opinion one of the best designed intakes I have seen, I find the plenum small, so i will be building a new one, but the runner section is amazing.
Look at the transition and the size of the runners.
and then this showed up from Ron @ shearerfab. man he does good work
smooth....
thats about it , Im getting married this week end so things go on hold for a couple of weeks. but hopefully the rear end will be done and i can start tubbing the car.
News.... Im waiting to board a plane back to ottawa after a week long honeymoon in florida... Turns out some parts showed up from Moser at the shop for my hopefully bullit proof rear end...
New shortened 35 spline axles
Spool, axle ends (c-clip eliminator)
And diff cover with wheel lugs, input yolk and hardware..
I should have the diff back on thursday, then the cutting begins... With my new hypertherm plasma!!! Can wait to burn some metal!
When i get home im gonna post some pics of my trip to t
Titan Motorsports.... Lets just say it made me doubt my powerplant choice....
Small news, My diff is back! he did a great job, very happy. Has a 4.10 gear, spool, new axles yada yada yada...
pics
BIG NEWS THE TALON IS SOLD! so i have the money to order my TH400 transmission from Rossler! WOOHOOOOO :megadance
Big progress last weekend, started fitting my diff in the car, start by cutting out the wheel tubs to fit mini tubs in place...
This is what has to fit in there....
start cutting for the leaf spring relocation.
relocation kit welded in
lower the car over the diff and hope it fits...
the result...
from the back on the ground
Pushed it outside to get a better look...


 [/
[/